The following how to guide demonstrates Editing a Pricing Map.
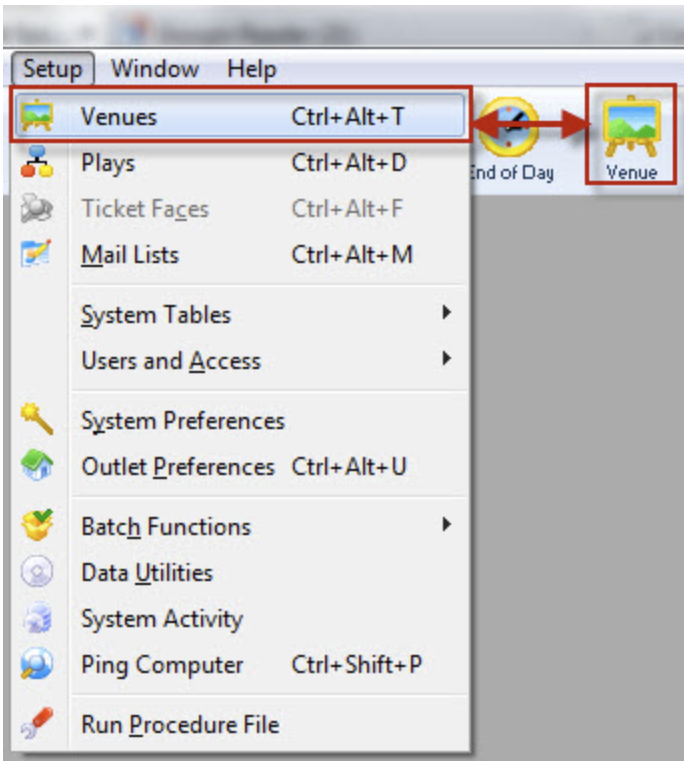
Venue Menu

1. Pricing Maps are accessed through the Setup >> Venue menu.
- Alternatively you can click on the Venue button in the Theatre Manager toolbar / ribbon bar.
- The Venue List window opens. Click here, for more information on the Venue List window.
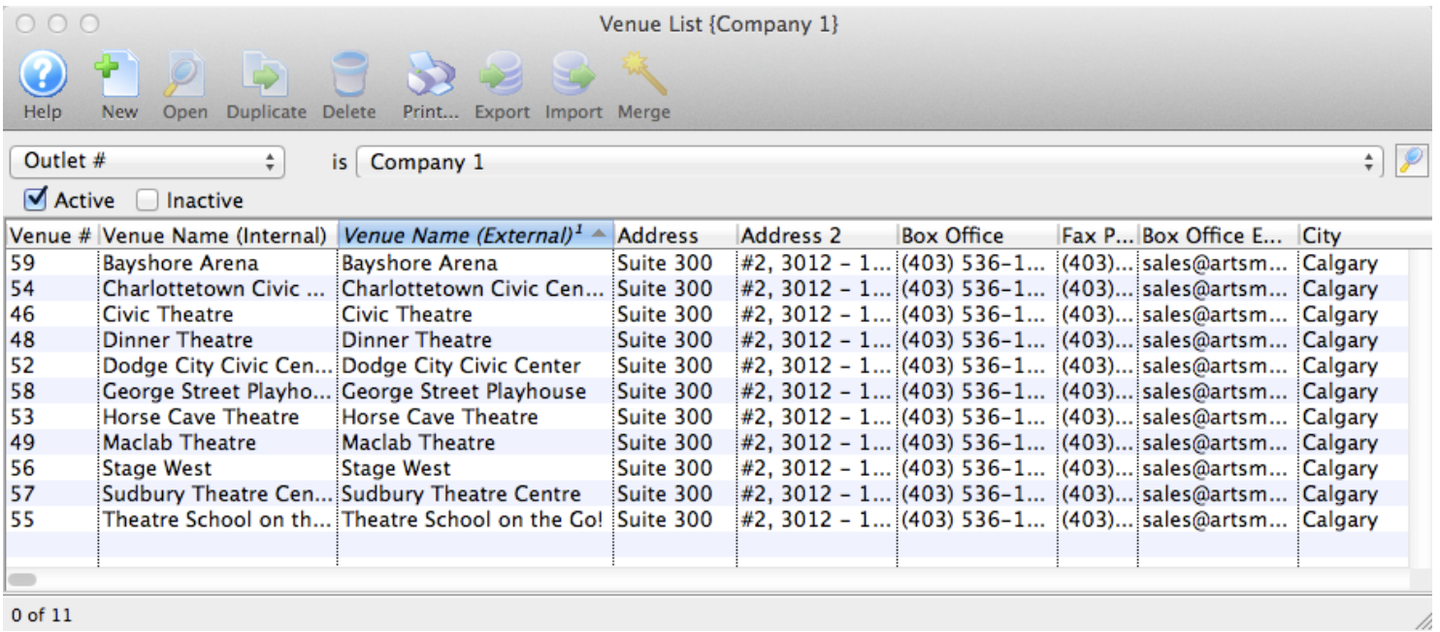
The Venue List window opens.
The Venue List window opens.
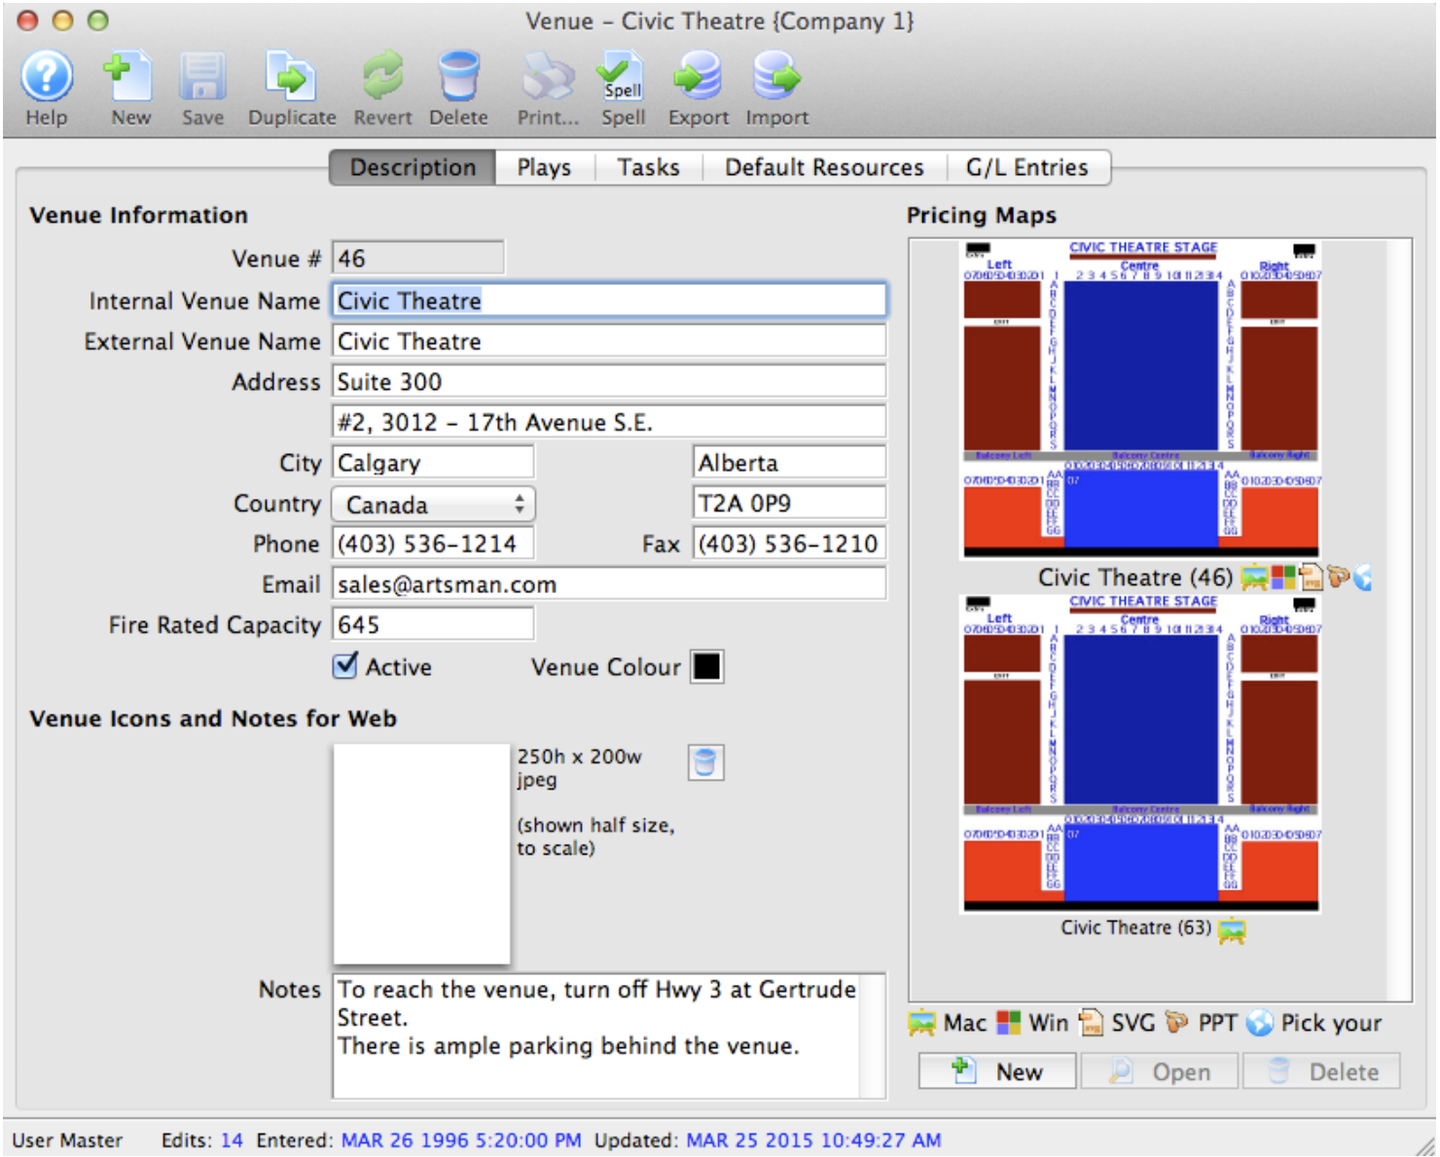
The Venue window opens

2. Choose the Venue you want to view/edit from the list and click the Open button, alternatively, double click on the name of the venue.
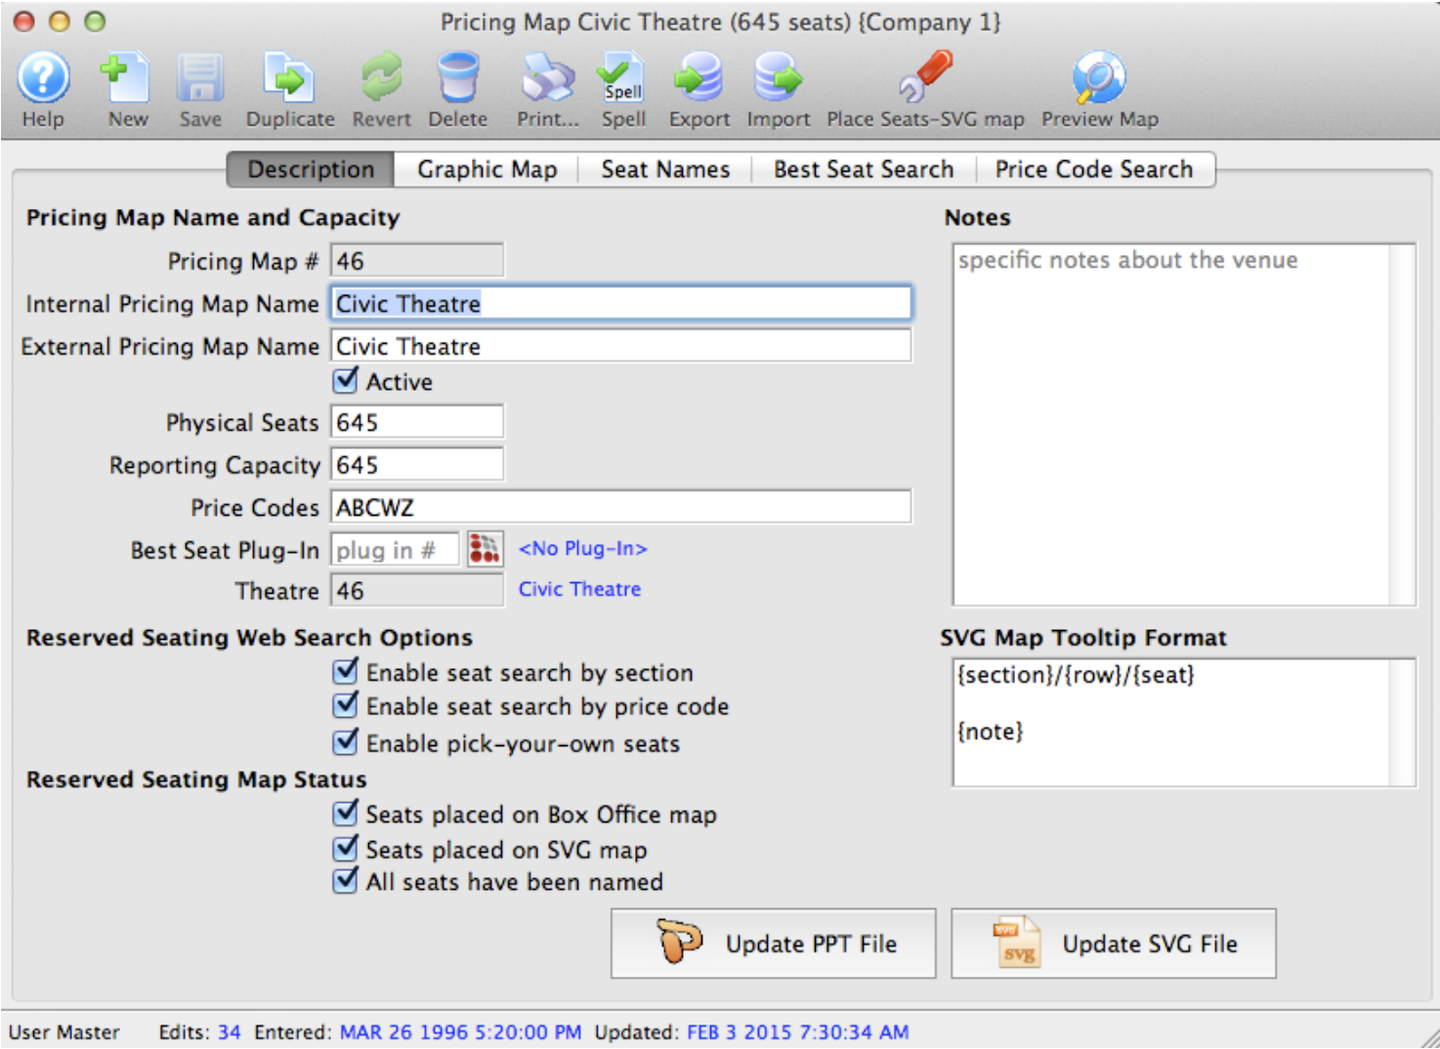
Pricing Map window

3. Highlight the Pricing Map to be edited and click the Open button.
- The Pricing Map window opens for the selected map
- Edit the description tab for changes in map details, the graphic map tab for seating placement and the seat names tab for changes in the name of a seat.
To change the number of seats, it is first recommended you duplicate an existing pricing map and make your changes to the new map.
-
A deployed map cannot have the number of seats decreased.
-
Adding seats to an existing map only affects current and future sales. You cannot go back and decrease the number of seats later.
- To correct changes before saving click the Revert
 button to revert back to the last saved point.
4. Click the Save
 button
- The changes made to the map are saved.