Basic Steps Top

Selling a Reserved Seating ticket removes the seat from inventory and assigns it to a patron for a specific performance and a specific seat. Selling a reserved ticket involves 4 basic steps:
-
Selecting the performance date and time
-
Selecting the price code and sales promotion
-
Reserving the seats
-
Processing the payment
The following how to guide assumes that a reserved seating event is active.

1. Search for the Patron
- Use the Patron Lookup window to identify the patron
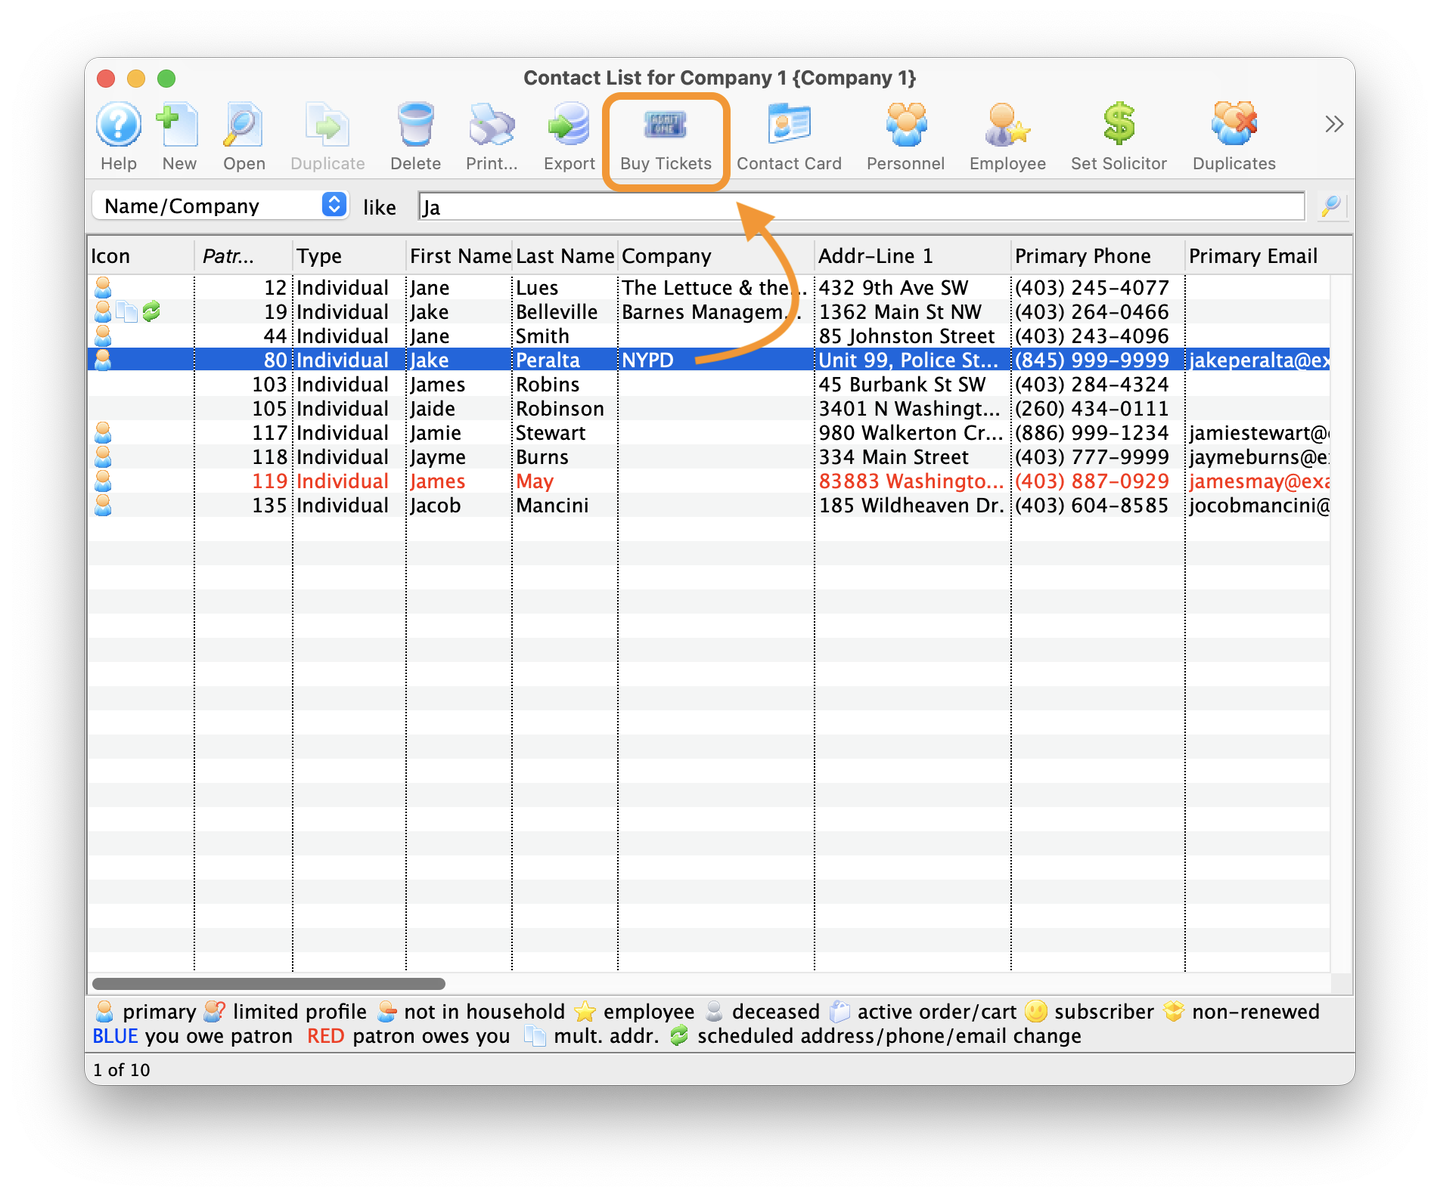
2. Buy Tickets
- From the Patron Lookup window, highlight the patron and click on the Buy Tickets icon in the toolbar
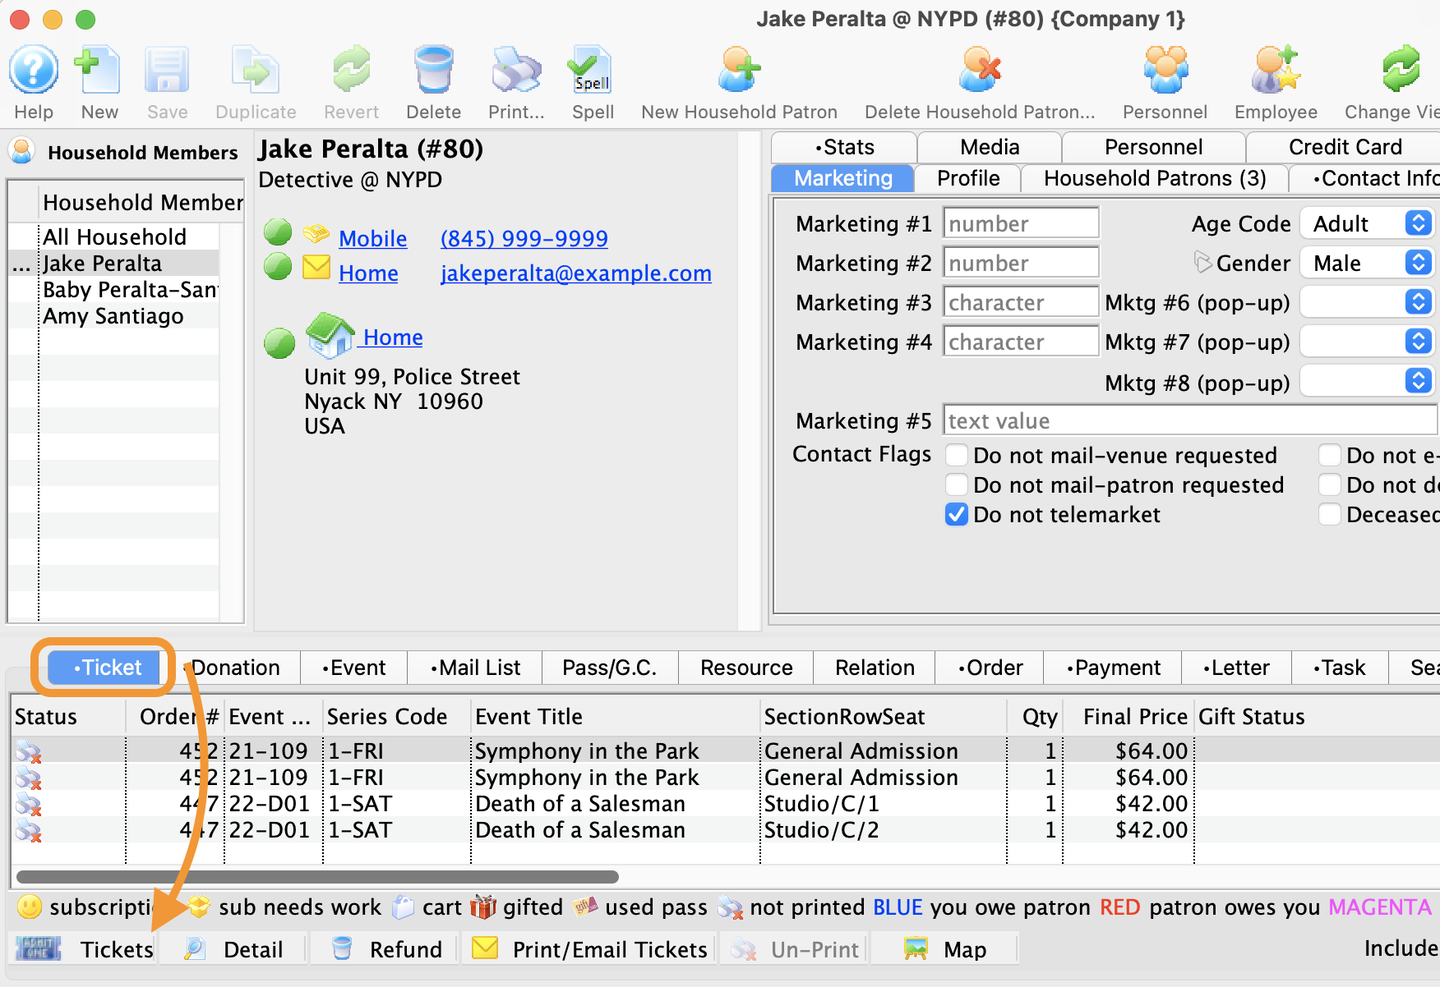
Already in the Patron Record? Select the Ticket tab, and click on the Tickets button. From the menu select Purchase New Tickets For The Patron
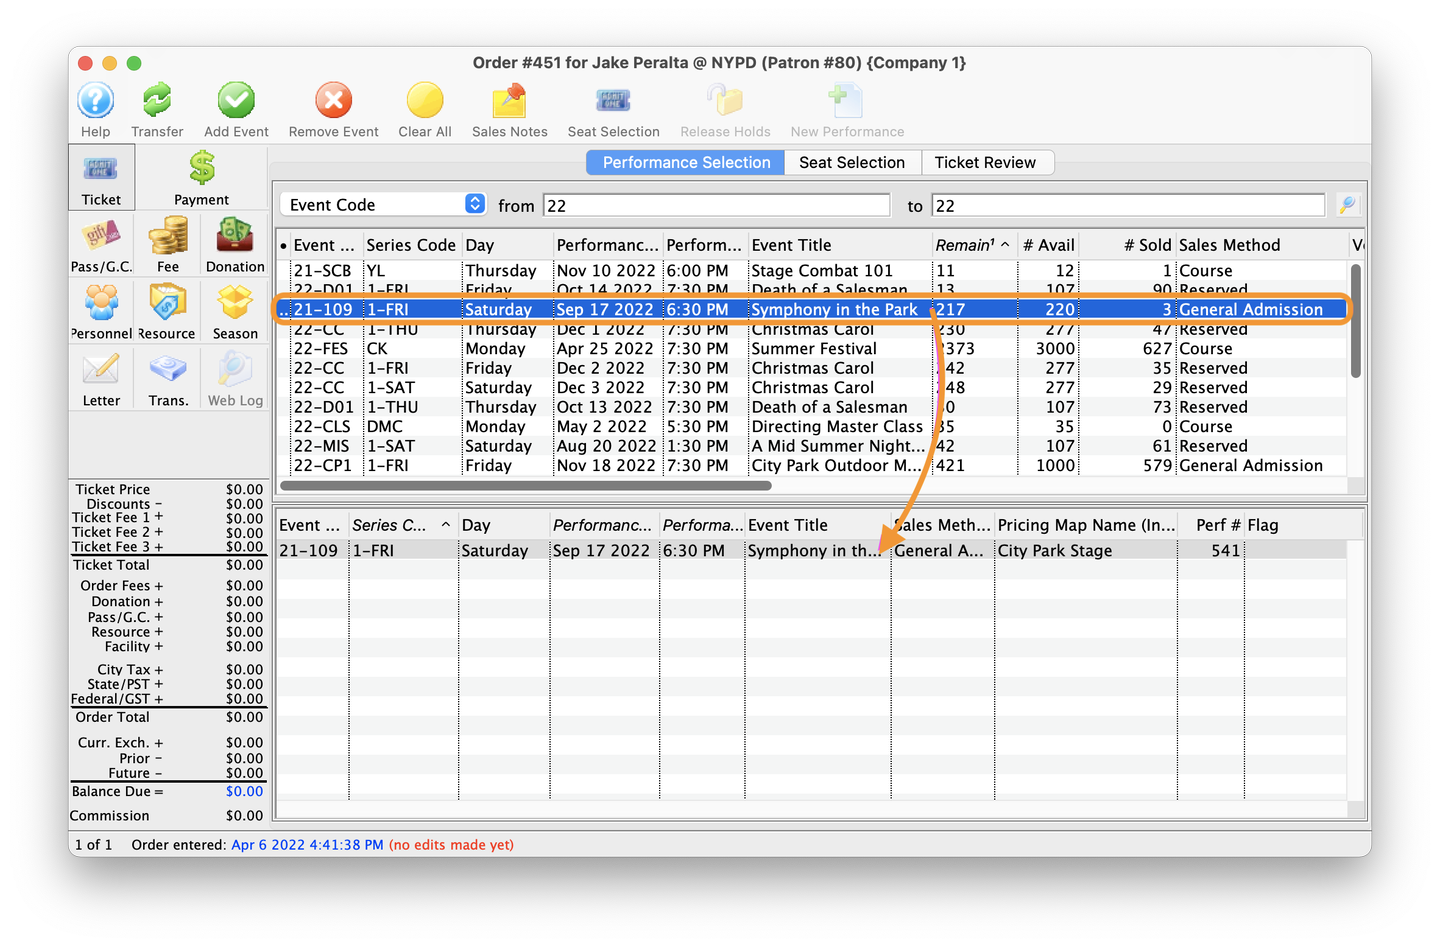
3. Select the Event
- On the Performance Selection tab of the Order window, double click on the event to add it to the Order Basket below. (See performance selection in detail for more information.)
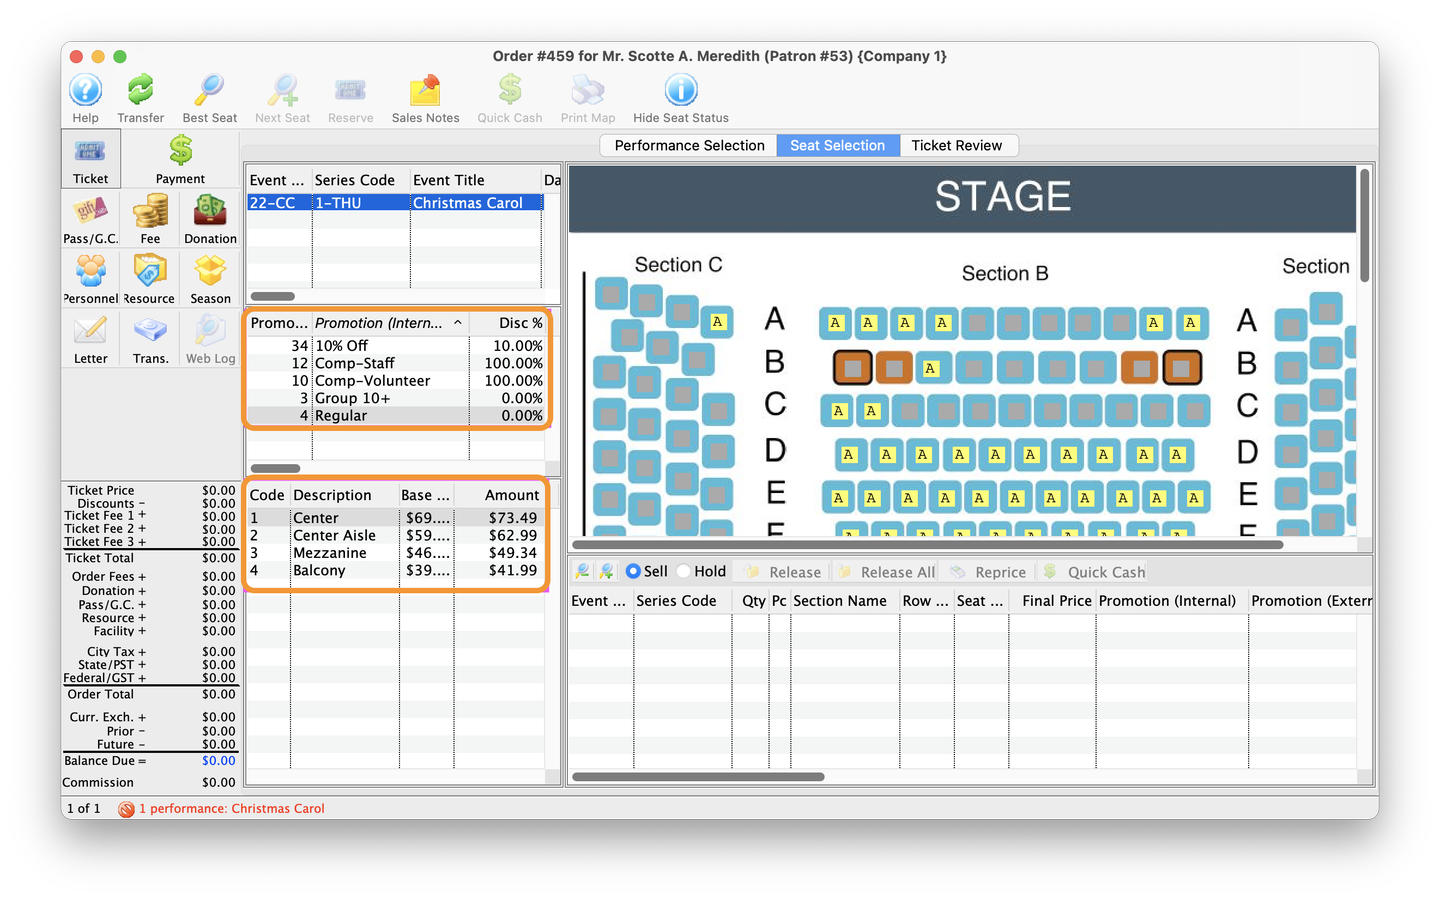
4. Select Price Code and Sales Promotion
- On the Seat Selection tab of the Order window, select the appropriate price code (price zone) and sales promotions
- The system will default to the price code (price zone) and sales promotion chosen when the event was setup
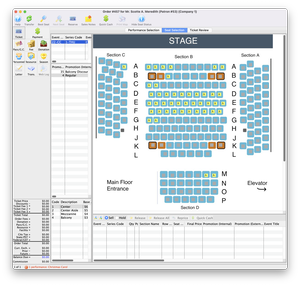
5. Select Seats
- On the price map, click and drag the mouse over the desired seats. (See seat selection in detail for more information.)
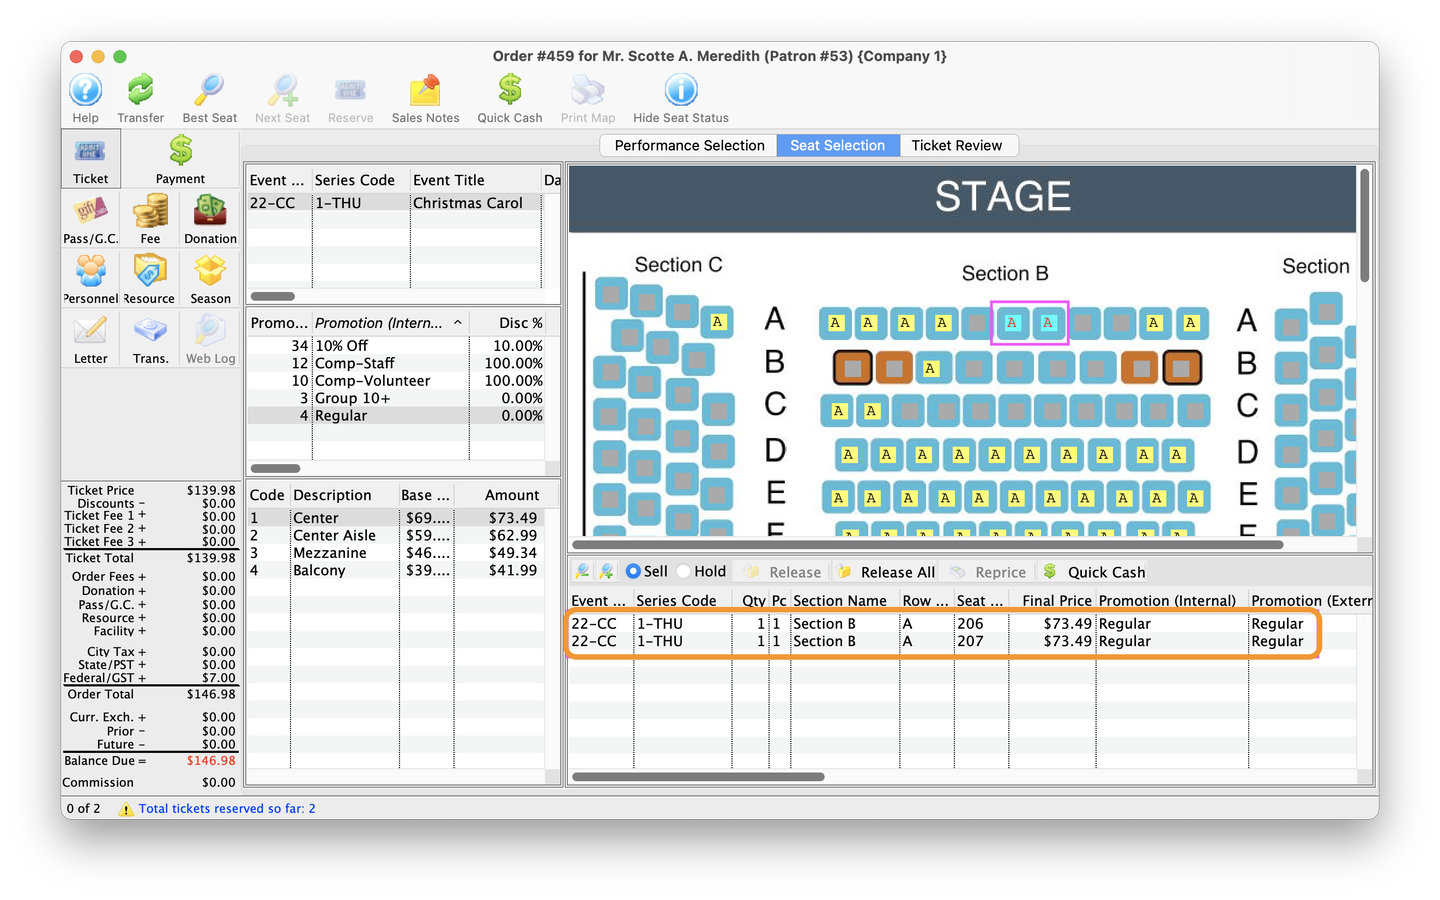
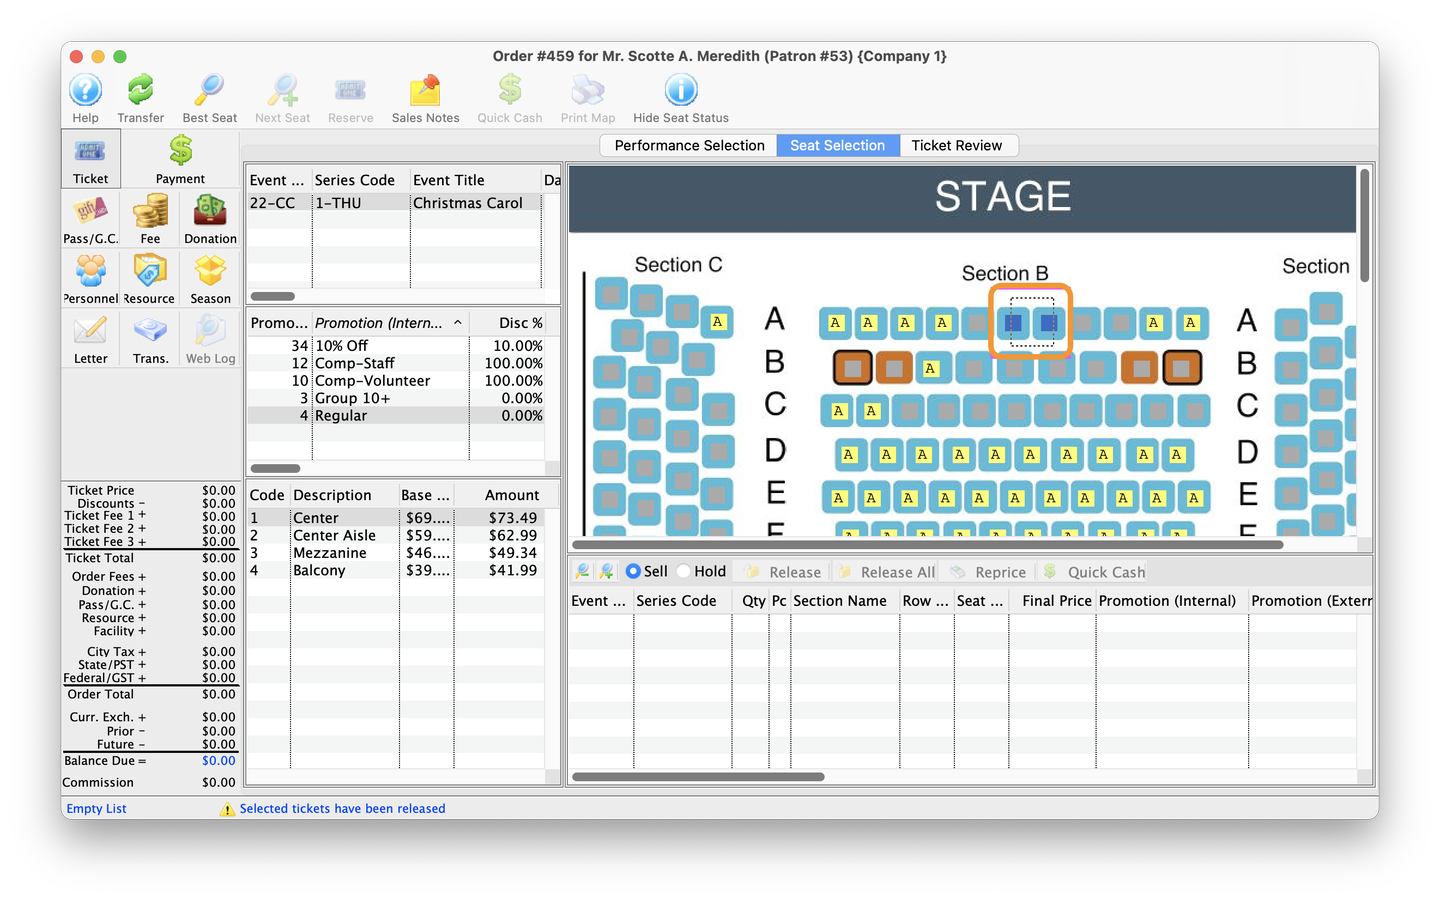
5. Confirm Ticket Price and Location
- When the mouse is released after clicking and dragging over the desired seats, they will now appear in the ticket summary basket below the price map
- The selected seats will now display a different colour and letter on the price map. This indicates they have been reserved for the current order
- This is the best time to confirm details of the order with the patron before proceeding with payment. (See ticket review selection in detail for more information.)
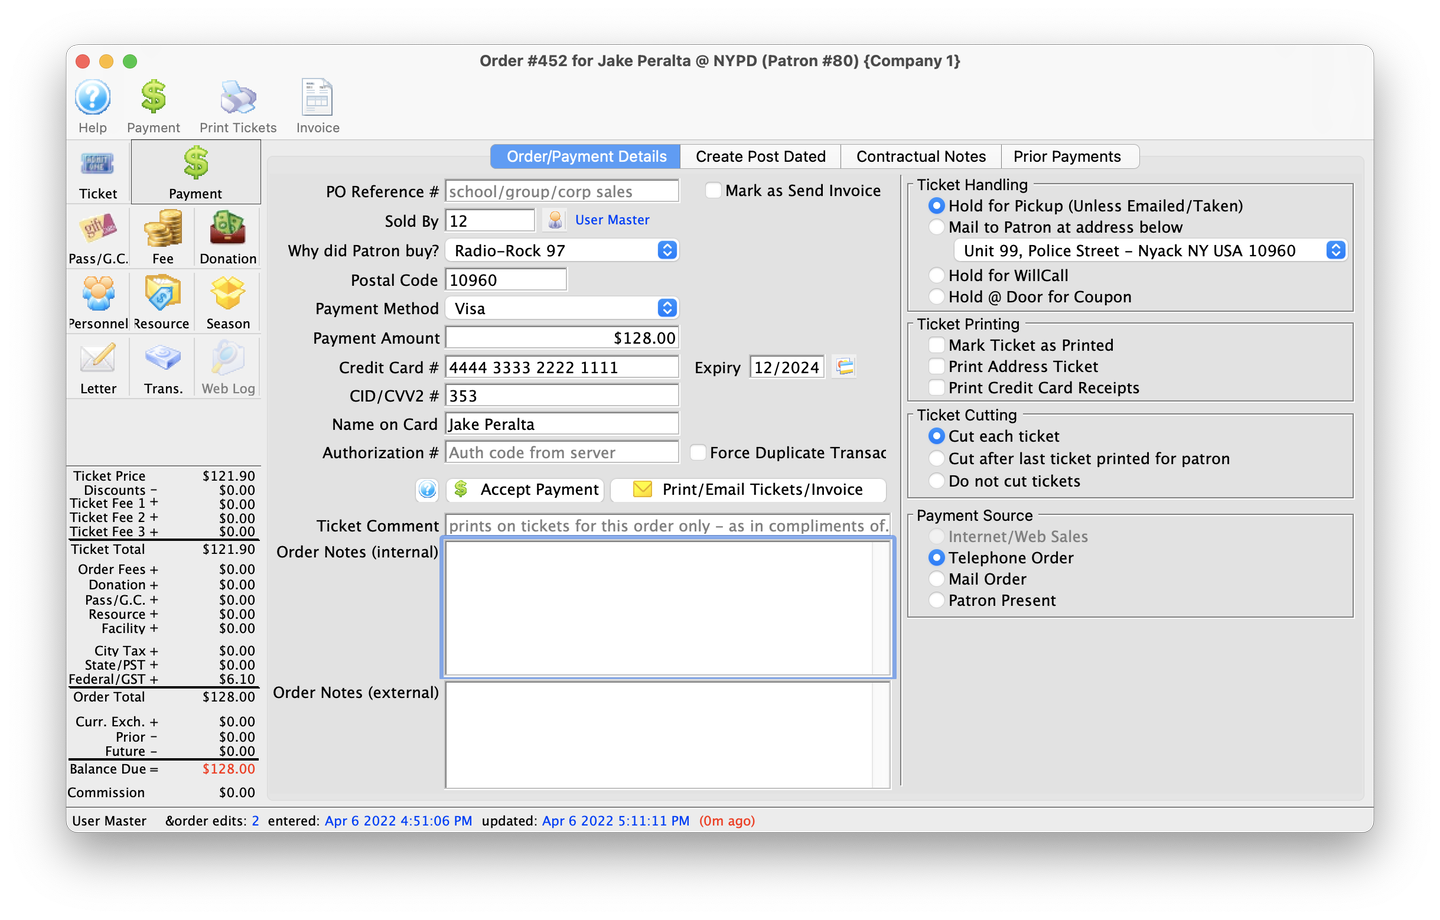
6. Pay For The Tickets
- Click the Payment button and fill out the applicable fields depending on the payment method. When done, click Accept Payment to complete the sale.