In order to determine the Best Seats, Theatre Manager can use a two-pass system. This two-pass system can protect seats for a second pass. This is particularly helpful in a dinner theatre setting where two seats to each table want to be sold before additional seats to the table are sold. Please click the link above for more information on this advanced topic.
Click here to learn more.
1. Ensure all seats are in logical sequence.
2. Click the Seat Names
 tab.
tab.
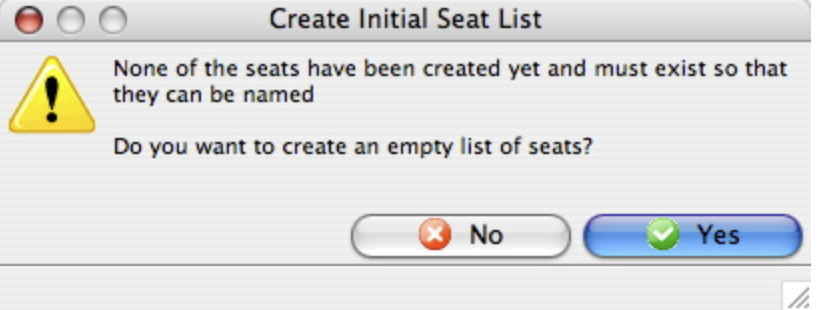
3. The Initial Seat Setup confirmation window will appear.
4. Click the Yes
 button.
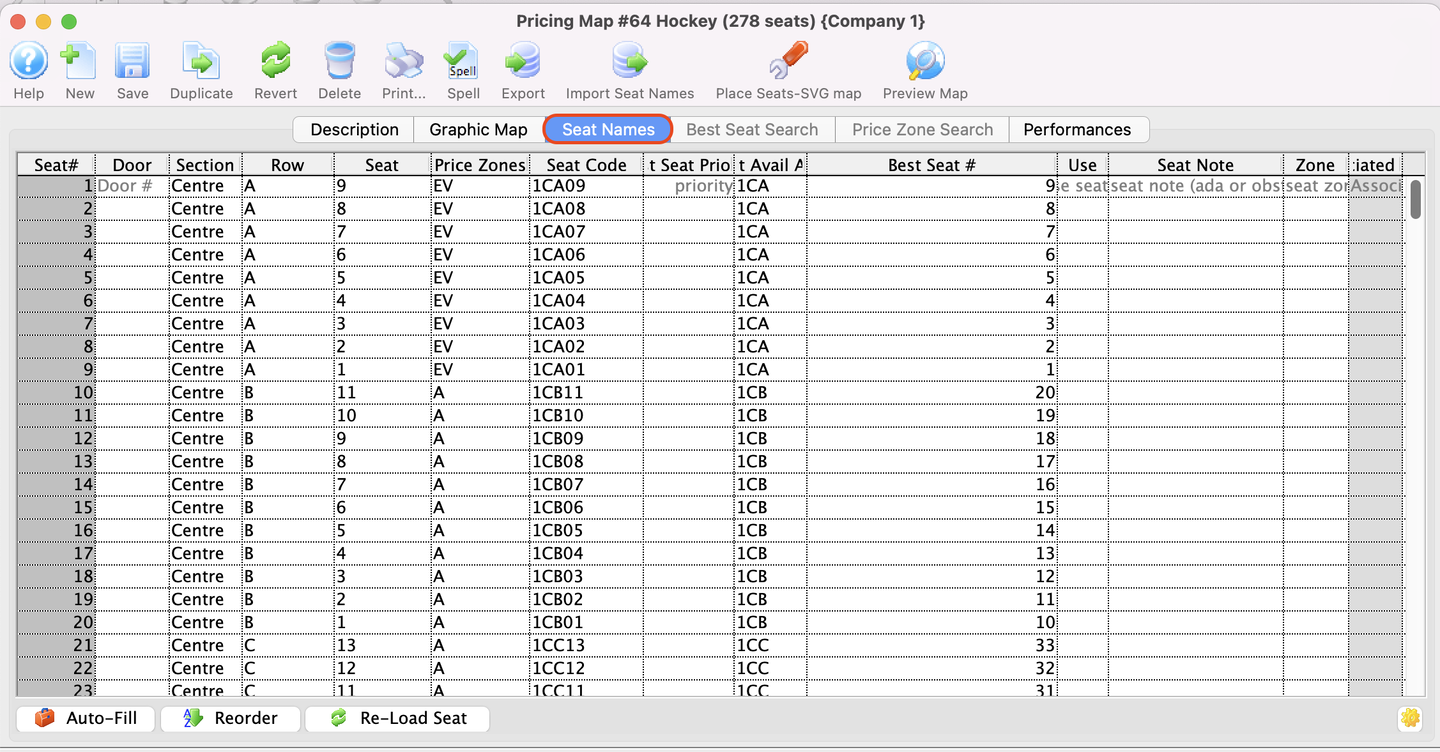
The Seat Names window will populate.
5. There are two options for inputting seat names:
a) Export the data out of Theatre Manager to a file and open the data in a spreadsheet program such as Microsoft Excel, edit and save the document in a tab-delimited format and import them back into Theatre Manager.
b) Click into each field in Theatre Manager and enter the data manually. Theatre Manager will assist in populating some of the data using predefined equations.
We recommend using Excel, as it is the easiest method of naming the seats.
6. Enter values for Section, Row and Seat Code.
- Change the values of these fields to something meaningful to the theatre.
7. Indicate which price codes are valid for the seat.
- If the seat is in the front row, then a balcony price code would not be valid.
8. Enter the Best Available Area and Best Available #.
-
Theatre Manager will use the area and number to create a sequential order from which to decide what the best available seats are. Have the best seats (or the seats to sell first) in a higher (ie. A-D) alphabetical area. The seat numbers are used for the system to decide on how many seats are available in an area.
-
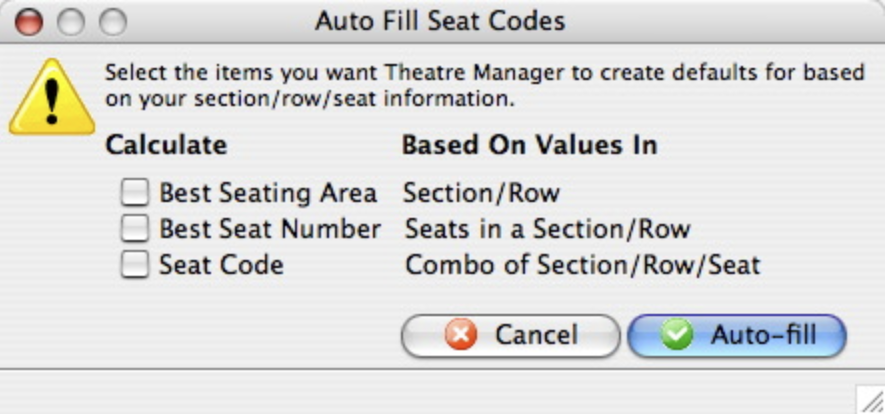
If entering names manually in Theatre Manager, the Auto-Fill
 button can be used to assign the best seating area, best seat number and the seat code.
9. Repeat the above steps until all data for all the logical seats are entered for the venue.
10. Click the Save
 button.
-
All seats must be named before the data can be saved.
-
Return to the Graphic map tab and hold the mouse over seats at random. Double check the seat location is correct and that each seat is named properly.
A few handy tricks when naming seats: Top
As mentioned, using Excel or other spreadsheet will speed the process considerably Use formulas where possible to fill the columns. While this website and Arts Management Systems aren't intended to train you in the use of spreadsheet programs, there are a few formulas that can be employed fairly easily.
-
For the Section, Row and Price Code columns, use the formula =B1 in the B2 cell, then copy that all the way down. Now, the field will populate with whatever was in the cell above it. As the Section changes, at the logical seat number, simply enter the new Section name once, and all values below it will change as well.
-
For the Seat column, change the formula to =D2+1 so that each entry will increment the seat number by 1. then copy this formula all the way down this column.
-
For the Seat Code column, use the formula =B2&C2&D2 to bring together the Section, Row and Seat into one combined formula. Then copy this formula all the way down this column.
If you use formulas in any of the fields, you will need to Copy/Paste Special when you are done so that the formulas turn into values. For more on Copy/Paste Special, please see the help section of your spreadsheet program.
STOP
If you change a venue map, when there are events already on sale, you MUST verify the seats on each performance to re-index the new name to the seat in the event. Click here, for more information on verifying seats.