Holding Seats for a Performance Top
https://help.theatremanager.com/theatre-manager-online-help/holding-seats-performance
There are several situations that may call for holding seats within a Performance.
- There are promoter, artist, media or complimentary tickets negotiated within the contract
- The venue requires house seats to assist with potential issues arising the night of the show
- Sight lines prevent seats from being sold
- Space is needed in the venue for a sound board, lighting board or video equipment
- Seats in a particular section will be held and released based on demand or audience size
- Social distancing is required
The steps for holding seats within a Performance are outlined below:
Holding Seats
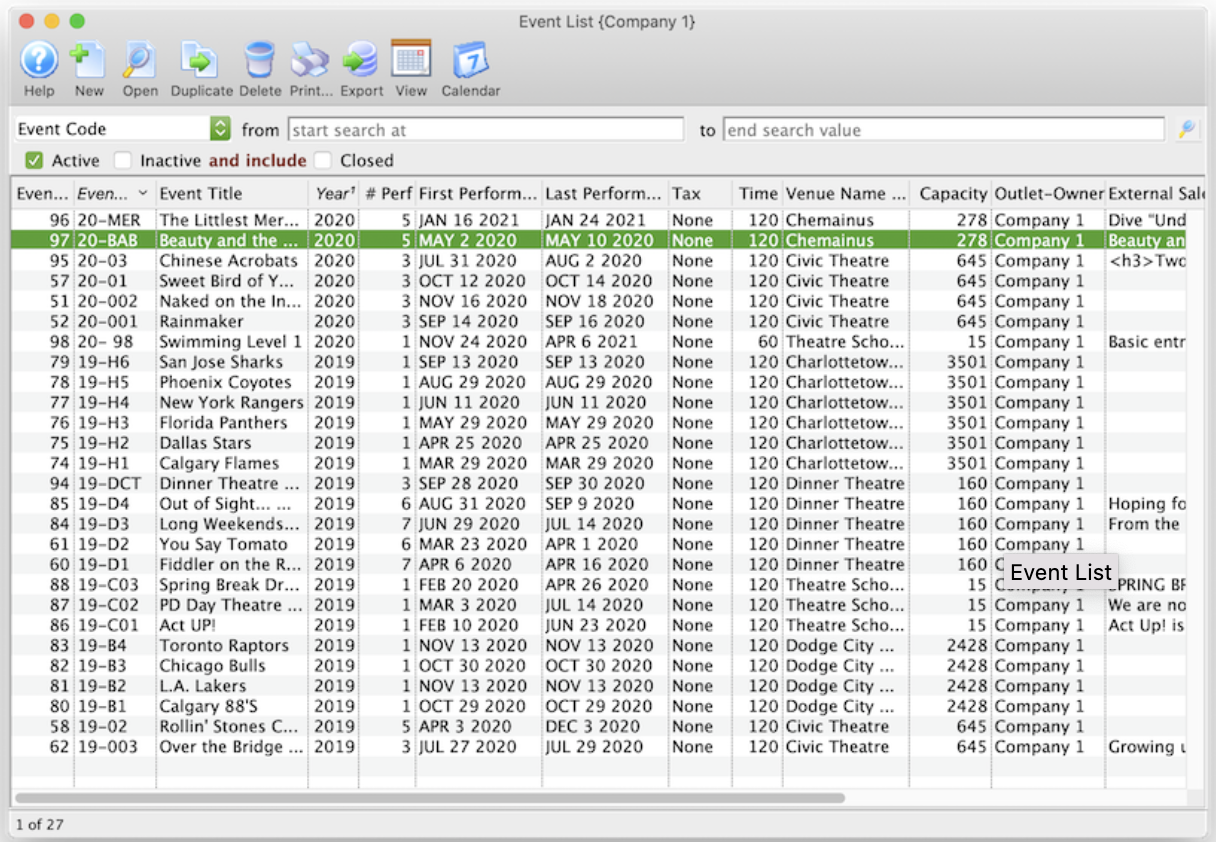
1. Find the event / play you want to hold seats for.
Click here to learn how to find an event / play.## Holding Seats in the Order Window
2. Open the event / play.
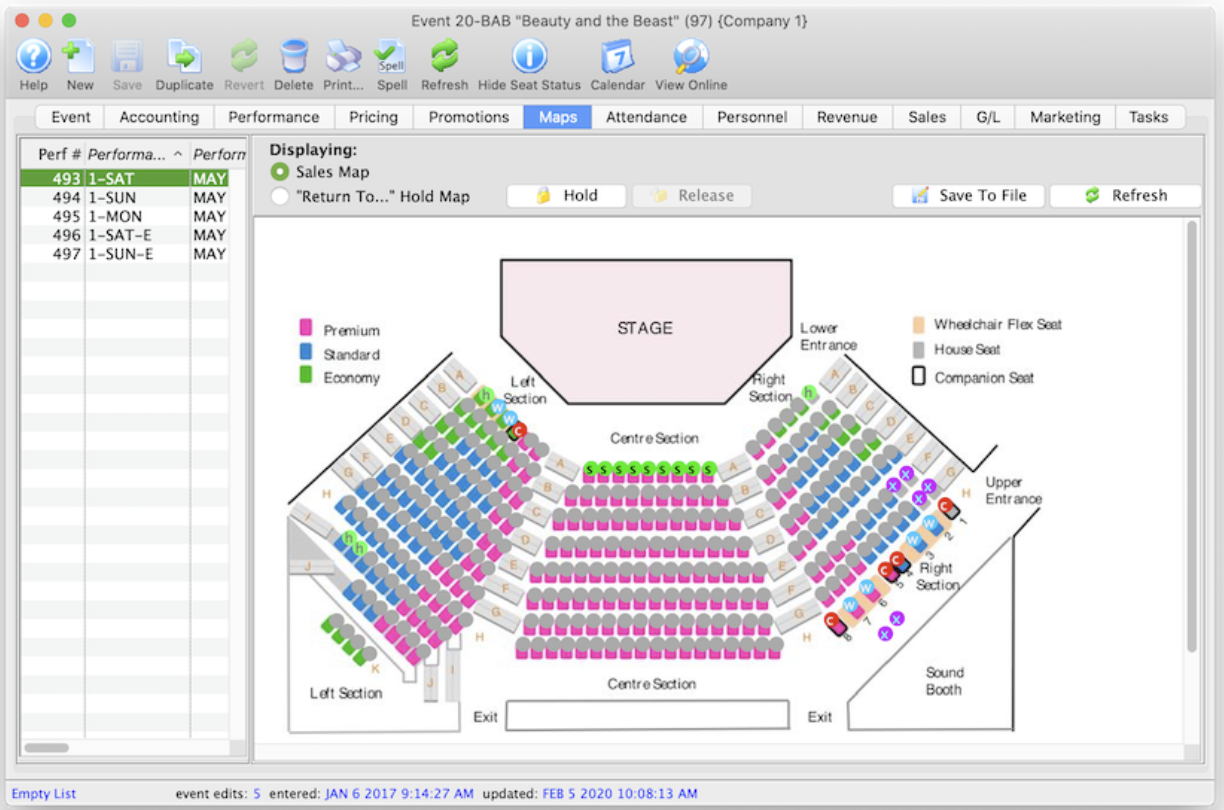

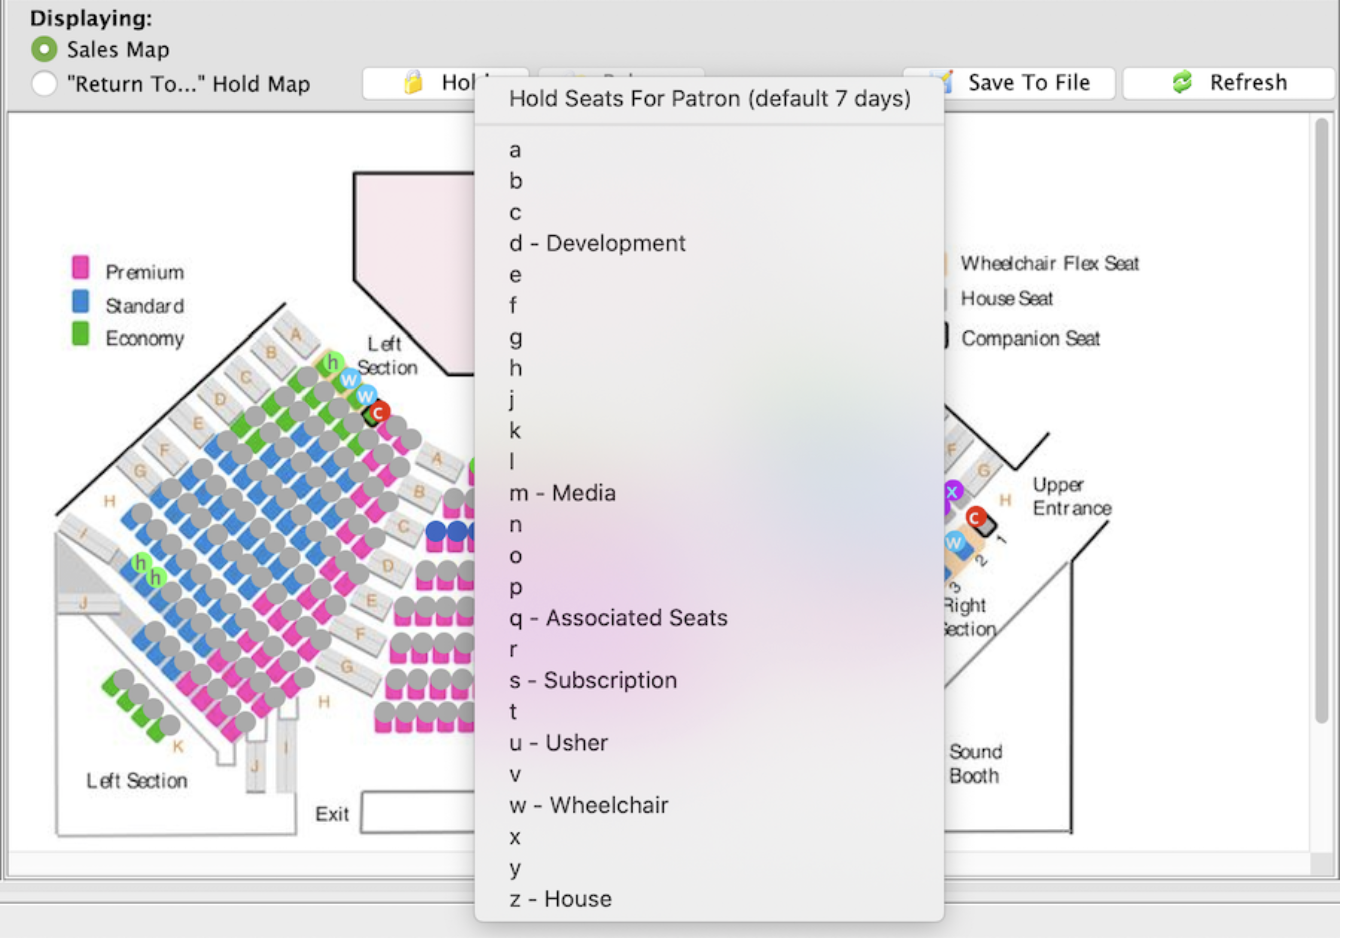
3. Select the Maps tab.

4. Highlight the Performance(s) on the left side of the window.
- Should you need to hold seats for multiple performances at a time simply select multiple date/times from the list on the left side of the window.
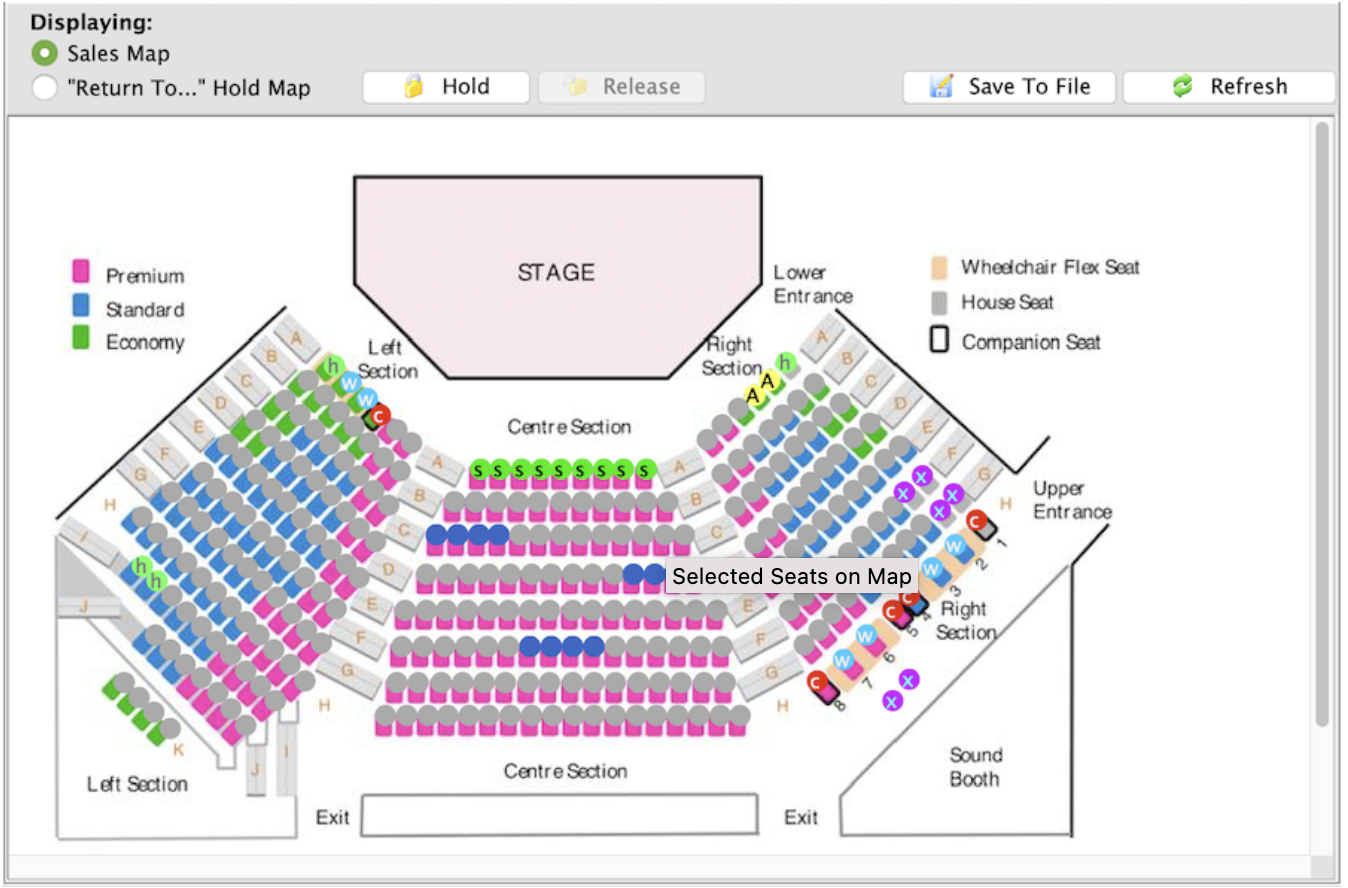

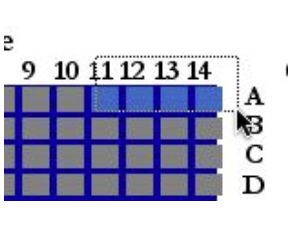
5.Select the seats to be held.
- Highlight the seats to be held by clicking and dragging the mouse over the seats. Multiple seats in different sections can be selected by holding down the Shift key on the keyboard. Selected seats will appear as a solid blue.
6. Click the Hold button above the map.
- Clicking the hold button will provide a menu of hold letters to choose from.
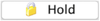

7.Select the desired hold letter.

- Once the hold letter is selected the seats will be held with that letter on the map for those performances selected on the left. All holds appear as lower case letters on the map. Changing the hold colour can be done in the Box Office tab of Systems Preferences by a Master User.
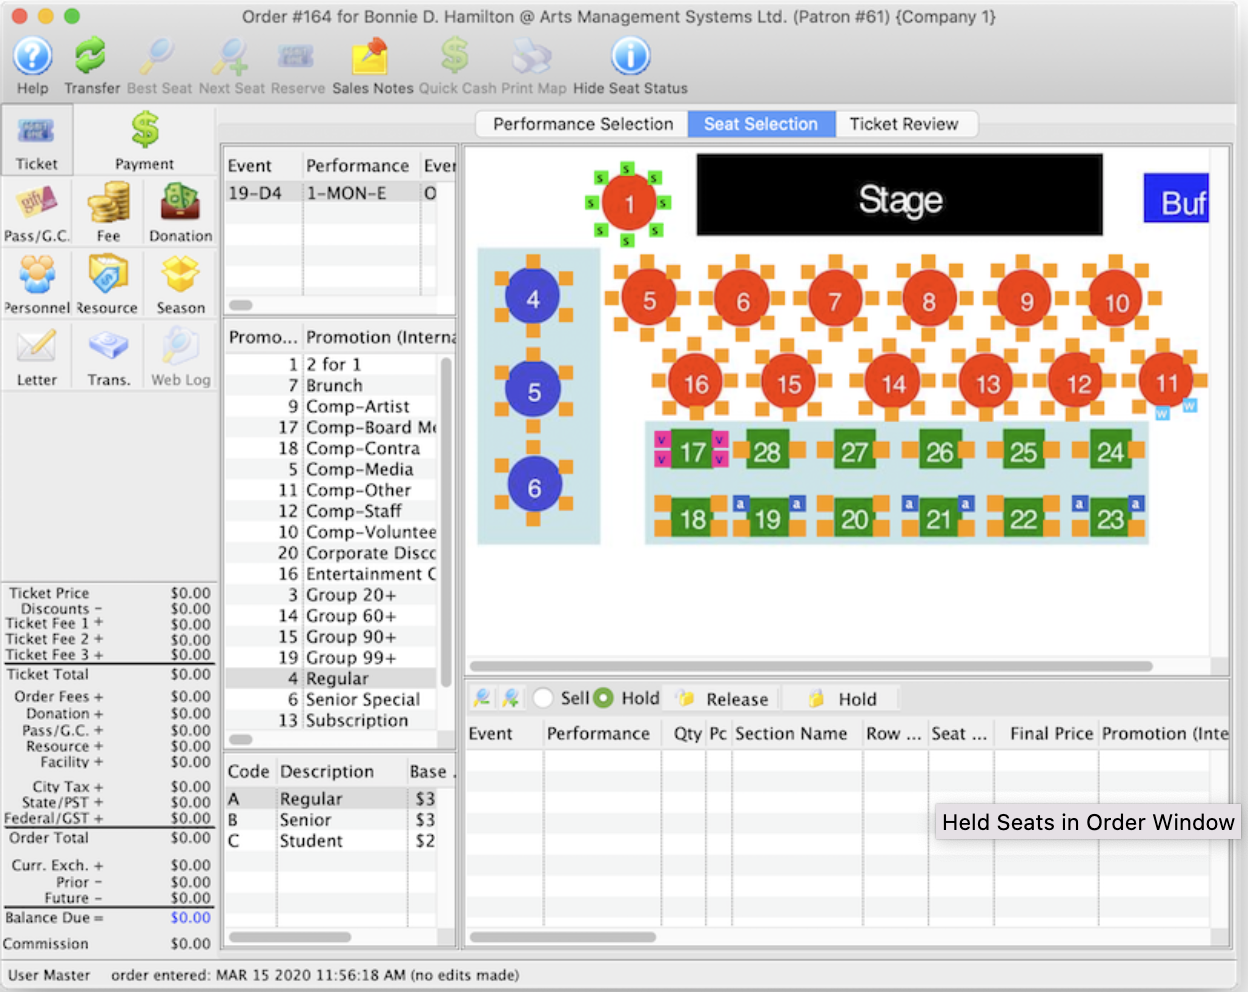
Holding Seats in the Order Window Top
1. Create a Buy List
-
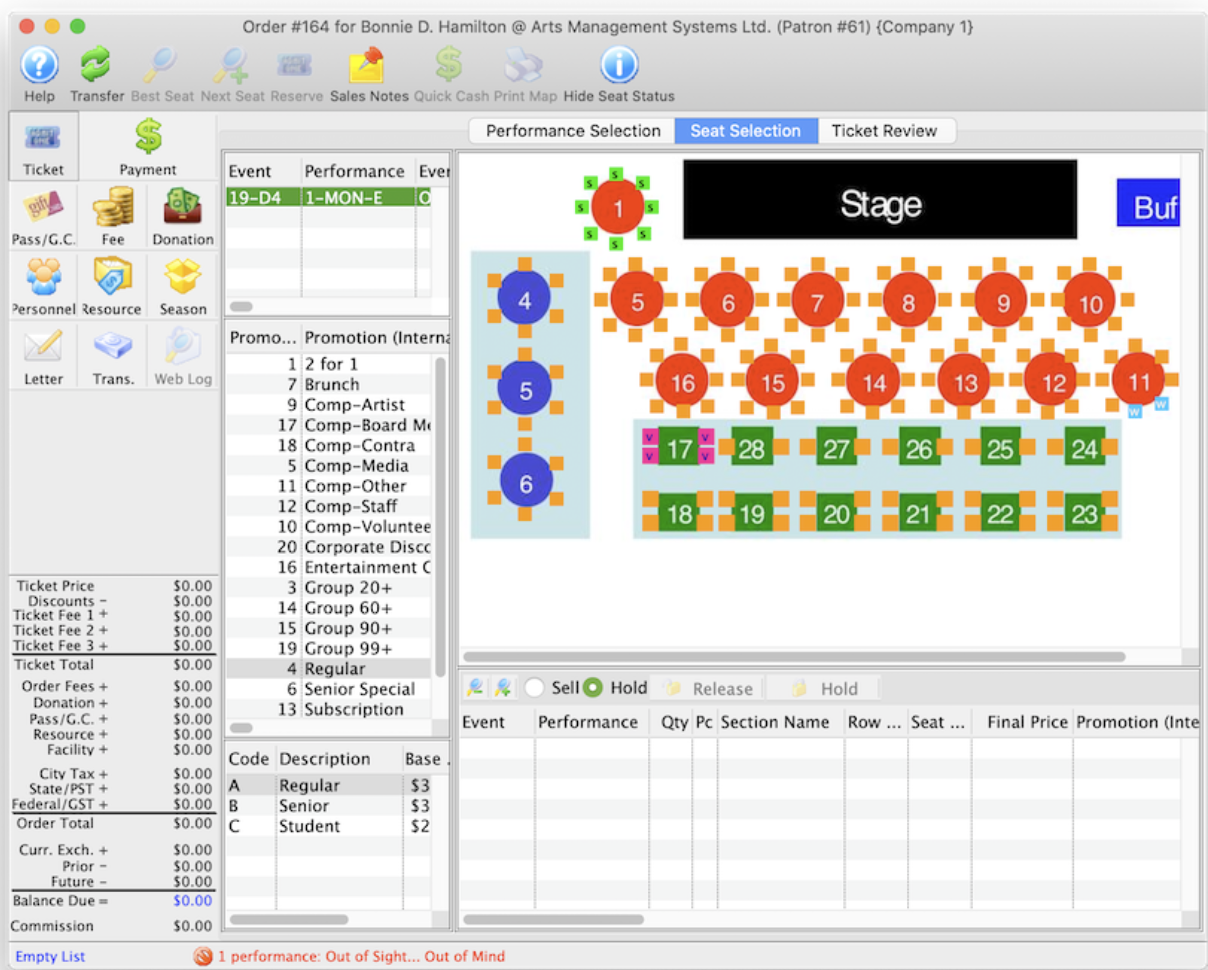
Click here to learn how to create a Buy List. Once the Buy List is complete click Seat Selection tab
 in the Orders window.
 -
Click here for a detailed description of this window and it's functions.
2. Select the Hold option located below the map and above the basket were purchased seats appear.

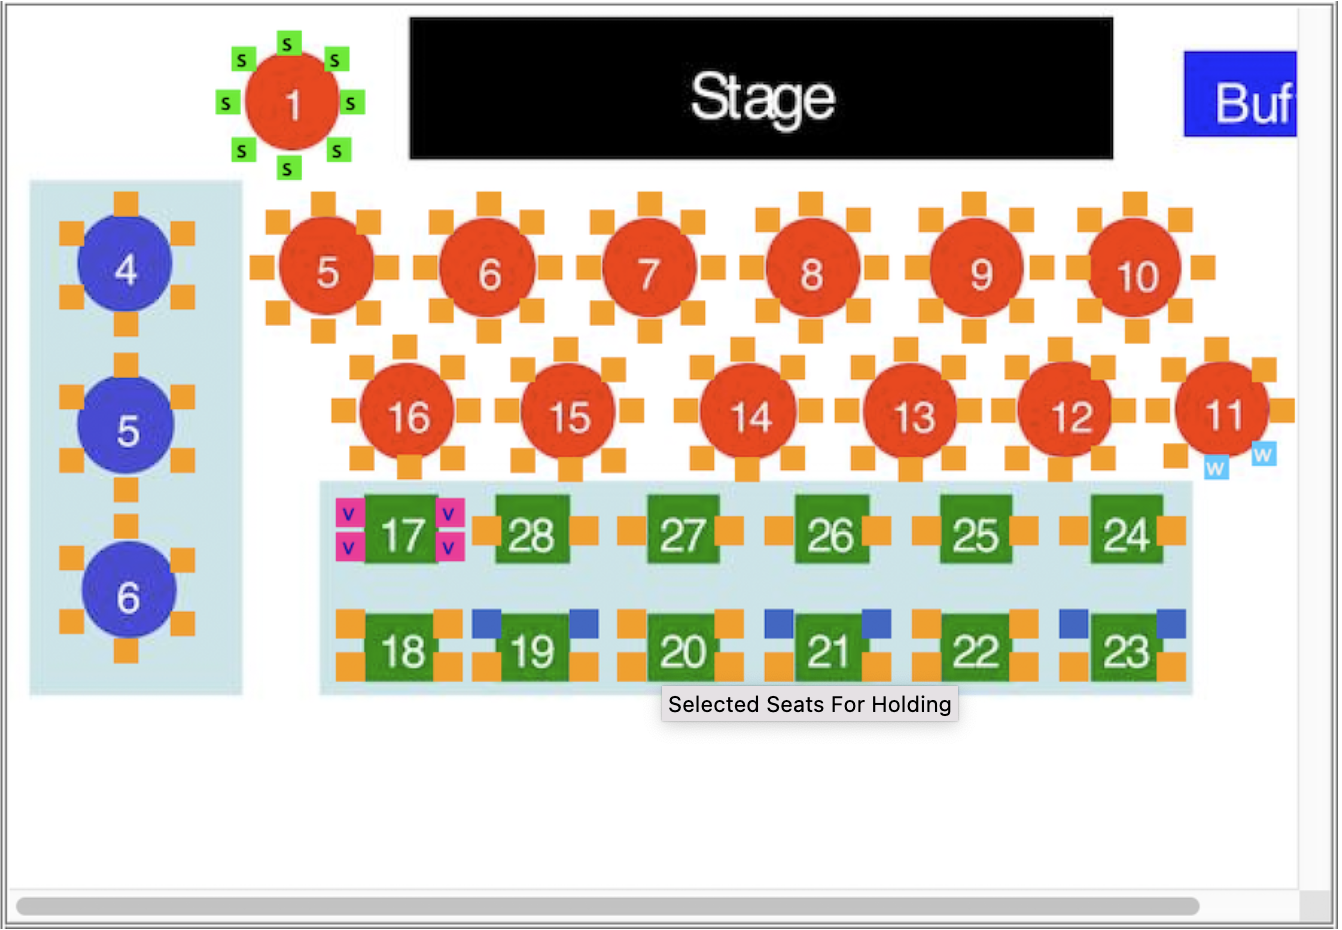
3. Select the seats to be held.
- Selected seats will appear as a solid blue. Multiple seats in different sections can be selected by holding down the Shift key on the keyboard.
4. Click the Hold button located to the right of the Hold option.
- Clicking the hold button will provide a menu of hold letters to choose from.
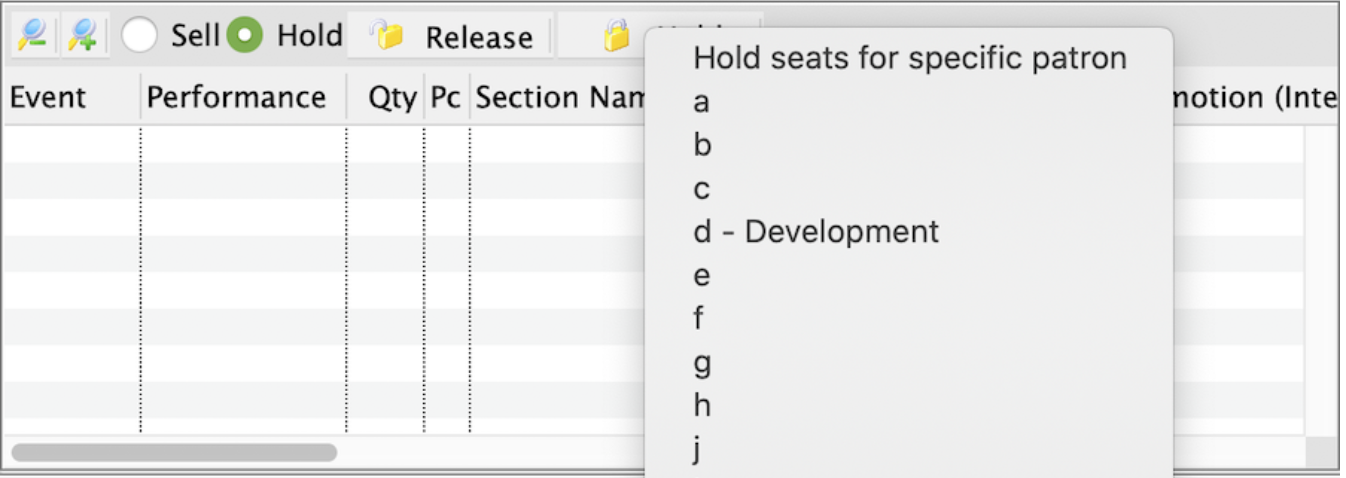
5. Select the desired hold letter.

Once the hold letter is selected the seats will be held with that letter on the map for those performances selected on the left. All holds appear as lower case letters on the map. Changing the hold colour can be done in the Box Office tab of Systems Preferences by a Master User.
Holding Seats for a Specific Patron Top
Any seat held for a specific patron will appear in their patron window on the ticket list - and you can book the seats from there.
Holding Seats While Selling Tickets
To hold seats for a specific patron, while you are selling tickets, you perform the following steps:
1. Create a Buy List
-
Click here to learn how to create a Buy List. Once the Buy List is complete click Seat Selection tab
in the Orders window. -
Click here for a detailed description of this window and it's functions.
2. Select the Hold option.
3. Select the seats to be held.
4.Press the Hold

- This will open an additional window letting the user set the parameters of the hold.
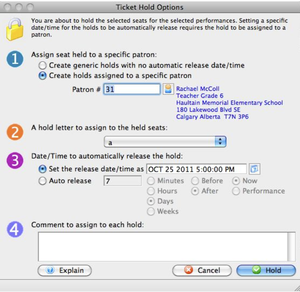
5. Step 1 - Enter information about the hold.
- A choice between a generic hold and a hold for a specfic patron can be entered.
6. Step 2 - Choose a hold letter to use.
- Often the Box Office will have a predetermined hold letter used for all patron holds for users to be able to quickly reference the graphic map.
7. Step 3 - Set the criteria in regards to the release of the hold.
- A date and time can be set to auto-release the hold.
8. Step 4 - Assign any comments to the hold.
- Comments will appear in the tooltip when the mouse is hovered over the held seat.
Freeing Seats While Selling Tickets
1. Create a Buy List
-
Click here to learn how to create a Buy List. Once the Buy List is complete click Seat Selection tab
in the Orders window. -
Click here for a detailed description of this window and it's functions.
2. Select the held seats to free.
- To sell the held seats, hold
(Windows) or
3. The seats will now appear in the shopping cart.
- The seats are now available to be sold. If the seats are released, the seats will not return to their previous hold status.
Festival Seating - Holding and Releasing Seats Top
Seats can be held on a performance basis (or group of performances). We recommend using this feature as an alternative to selling the seats to a specified house account.
To hold seats for festival seating, you perform the following steps:
1. Open the Play Setup Window.
2. Find the play you wish to release tickets for.
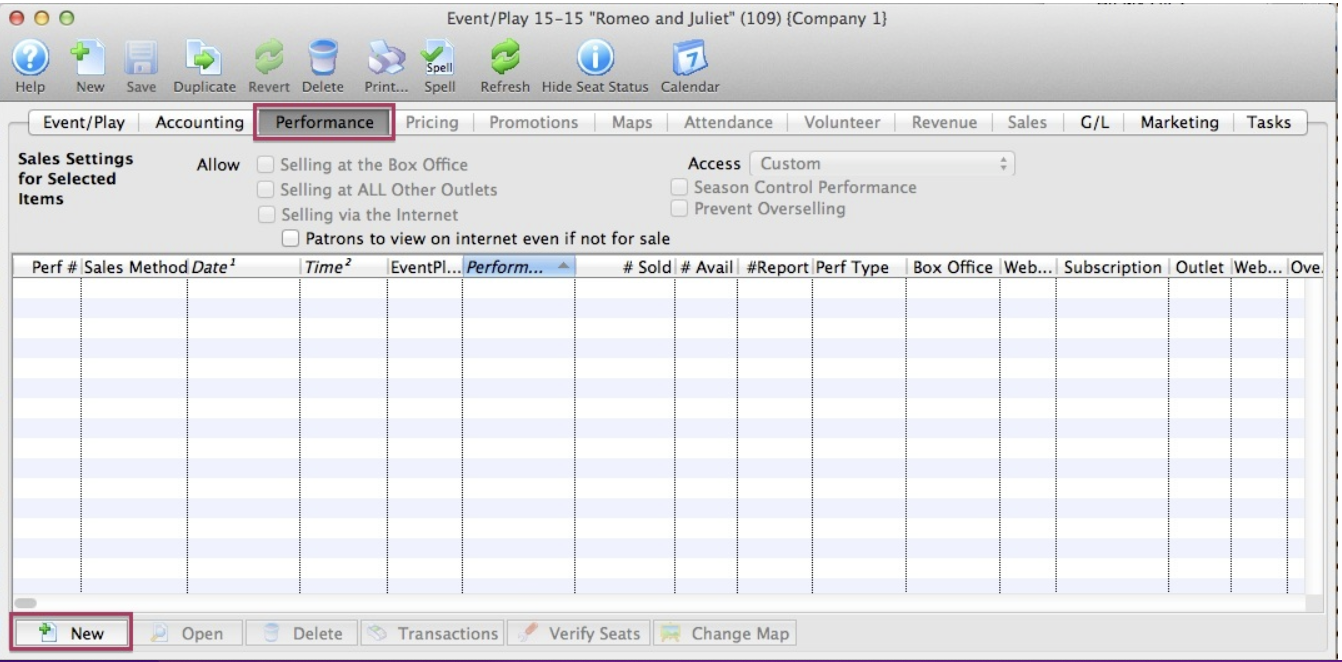
3. Select the Performance Tab.
4. Select the performance(s) you wish to hold tickets for and Add
 the setup window.
5. On the right side, enter the number of seats that you wish to hold.
6. Click the Save
 button at the top of the window and then close the window.
Releasing Held Seats in a Festival Seating Performance
1. Open the Play Setup Window.
2. Find the play you wish to release tickets for.
3. Select the Performance Tab.
4. Select the performance(s) you wish to release tickets for and Add
the setup window.
5. On the right side, reduce the number of seats that are held by the amount that you wish to release.
6.Click the Save
button at the top of the window and then close the window.
Holding Seats in a Venue Map Top
https://help.theatremanager.com/theatre-manager-help/Holding-Releasing-Seats-Reserved-Seating
Seats can be held in venue map and are applied to events built using that map. The steps below outline how to hold seats in a venue map:
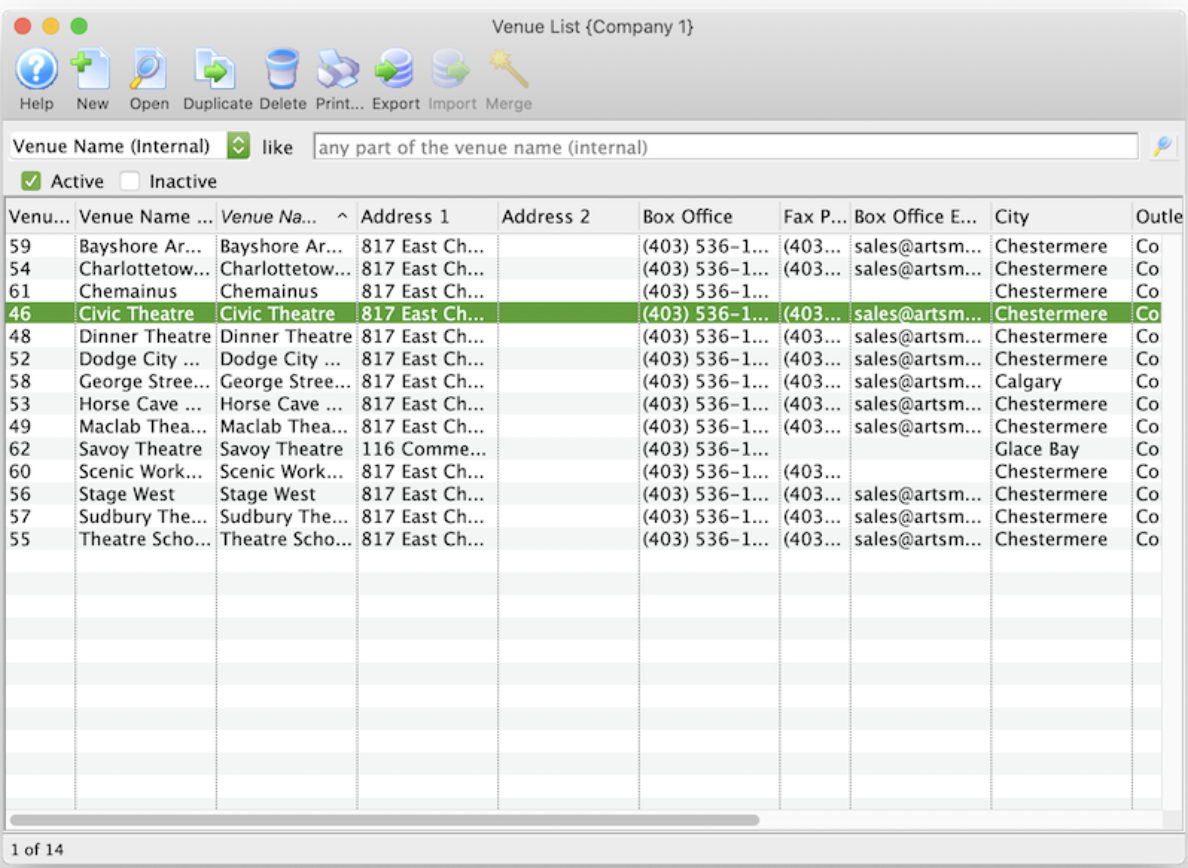
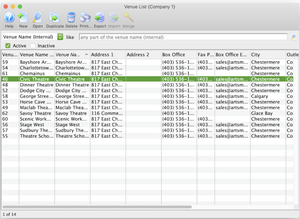
1. Locate and open the Venue.
- For details on how to locate a venue please click here. To open a venue select it from the list and click the Open button at the top of the window or double click on the venue in the list.

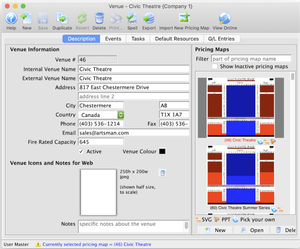
2. Open the desired Map.
- Locate the map in the right column. Select the map and click the Open button at the bottom of the list or double click on it to open the map.
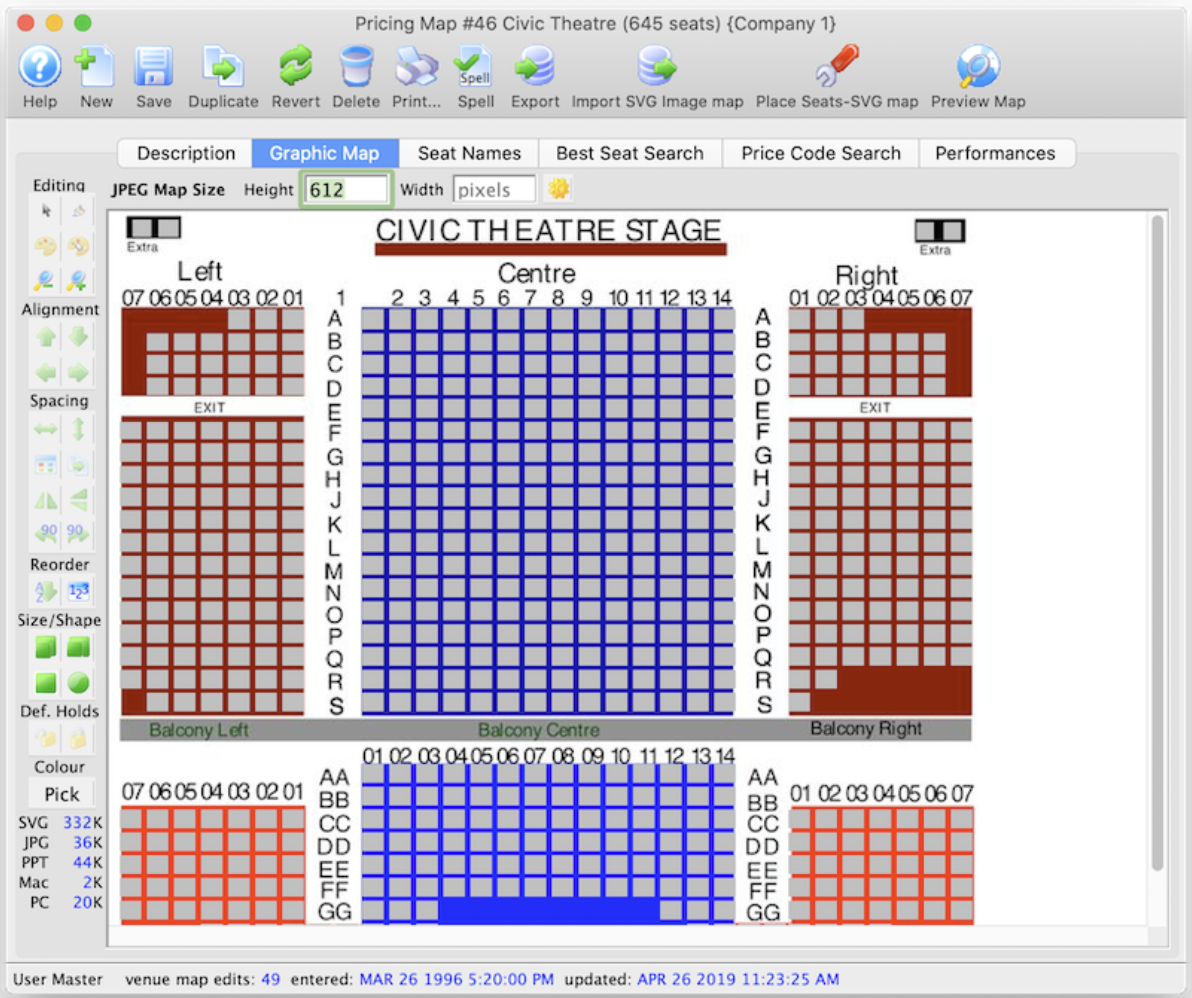

3. Select the Graphic Map tab.
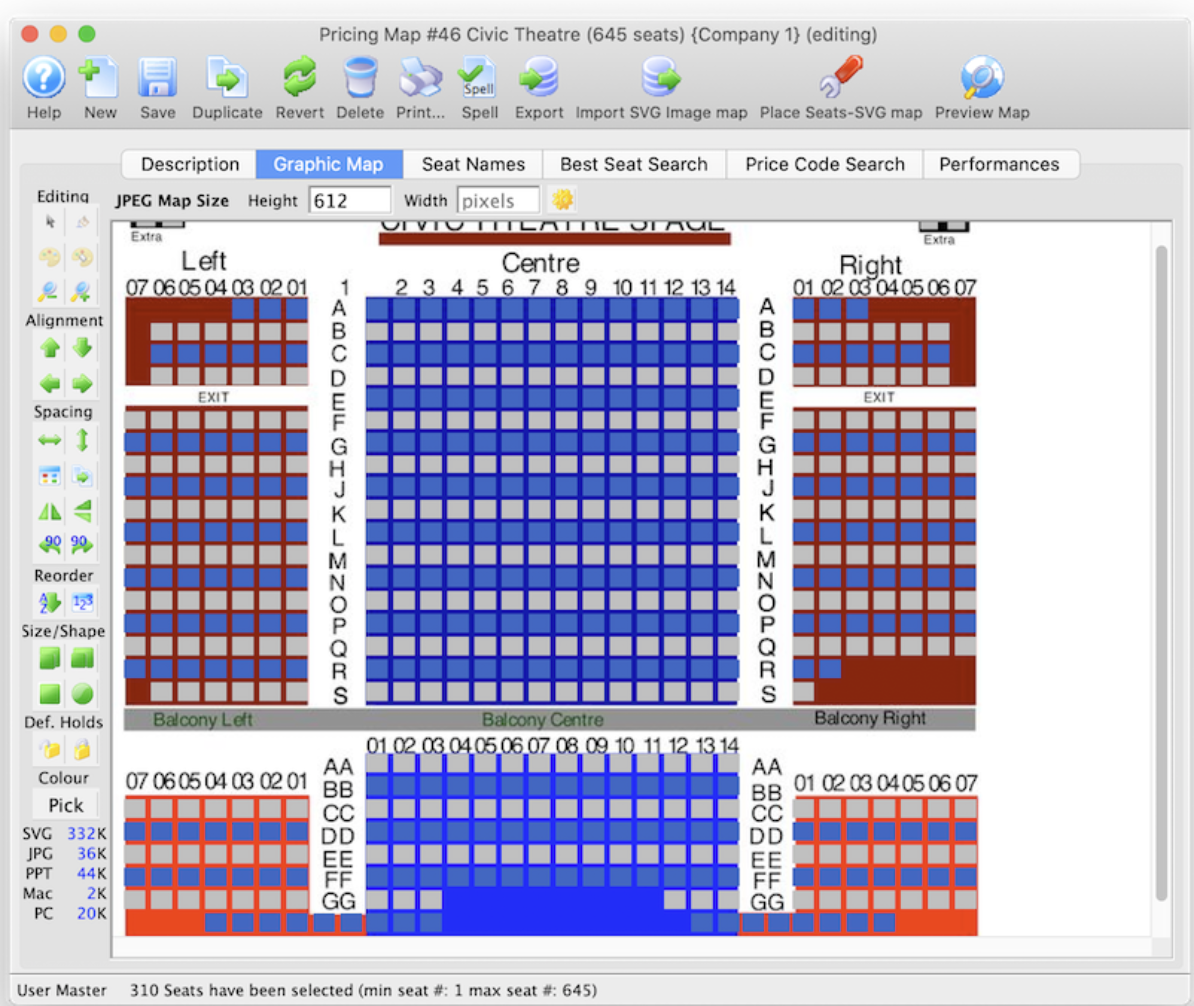

4. Highlight the seats to be held.
- Highlight the seats to be held by clicking and dragging the mouse over the seats. Multiple seats in different sections can be selected by holding down the Shift key on the keyboard. Selected seats will appear as a solid blue.
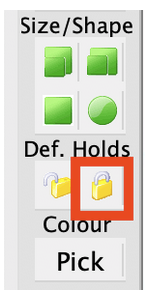
5. Click the Lock to hold the seats.
- The hold seats lock is located on the left side of the Graphic Map tab. The button may be below the default window size. Resize the window to see this option.
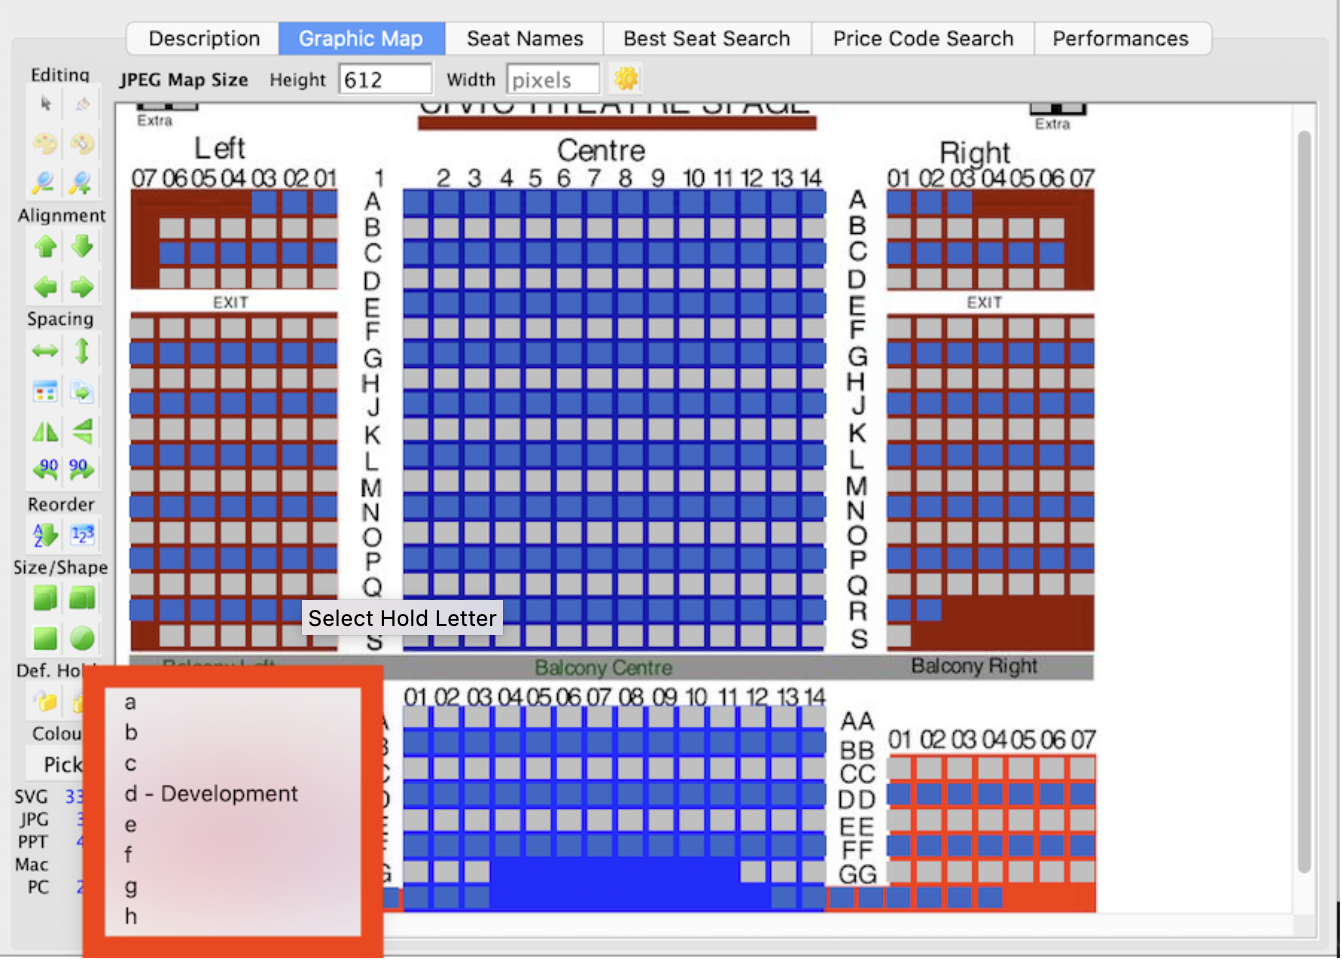
6. Choose the desired hold letter.
- Pick a hold letter to be applied to the selected seats.

- Once the hold letter is selected the seats will be held with that letter on the map. All holds appear as lower case letters on the map. Changing the hold colour can be done in the Box Office tab of Systems Preferences by a Master User.