Print a Pass on a Ticket Face Top
Before printing a pass, you must have a ticket face based on Pass Data associated with the pass type on the Pass Setup Detail Window >> Description Tab.
Once a pass has been purchased, you can print it on ticket stock for a patron to take with them. Use the following steps:
Find and select the pass
- Locate your patron and open their Patron Detail Window >> Pass/G.C. Tab
- Use the filters in the lower right of the window to find the pass to be printed (All Passes and All Years will show all passes regardless of status and date)
- Single-click to select the pass
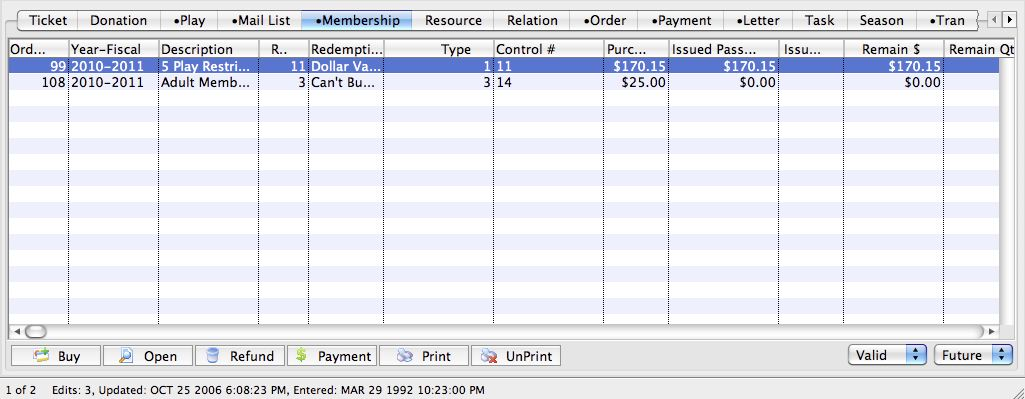

Print the pass
- Click the Print button
- Follow any popup promtps


The pass will be printed to the default printer set for the employee in Hardware Preferences.
To print an updated pass that has already been printed, you may need to first unprint it using the same steps as above with the Unprint button instead.
Print a Pass on a Letter Top
Before printing a pass, you must have a letter connected to Pass Data already merged with the pass.
Find and open the pass
- Locate your patron and open their Patron Detail Window >> Pass/G.C. Tab
- Use the filters in the lower right of the window to find the pass to be printed (All Passes and All Years will show all passes regardless of status and date)
- Double-click to open the pass


Review the appropriate attached document
- On the Pass Detail Window, go to the Letters Tab
- Find the correct merged letter
- If necessary, single-click and hit the Document button to open the letter and preview and/or edit its contents
- Close the Document Detail Window when you are ready
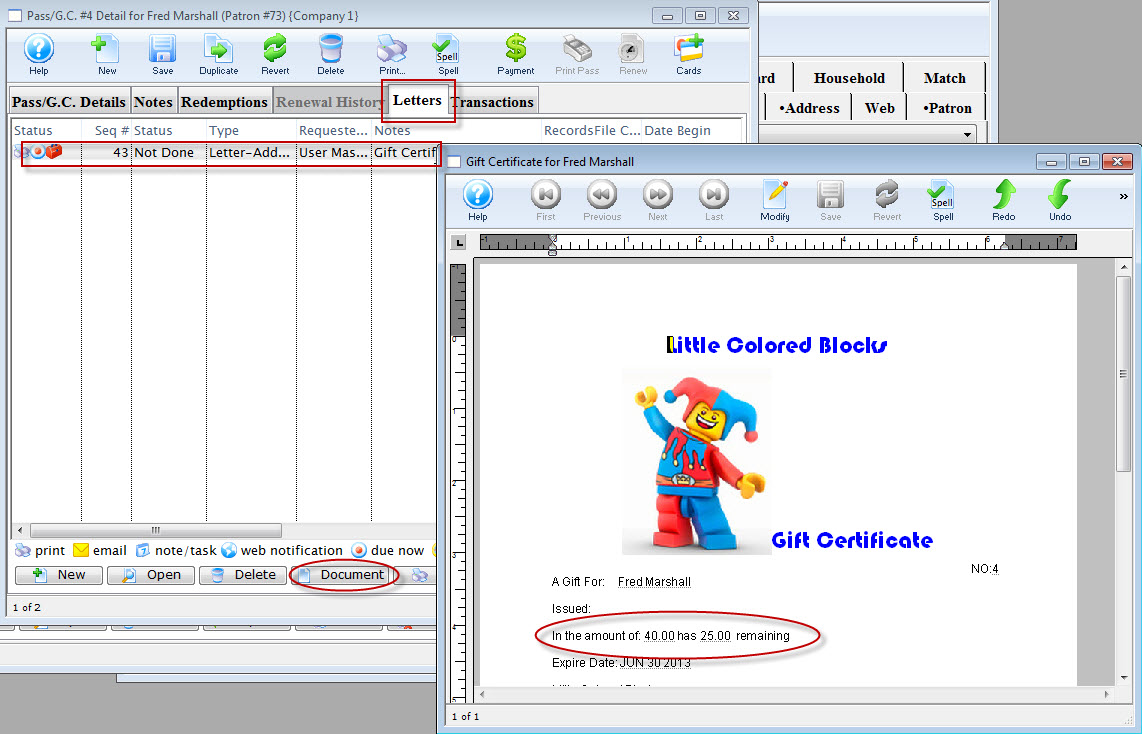

Print the selected document
- On the Letters Tab, make sure the letter is selected
- Click the Print Letter button
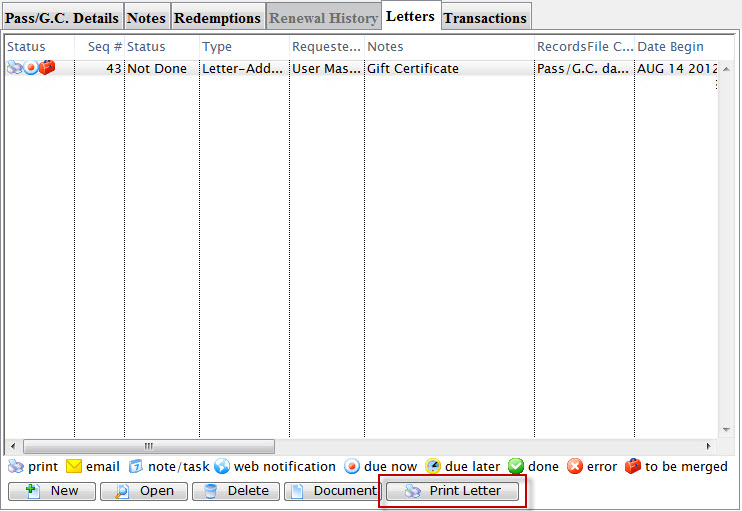

The merged letter will print as per the settings you select on your operating system's print dialogue window.
Batch Print Passes Top
Caution
Only passes with an associated ticket face based on Pass Data will be printed.
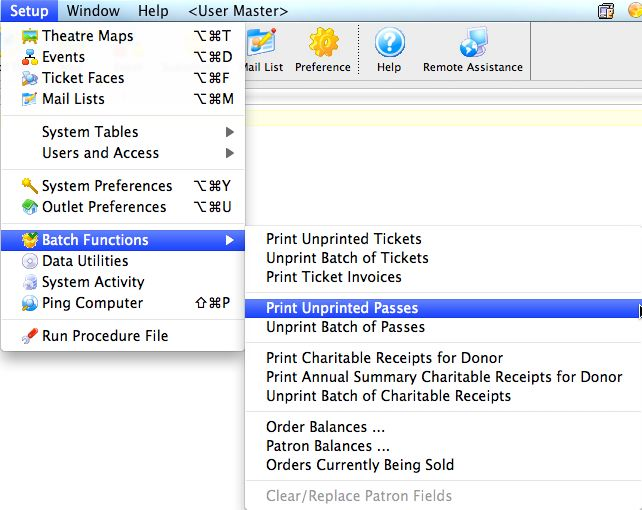
Open the print pass wizard
- Go to Setup >> Batch Functions >> Print Unprinted Passes

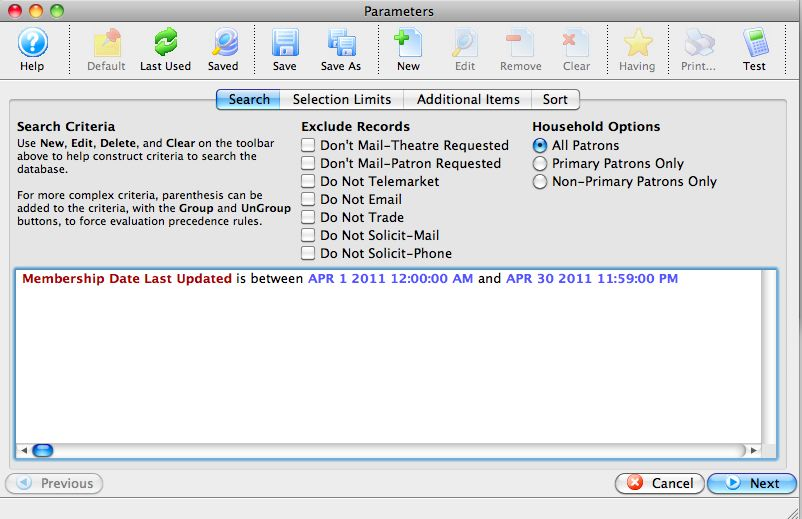
Enter search parameters
- On the Search Tab of the Print Pass Wizard, enter criteria to search for select passes (typically Membership Date Last Updated)
- Click Next to proceed to the next screen

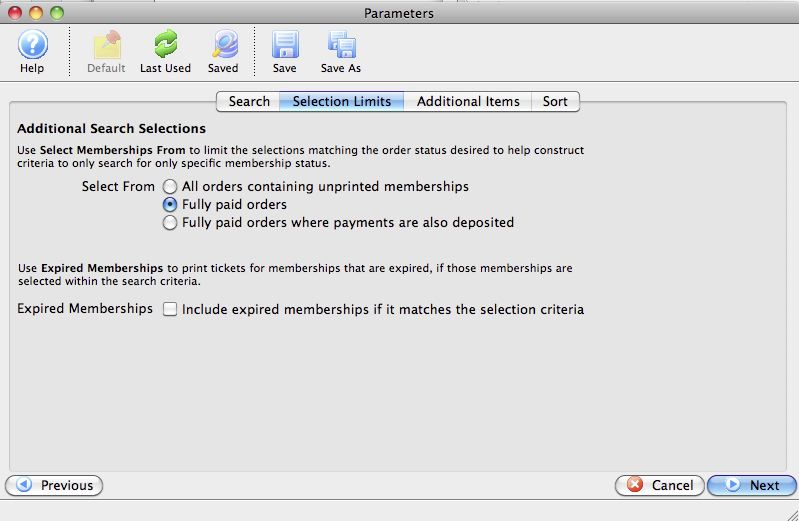
Choose the appropriate order balance criteria
- On the Selection Limits Tab, choose which type of order balance should be required as additional criteria to your search
- Click Next to proceed

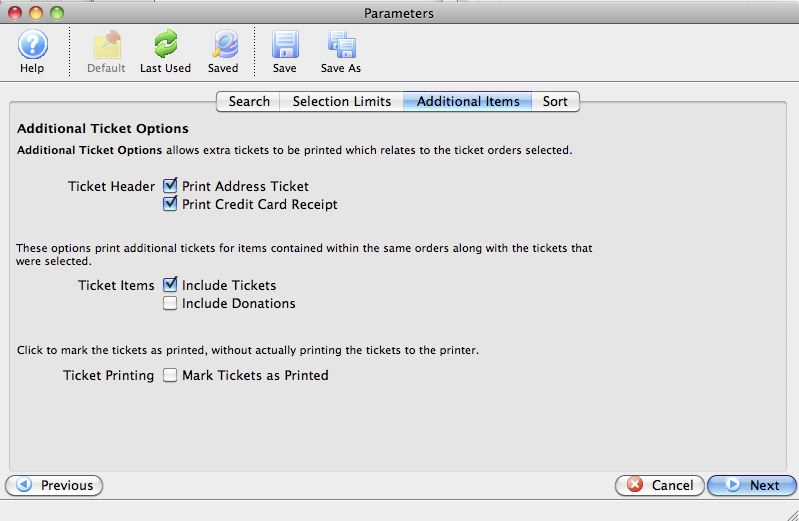
Select which additional items to print
- On the Additional Items Tab, check which items to print with your passes
- Click Next to proceed

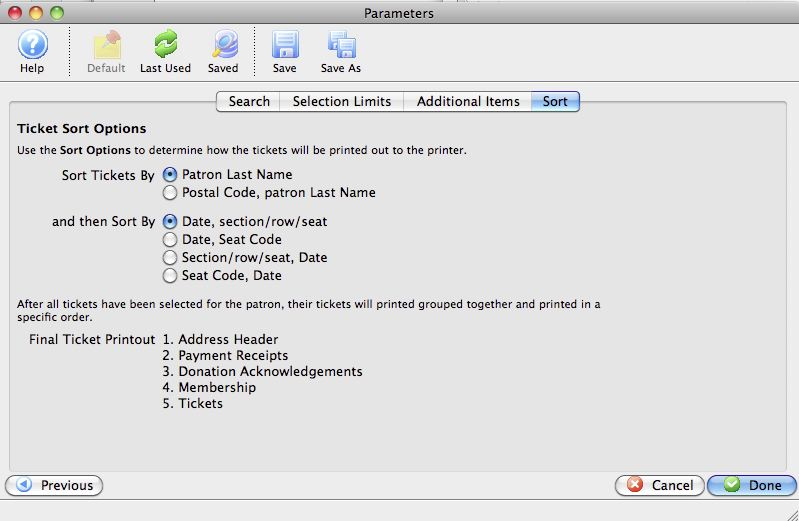
Pick the sort option
- On the Sort Tab, select the first and second sort items for the final printout
- Click the Done button to close the Parameter Window

Select how to print the passes
- On the Batch Print Screen, which displays the count of passes (and other items) pulled from the selection parameters you just entered, decide which Ticket Butting Option you want
- Click Start Printing to close the window and start the printing process
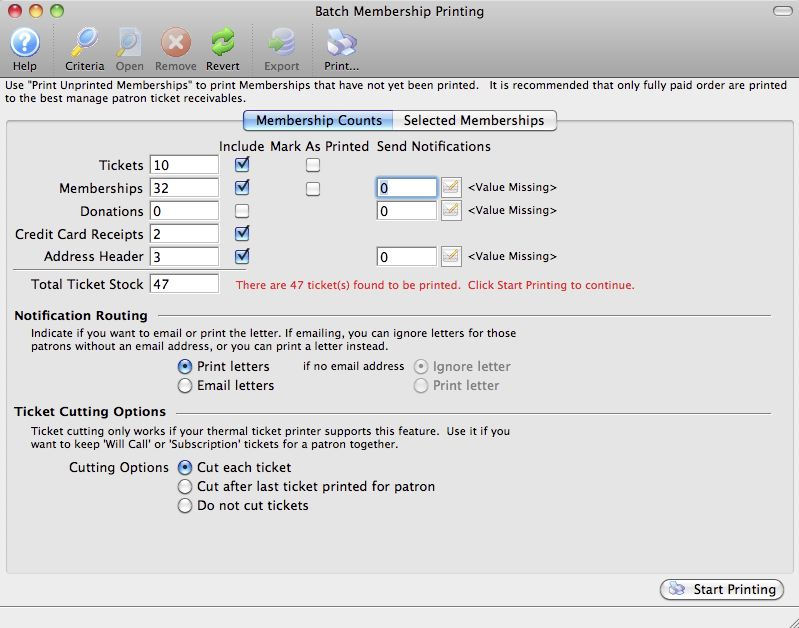

The passes (and any other selected items) will begin printing to the printer selected on the user's Hardware Preferences.
Batch Unprint Passes Top
To unprint multiple passes at one time, use the following steps:
Open the batch unprint feature
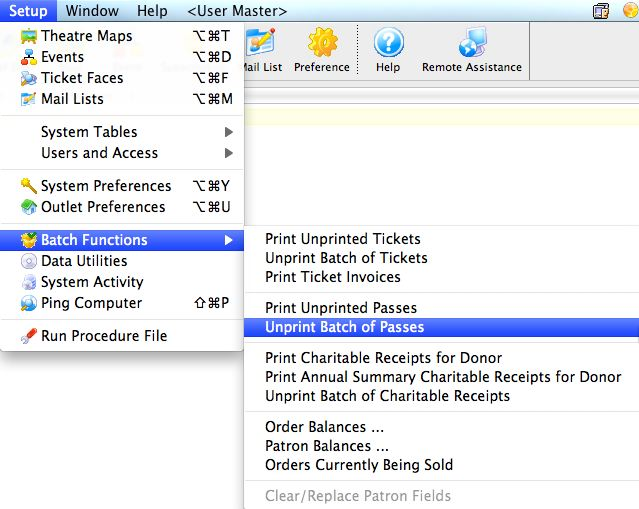
- Go to Setup >> Batch Functions >> Unprint Batch of Passes

Enter search parameters
- On the Printed Pass List Window, select a search field from the dropdown (typically Date Printed)
- Enter a search range appropriate to the selected search field


Start the search
- Click the search icon to process the search


Find and select the passes to be unprinted
- Sort and review the results of the search
- Single-click to select the appropriate passes to be unprinted (to select non-contiguous items, Control-click on a Windows or Option-click on a Mac)


Unprint the selected passes
- Click the Unprint button


The printed flag on the selected passes has been changed to unprinted and they can now be added to a new print batch.