Patron Address Top
A patron's name and address can be exported to a spreadsheet through the steps below. (Exporting multiple patrons names and addresses at one time can be done via a similar process from the Contact List).
Open the Patron Window for your employee patron record and navigate to the Address Tab. Single-click to select one or more addresses. Right-click (control-click on a Mac) to open the context menu.
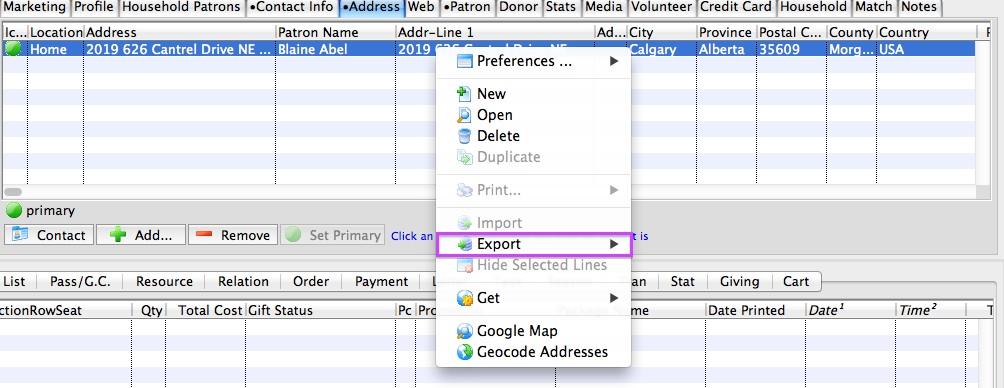
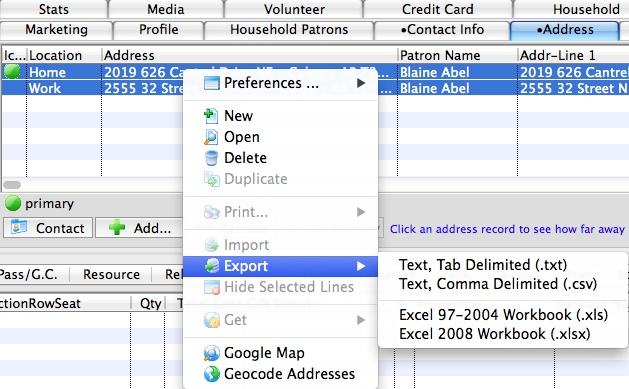
Select the Export option and mouse over the submenu to select the output format of your choice. In this image, we have selected the Text, Tab Delimited (.txt) option.
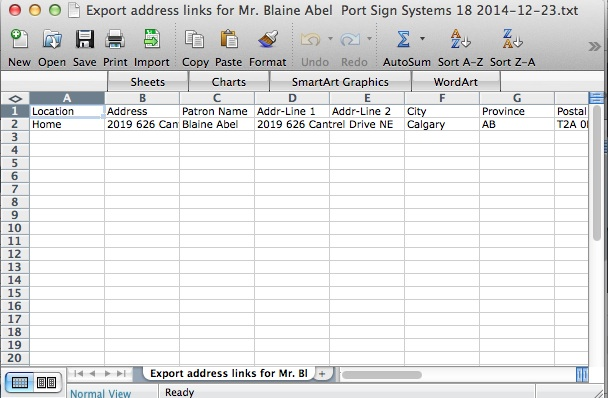
Follow the prompts from your computer system to set a file name and location. Open the exported file in a designated spreadsheet program like Excel.
Season Tickets Top
The following tutorial assumes basic familiarity with creating a simple database query.
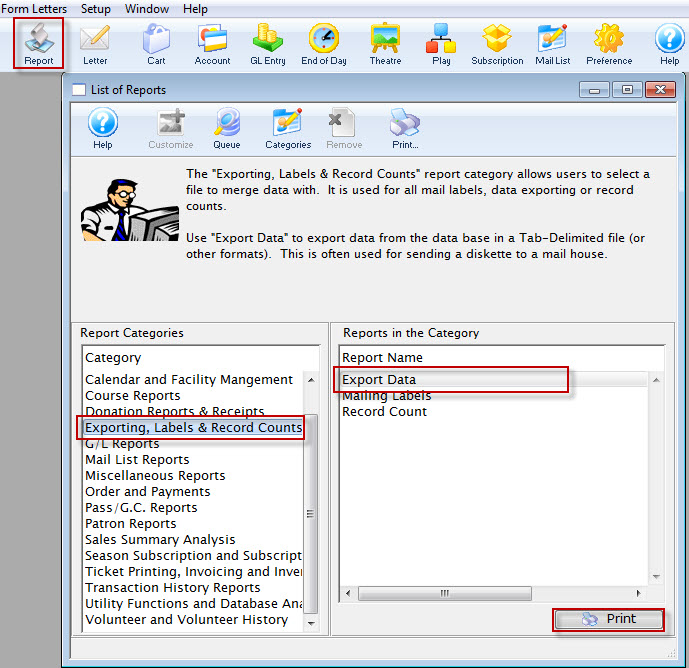
On the main toolbar, click the Reports button.

On the Reports List Window, single-click to select the category Exporting, Labels & Record Counts, then double-click on the Export Data report in the right-hand area.
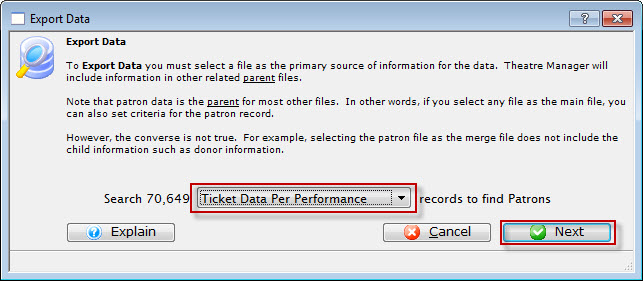
On the Data Export Wizard, use the drop-down menu to select Ticket Sales Data Per Performance as the parent file and click the Next button.
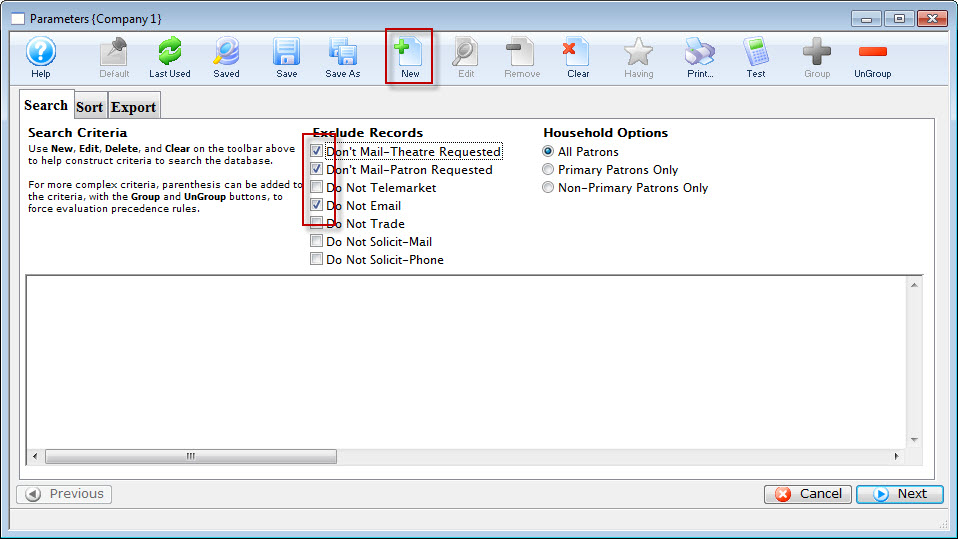
On the Criteria Search Tab, de-select all checkboxes under Exclude Records to remove the marketing flags.

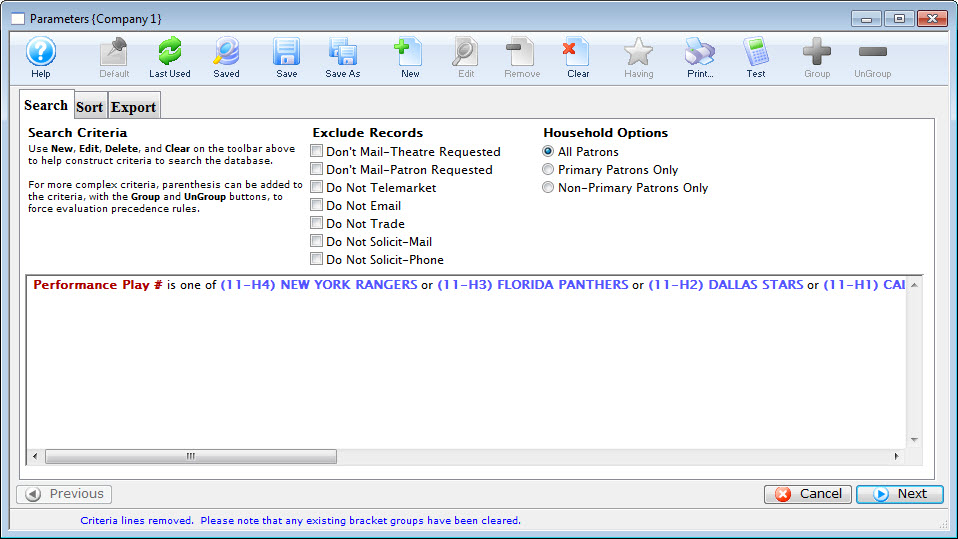
Set the criteria to Event # is one of (all appropriate season events). When done, click the Next button on the bottom-right.
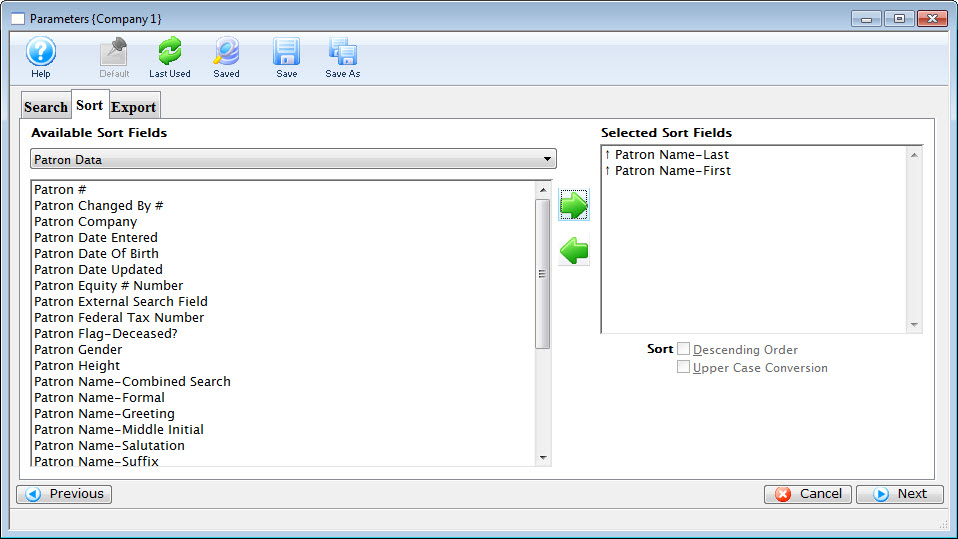
On the Sort tab, make sure the left-hand drop-down reads Patron Data and add the Patron Name-Last and Patron Name-First fields to the right-hand Selected Sort Fields area. (You can either double-click the field name or single-click the field name and then click the right-facing green arrow.) When done, click Next.
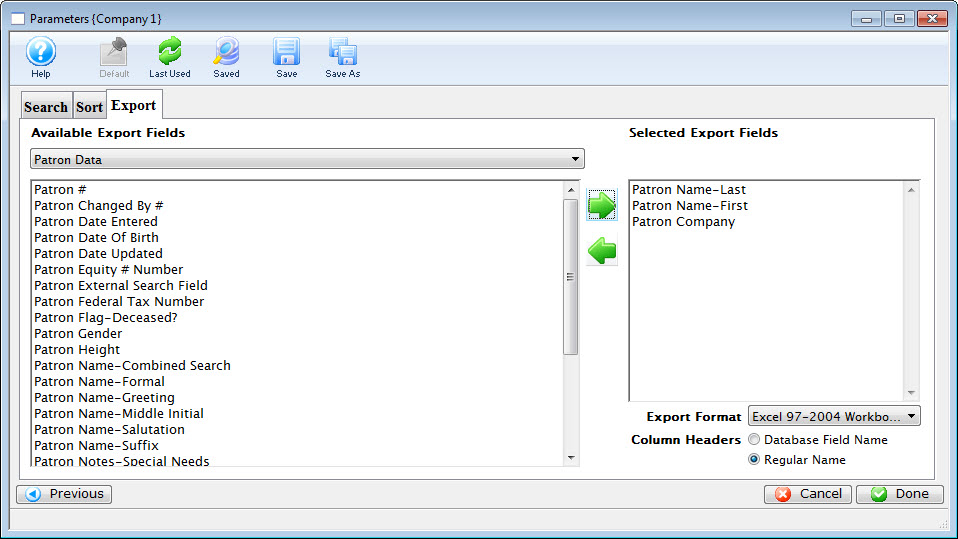
On the Export tab, change the left-hand drop-down to Patron Data and add the following fields to the Selected Export Fields area on the right:
- Patron Name-Last
- Patron Name-First
- Patron Company
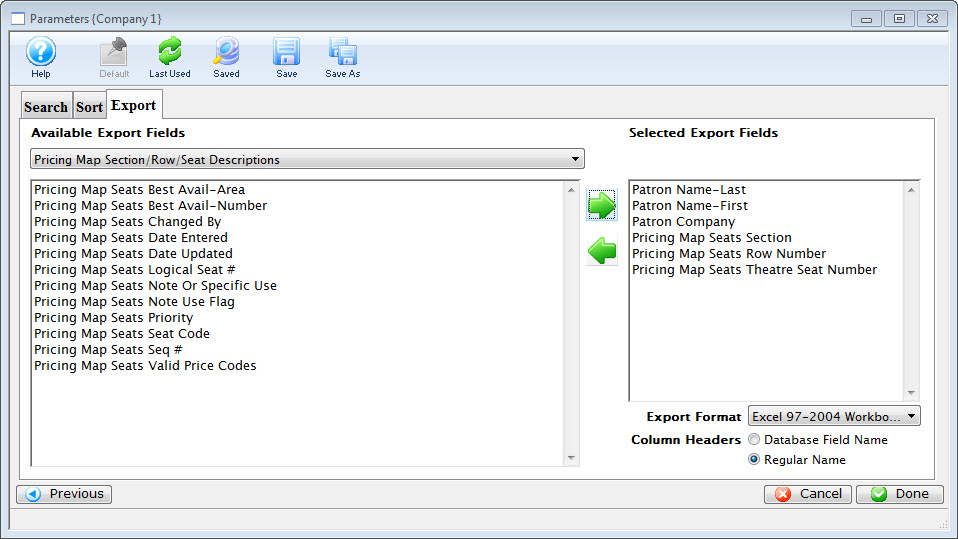
Change the left-hand drop-down to Pricing Map Section/Row/Seat Descriptions and add the following fields to the Selected Export Fields area on the right:
- Pricing Map Seats Section
- Pricing Map Row Number
- Pricing Map Seat Number
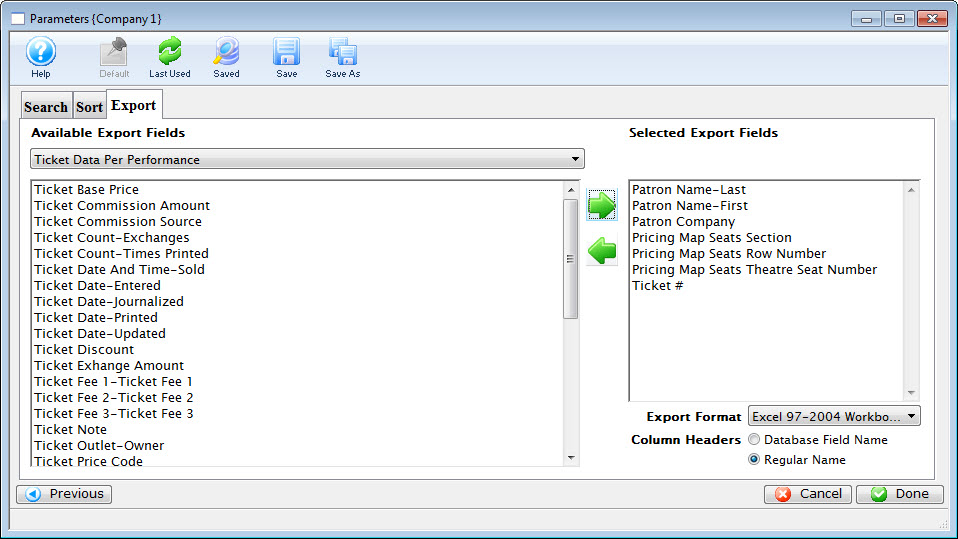
Change the left-hand drop-down to Ticket Sales Data Per Performance and add the following fields to the Selected Export Fields area on the right:
- Ticket #
Change the left-hand drop-down to Performance Information (this could be called play, event, or game depending on your company setup) and add the following fields to the Selected Export Fields area on the right:
- Performance Code
- Performance Name
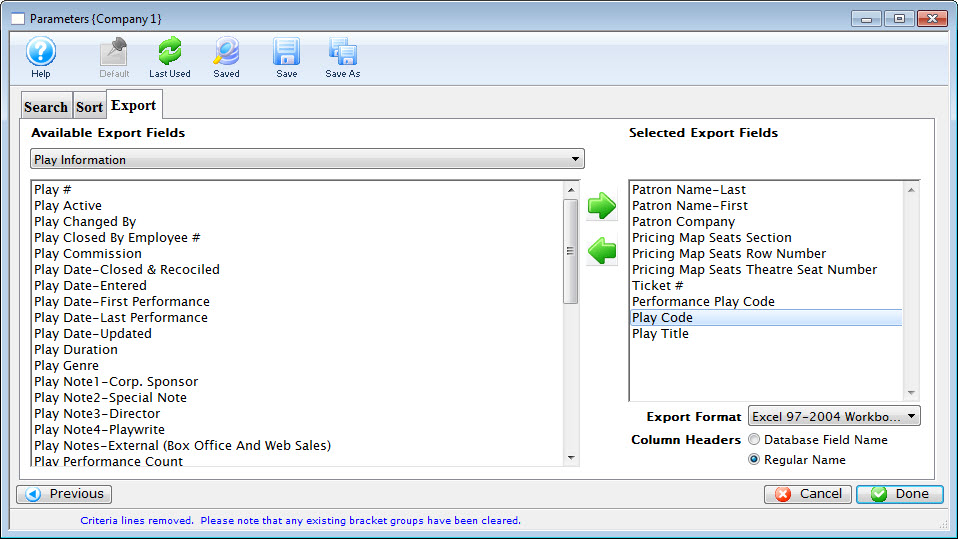
Change the Export Format dropdown to Tab-Delimited (.txt) and make sure the Column Headers selection is set to Regular Name. Click the Done button and follow the Export Dialogue prompts from your operating system.

Event List Top
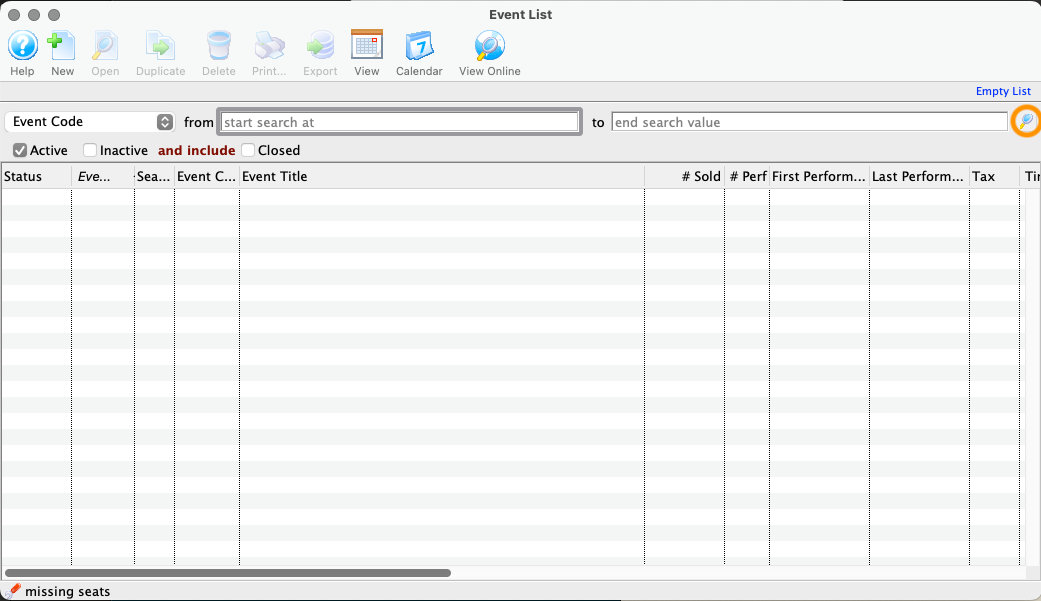
On the Main Toolbar, click the Event List button to open the Event List Window.

Make sure the following search settings are in place:
- The Search Field Dropdown is set to Event Code
- There is no text in either Search Textbox
- The status checkbox for Active is selected
- The status checkbox for Inactive is NOT selected
- The status checkbox for Closed is NOT selected
When ready, click the magnifying glass Search button.
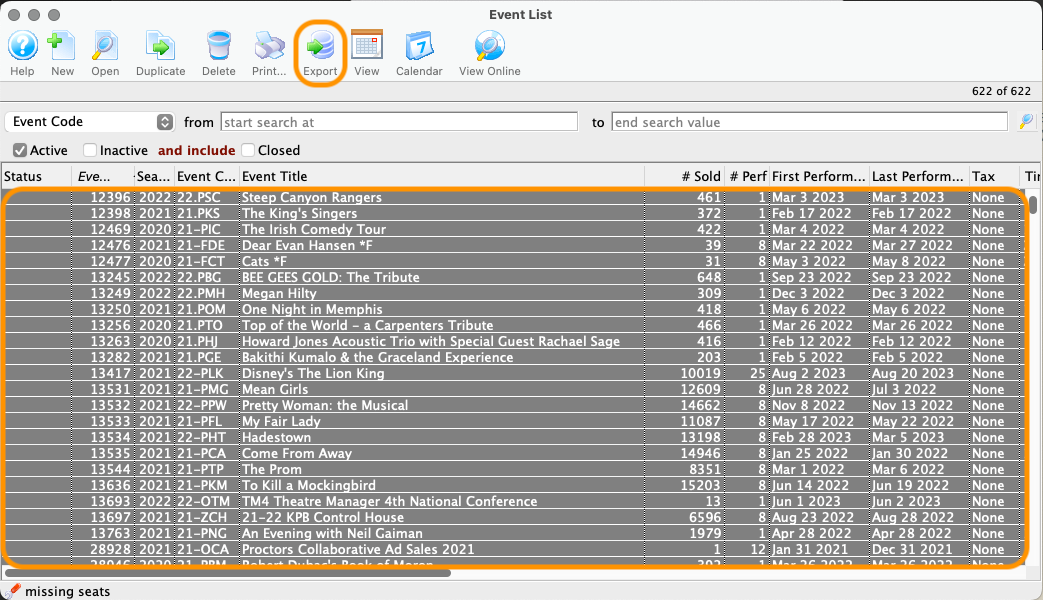
When the Event List Window populates with your search results, select all rows in the table by selecting the first row, clicking and holding the Shift key on your keyboard, scrolling to the bottom of the list and selecting the last row. (Alternatively, you can select any row in the table and click Control-A on a windows or Command-A on a Mac.)
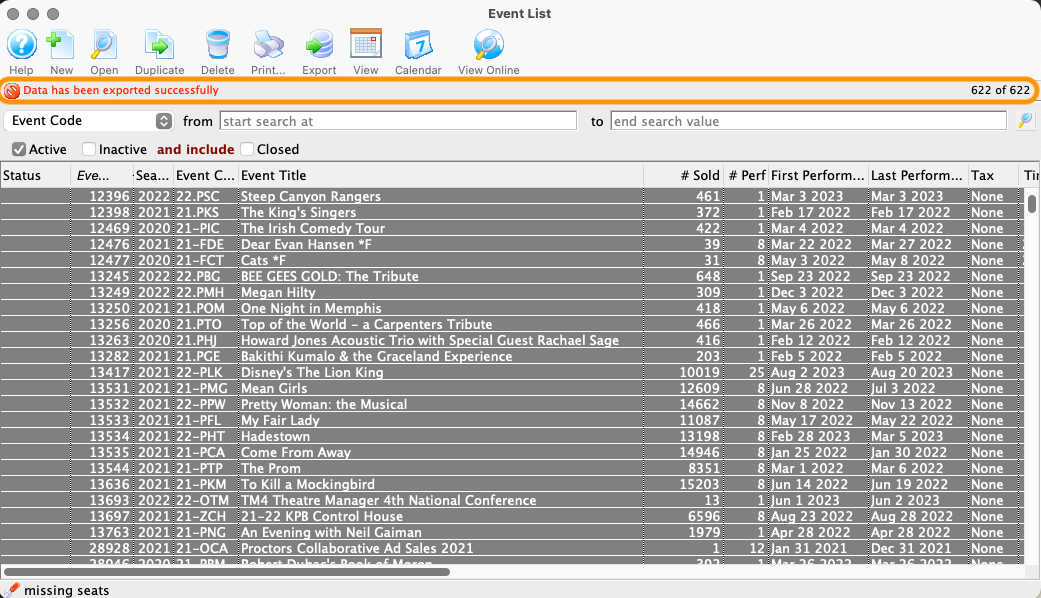
When all rows are highlighted, click the Export button at the top of the window.
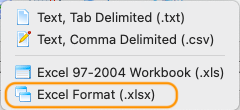
On the Export Format Popup, select Excel Format (.xlsx).
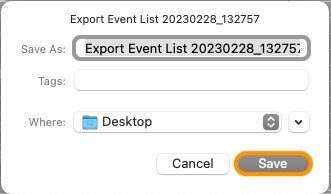
On the Save Dialogue, note the default file name that populated. Change the save location to your local desktop. Click Save.
On the Event List Window, find the Status Bar (located at the bottom of the window by default) and note that it displays a message saying that Data has been exported successfully.
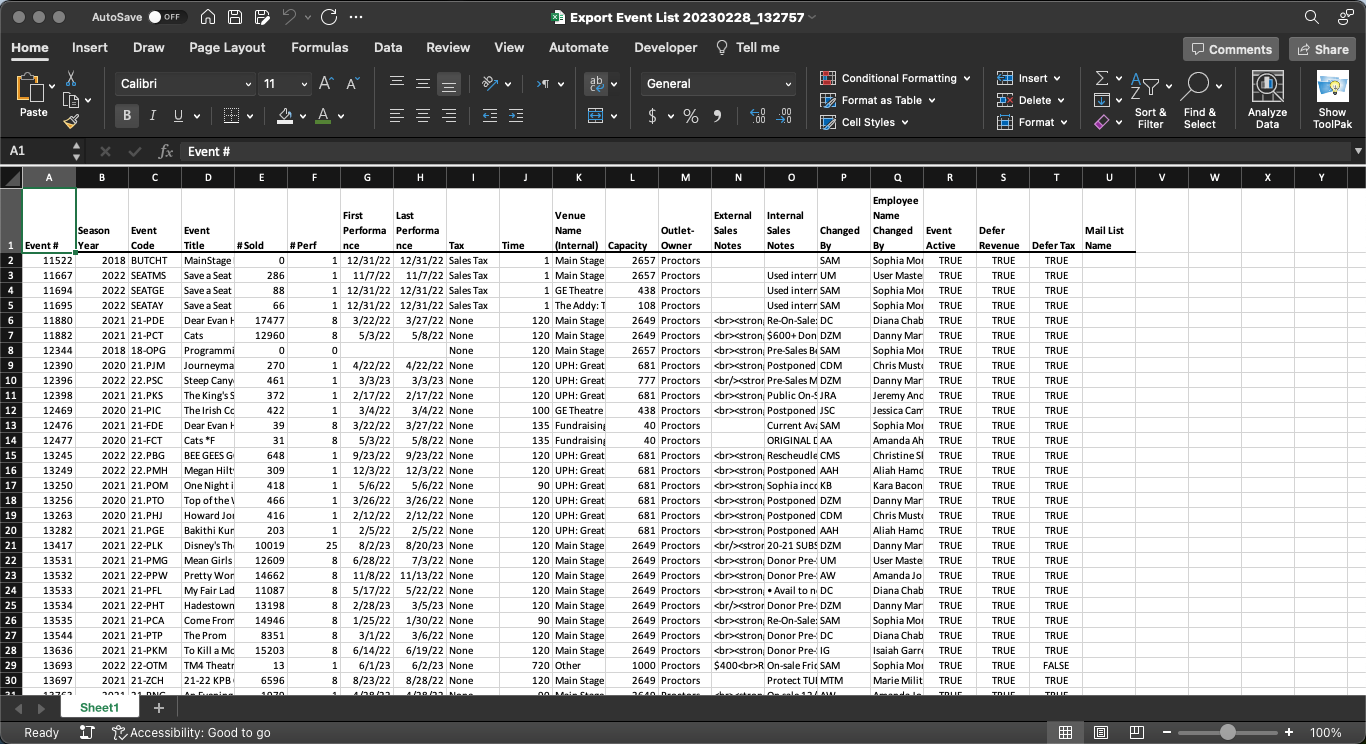
Go to your local desktop, locate the file, and open it in a spreadsheet software like Excel. Note that the column contents and order match the current Event List Window view.
City Lookup Table Top
Go to Setup >> System Tables >> City Lookup Table to open the City Lookup Table.

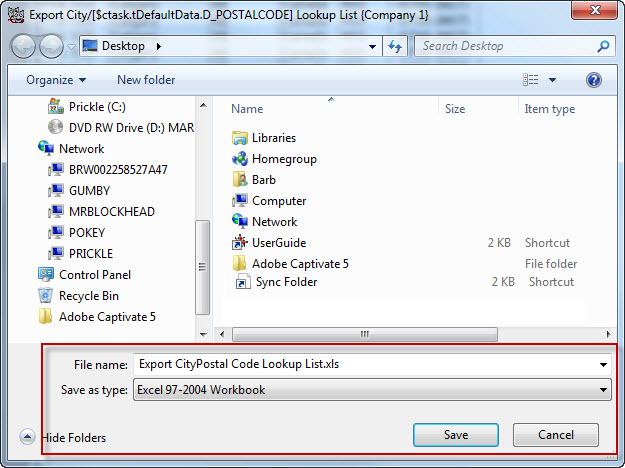
Click the Export button and choose the export format Excel97-2004 Workbook (.xls).

The Export Dialogue may look different from pictured based on your operating system. Review the filename and download location, then click the Save button.