The following how-to guides assumes you have already reviewed the installation overview explanation and PCI compliance explanations.
Overview Top
Installing or Updating Theatre Manager is a similar process. If you do not already have the latest TM installer, you can obtain in one of three ways:
- If you have Theatre Manager, check to see if an update is available, which you can copy to any machine, even one without TM on it.
- If TM notices an out-of-date component, it downloads the latest installer while you work and prompts for an update when you log in.
- If you are new to Theatre Manager, you will have been provided a link in an email
Once you have the latest available version of the Theatre Manager installer/updater, please follow the specific instructions below, using the General Upgrade Steps as an overall guide.
- Macintosh
- Mojave and later recommended
- Sierra and later will work with 64 bit
- Windows
- Win 10 recommended
- Win 8.1 or later will work for 64 bit
Important PCI Component
If you set the PCI setting in Theatre Manager to C, credit cards are never placed in the database. Thee card information is merely passed to the processor and immediately forgotten.
Important PCI Component
Running an upgrade will, if appropriate, automatically generate a random new PCI seed key and re-encrypt credit cards using the new key. In the process, this destroys any previous crypto keys per PCI DSS standard 3.6. Credit cards that have been shredded are not affected by the re-encryption process. Refer to re-encrypting cards if you wish to do this manually.
Important PCI Component
Theatre Manager has never stored CVV2, Track II or any other non PCI compliant information so removal is not necessary per PCI DSS standard 3.3:
- Version 8 was certified under PABP 1.4. This audit provided verifiability that there was no CVV2 data.
- Version 9 was certified under PA-DSS 1.2, also verifying there was no CVV2 data.
- Version 10 was certified under PA-DSS 2.0, also verifying there was no CVV2 data
- Version 10.6 was certified under PA-DSS 3.1, also verifying there was no CVV2 data
- Version 11.0 was certified under PA-DSS 3.21, also verifying there was no CVV2 data
- Future versions will never have any protected data as per PCI requirements.
Mac OS Top
Steps Top
Now that the database server is setup and a sample database is imported, we can install Theatre Manager on the machine. These instructions are for installing on Macintosh. If you are using a mixed environment, please refer to the Windows instructions as well.
Step 1
- Download the Theatre Manager Mac installer if you have not done so. This link is supplied upon request.
- When downloading any update for Theatre Manager, please make sure your personal firewall is turned on PCI requirement 1.4.
- Double click on the TMSetup.zip program you downloaded to extract the TheatreManager.pkg file.
- Double click on the TheatreManager.pkg that was just extracted to begin the install process.
- If you have issues opening the .pkg file, you may need to go to System Preferences >> Security & Privacy to enable installation.
- If you are unable to install, you might need to use the following command in terminal before running the installer. More info is available under disable power saving settings - Step 1:
sudo spctl --master-disable
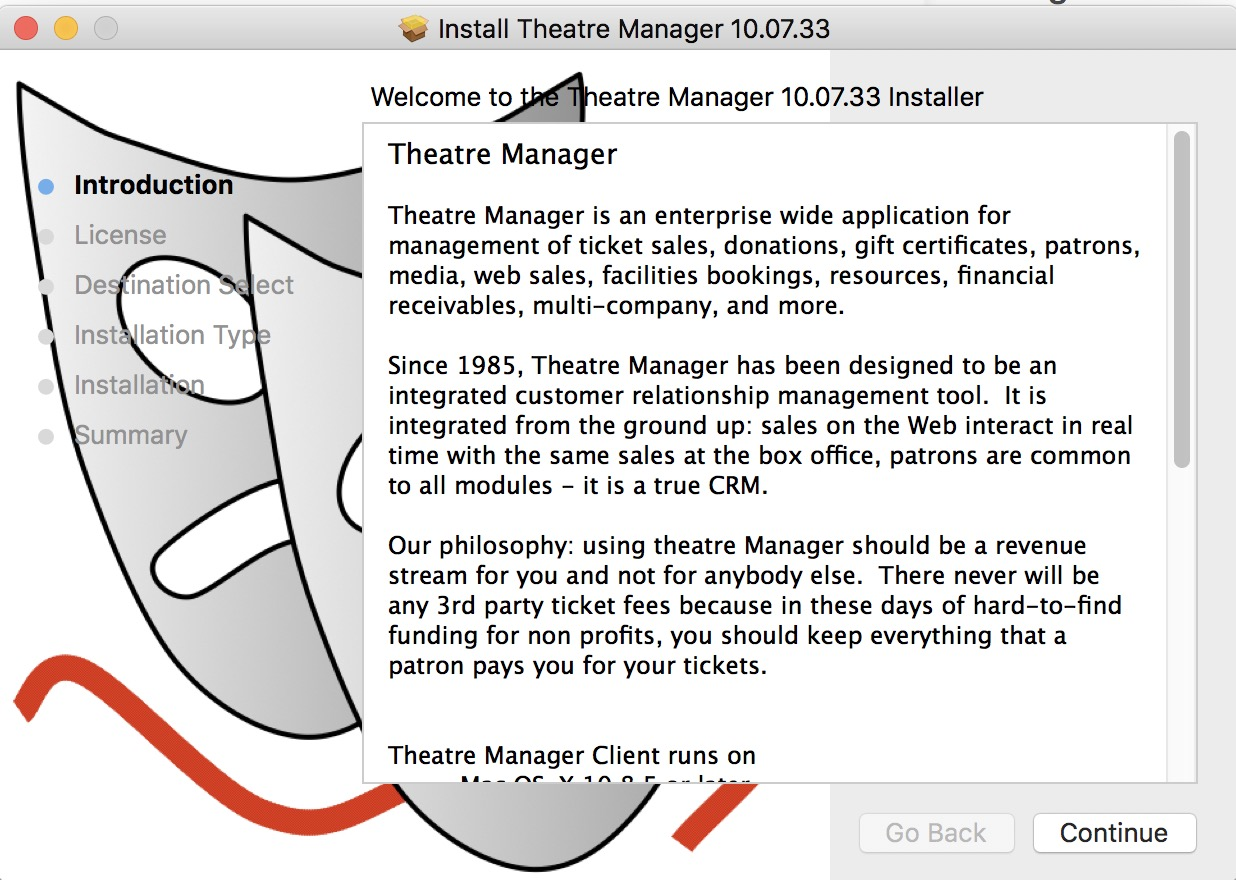
- Click Continue
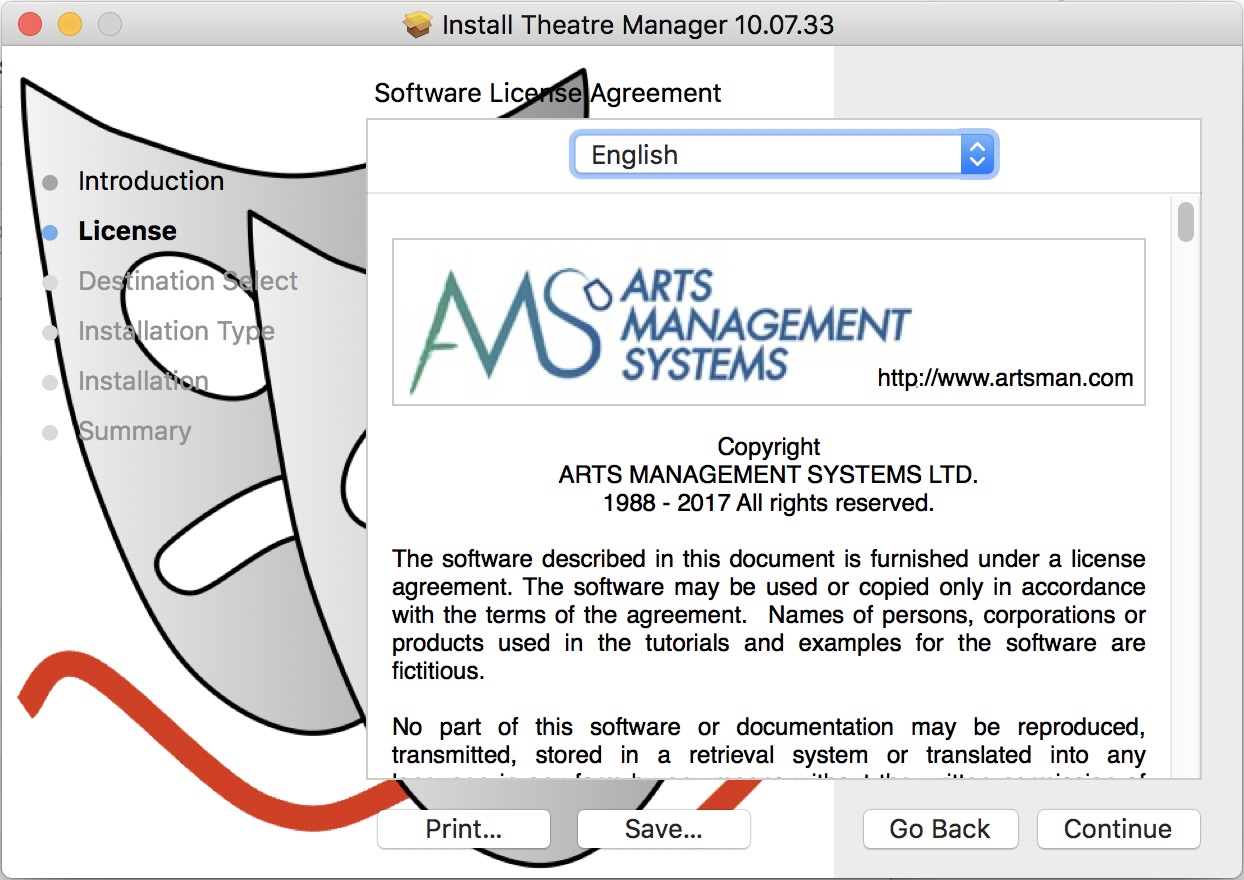
- Click Continue and read the license agreement.
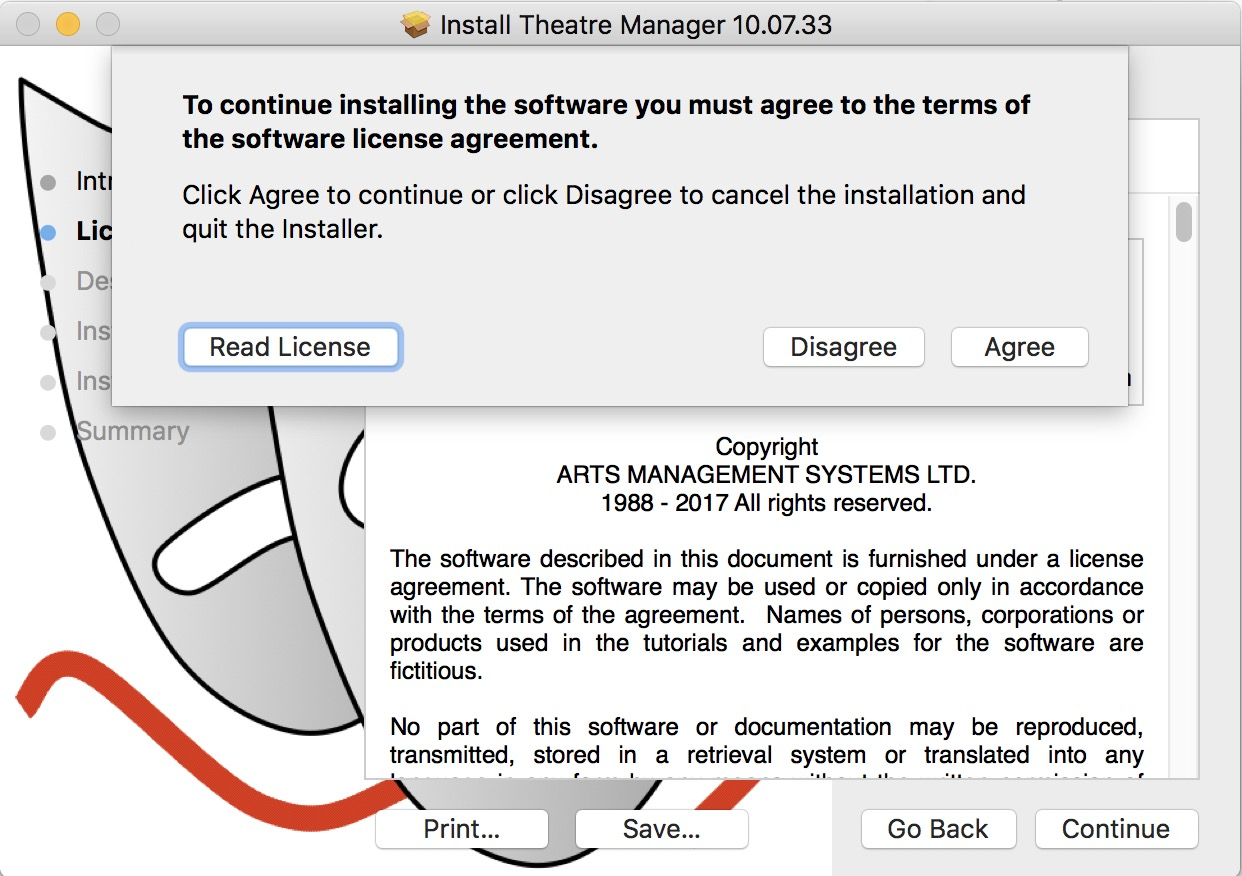
- Click Agree to accept the agreement and continue.
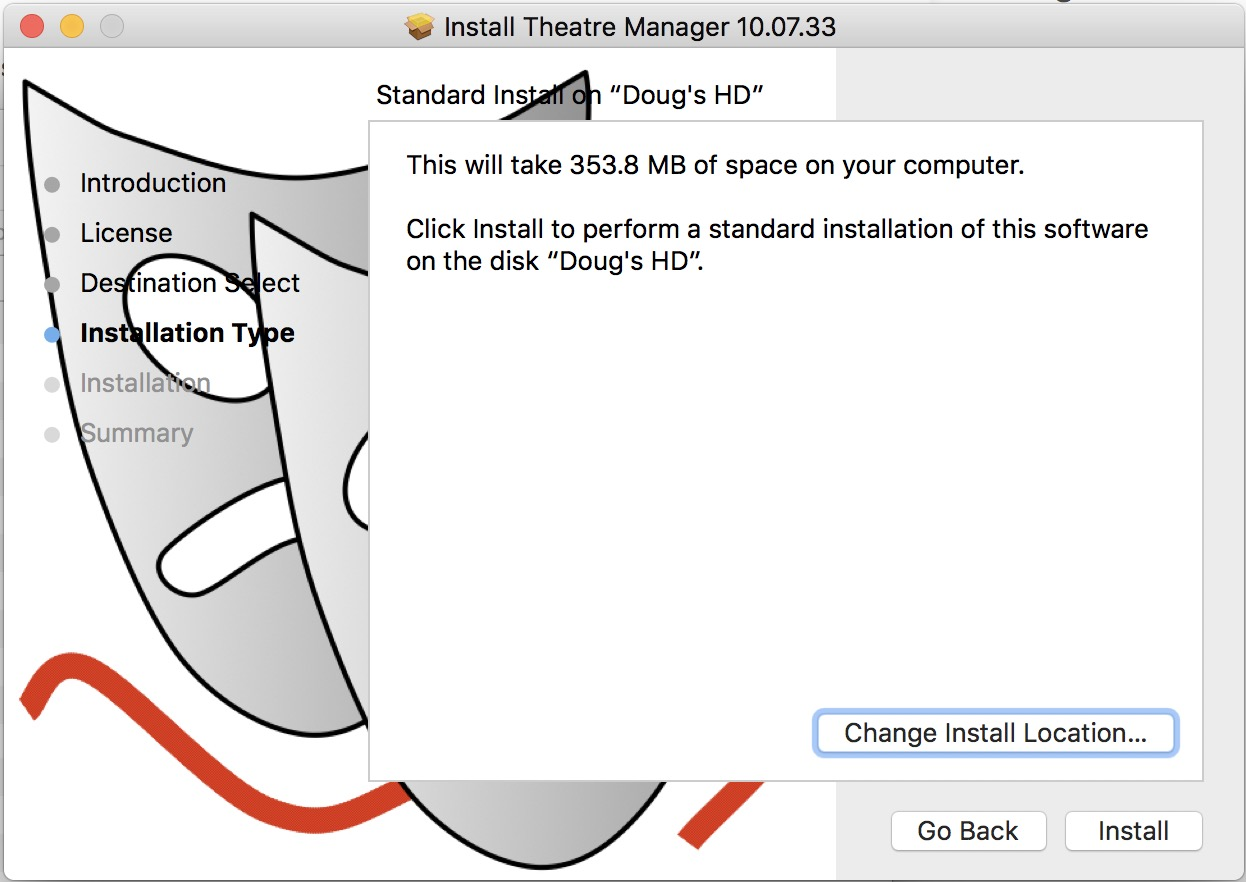
- Click Install
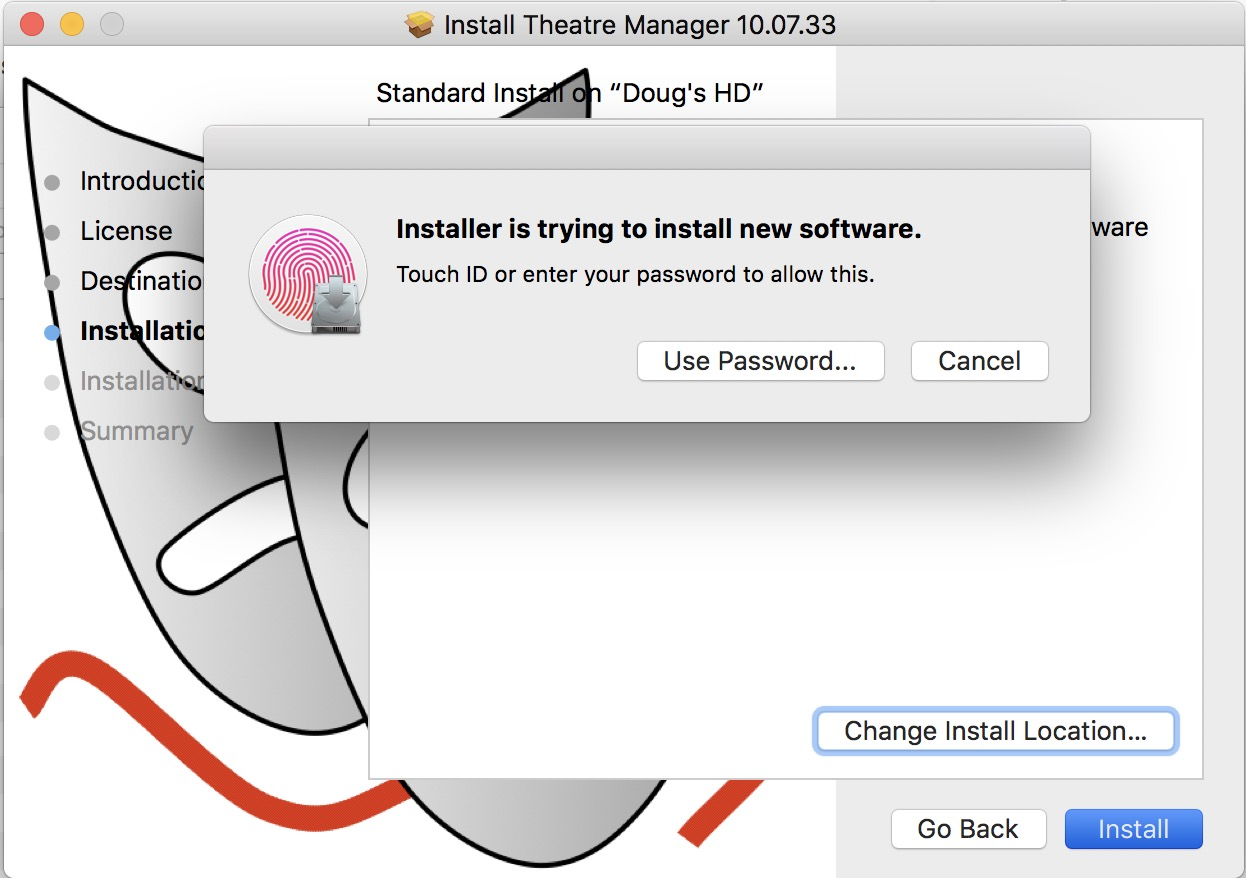
- Enter your password (or if you have a Mac with TouchID, use your finger).
- During a Full Install you will need to provide the administrator password to your machine. If you do not know this, contact your IT support or Systems Administrator.
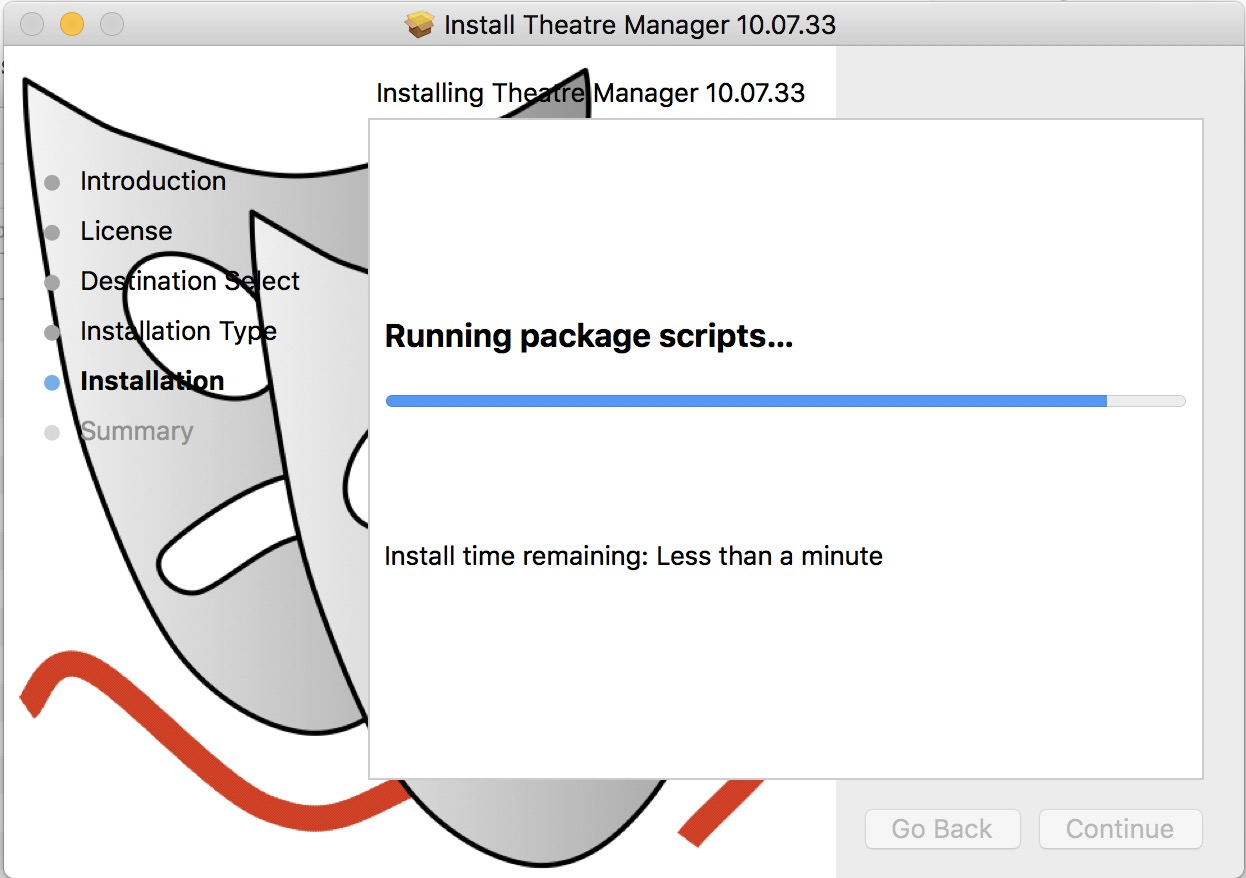
This step may take a little time.
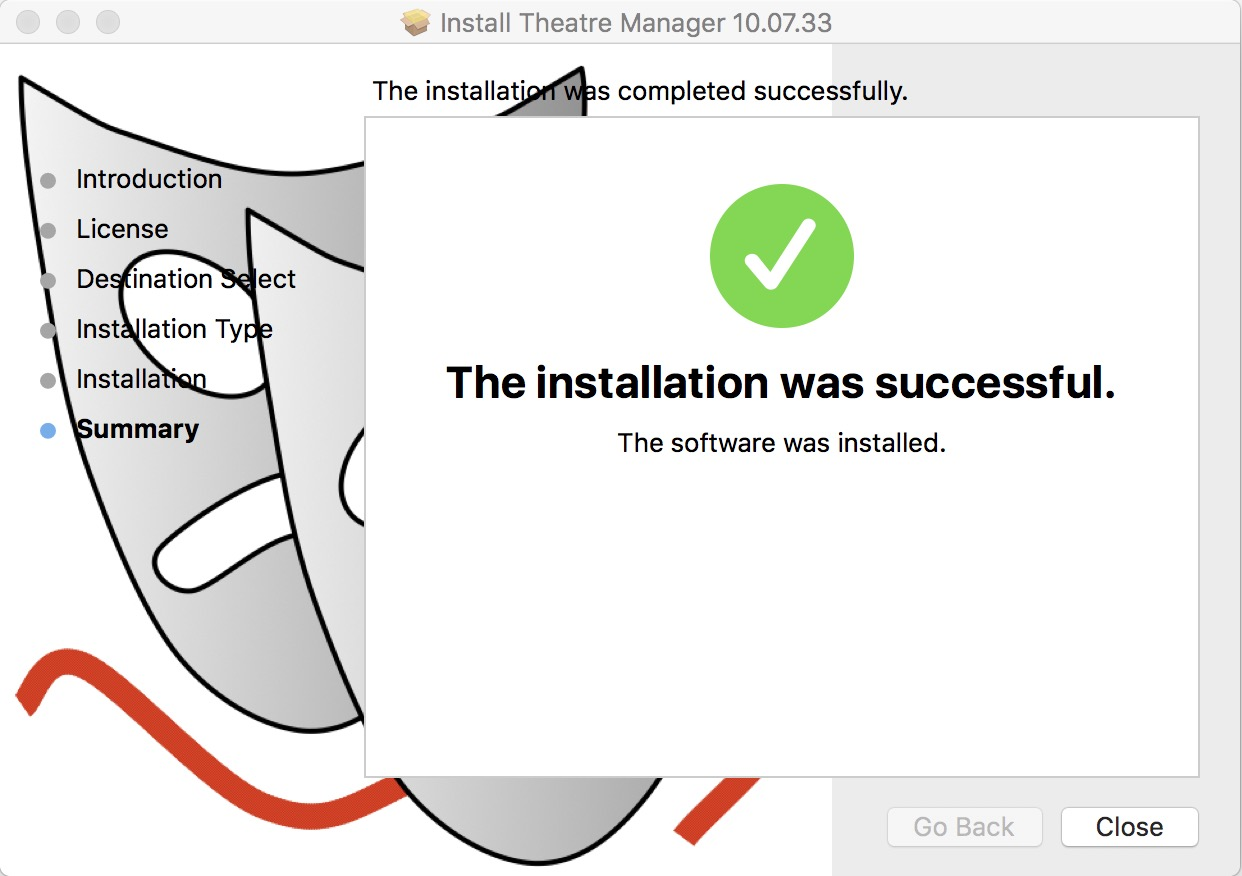
- Click Close when done.
Step 3
- After installation, look for Theatre Manager link on the desktop and double click on it to start it up.
- There will also be a file called TMPreview.pdf on the desktop that illustrates some key features of TM.
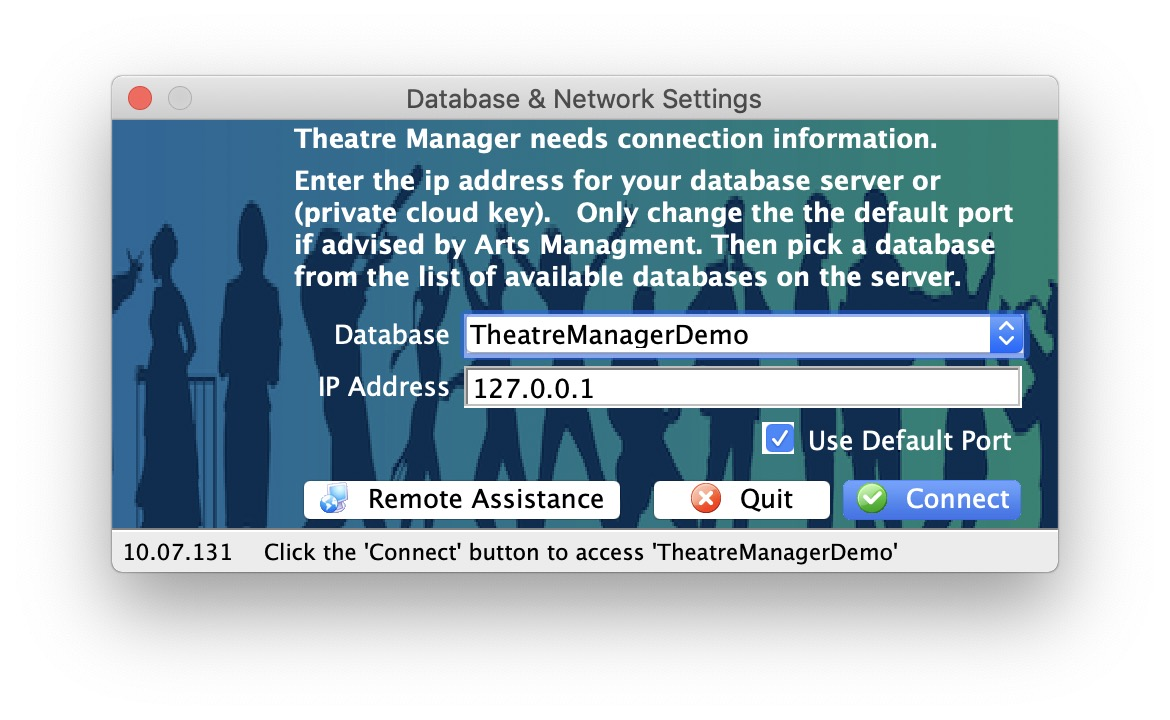
- Connect to your database:
- For databases on your local server, enter the ip address of your server and click search to see the list of databases.
- If your real database is in the AMS cloud, follow these instructions.
- For Demo databases, if you get asked to find a database, enter the IP address
127.0.0.1below and click Search. (Normally, you should not need to do this, as the Demo database is always assumed to be on the local machine.)
- If you cannot connect to the database, check the following settings:
- make sure port 5432 is open on your machine
- make sure that the TheatreManagerDemo database got installed by using pgAdmin as per Step 5 below, then come back and try connecting again.
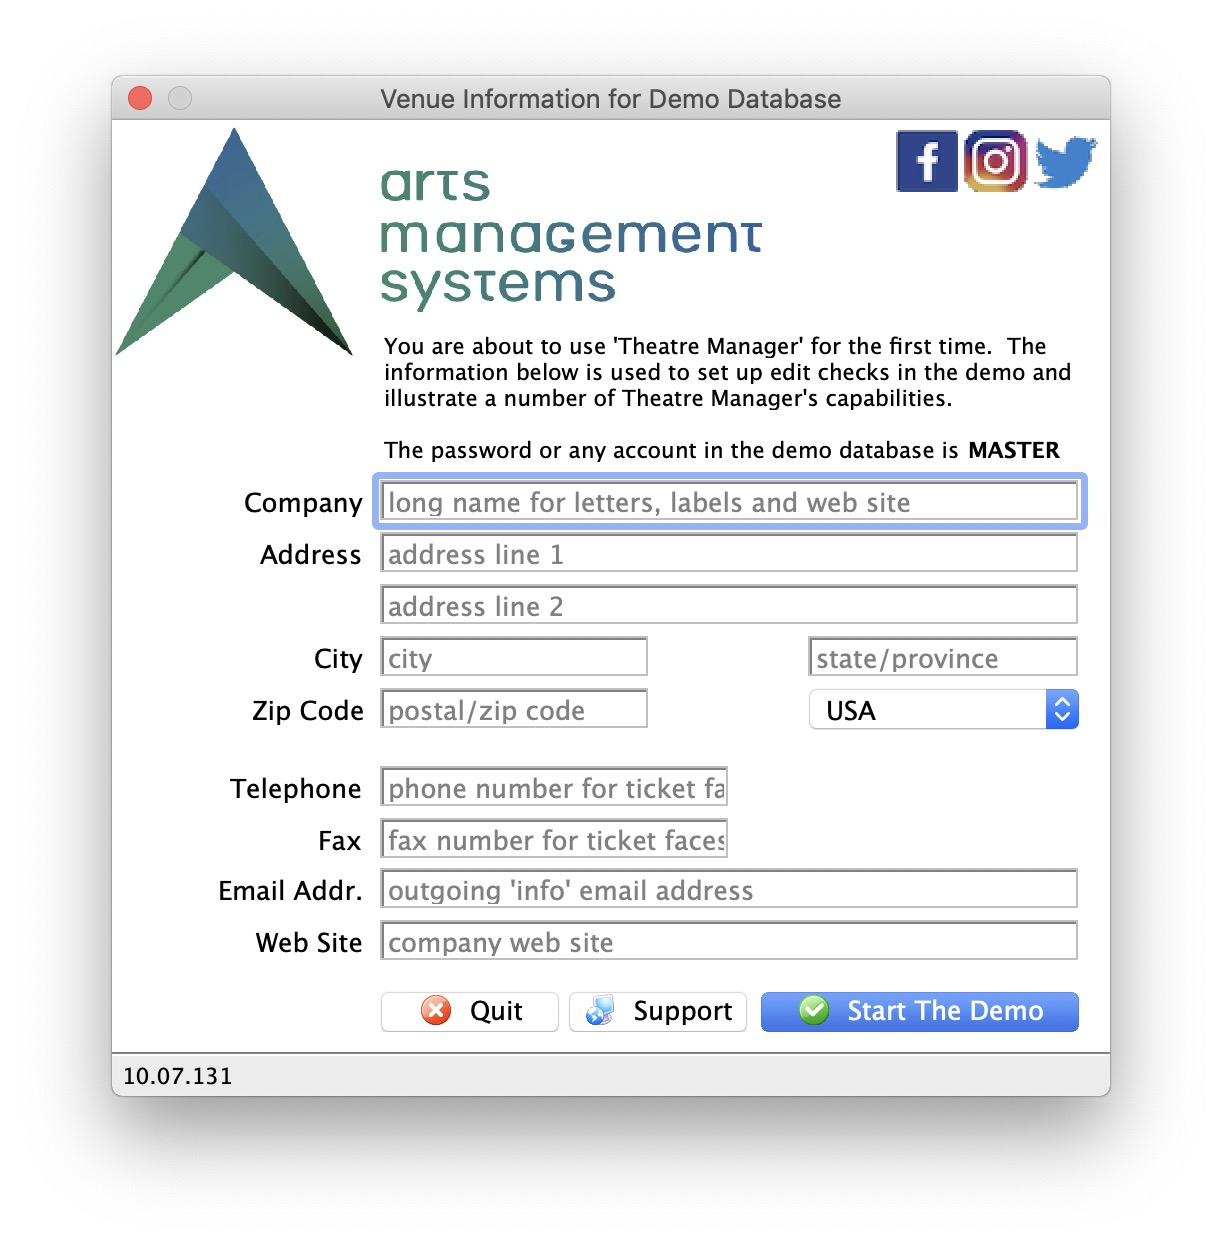
- If you are running a demonstration copy of Theatre Manager, you will see a first time setup screen asking you for your company information. All fields except the second line of address and the web site are mandatory. After you put this in the first time, you will not see it again.
- These fields are used during the demo to show how Theatre Manager verifies information for you.
- For example, the city, state and country you enter becomes the default country for new patrons that you may add to the database. The area code for the phone number fields becomes the default for patron entry, etc.
- Notice how Theatre Manager converts whatever you type into the proper case as it tries to assist in data entry.

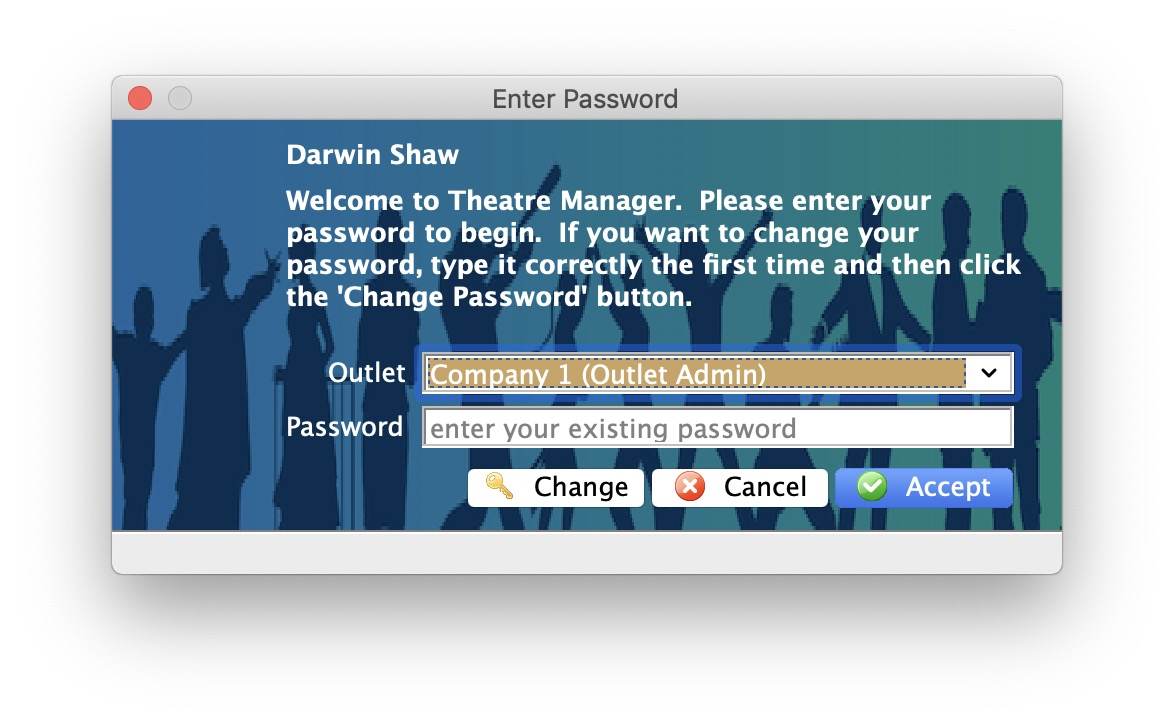
- When you connect to the demo database and enter the company information, you will see the login window.
- The password for any of the users in the demo is
master.
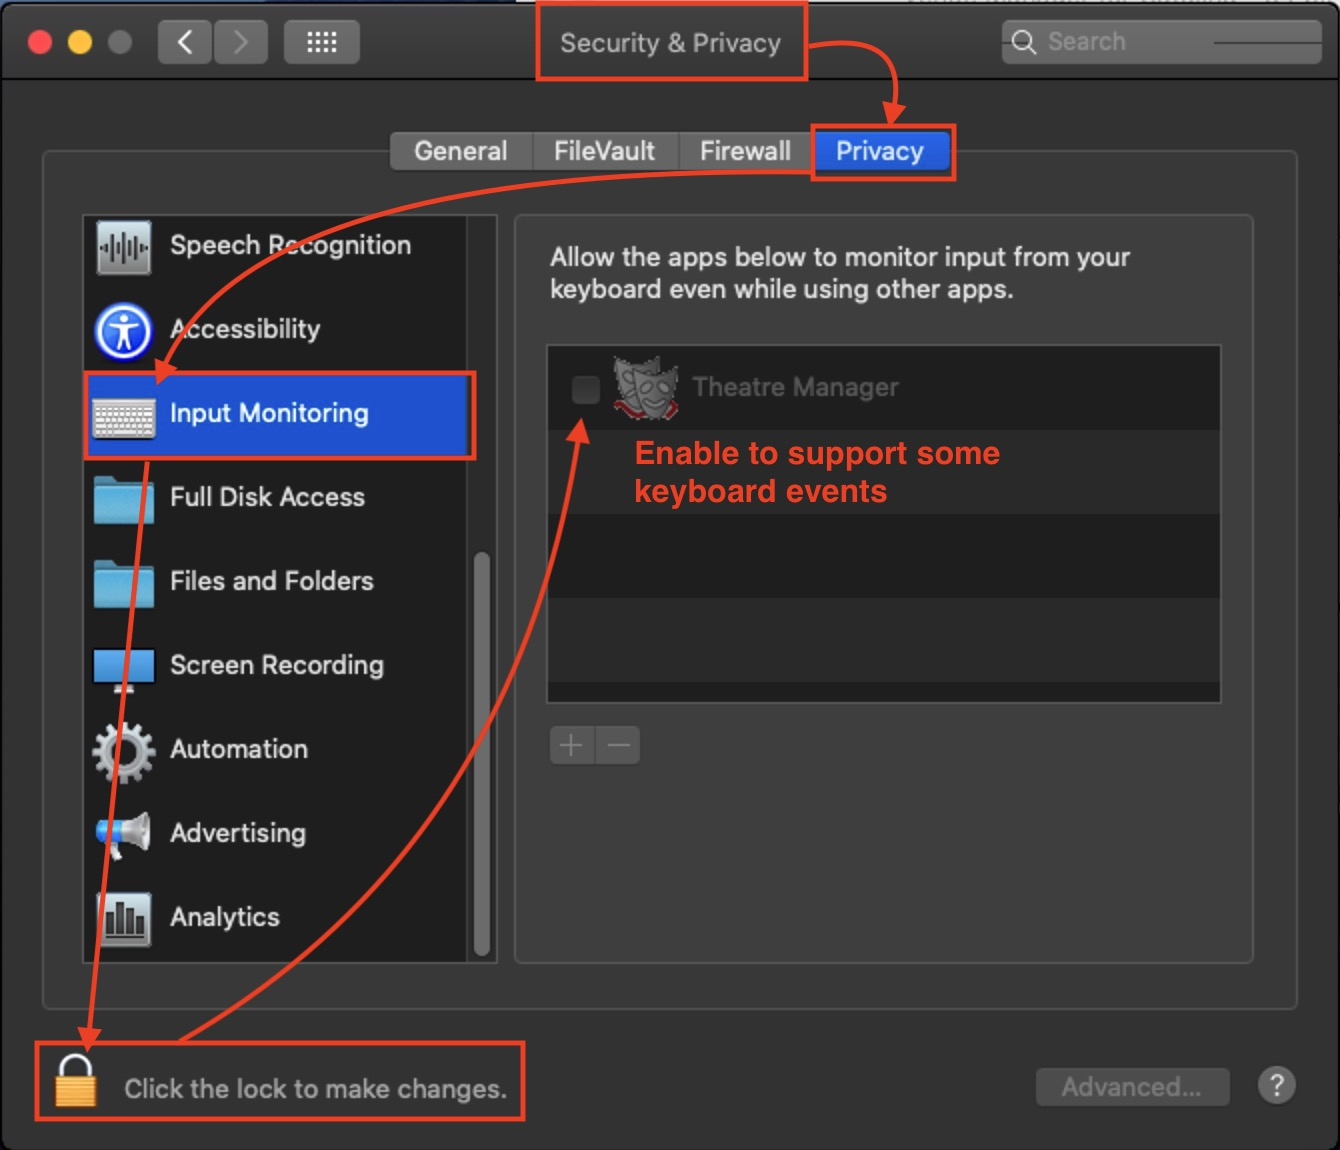
- If you are running Catalina, you may need to make a change to system preferences to allow a permission:
- Open System Preferences
- Click on the Security & Privacy preferences
- Click on the Privacy tab
- Click on Input Monitoring
- Unlock the preferences to allow changes
- Click on the checkbox beside Theatre Manager to enable the permission (refer to image)
Step 8
- In a production environment, once connected to the database in step 5, you can run the TMSetup file on any other machine in the network.
- After changing the pg_hba.conf file, and editing the serial.txt file, you should be able to connect to the database.
- You will need to use the IP address of the server to connect, instead of 127.0.0.1, and if you cannot connect to the server:
- make sure port 5432 is open on the server
- make sure that the real database is installed and setup using pgAdmin
- there are no firewalls blocking access
- the pg_hba.conf IP settings are correct
- the server has been restarted
Troubleshooting Common Issues Top
Installation Security Error Top
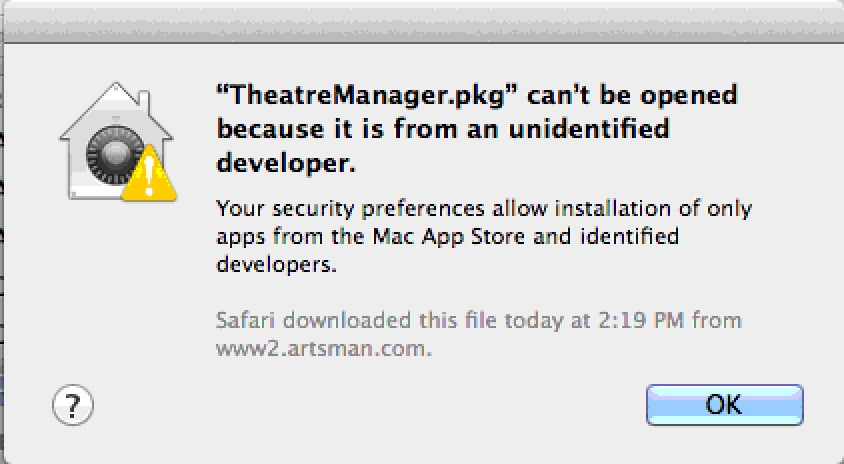
Apple requires that users acknowledge that they trust the installer. The exact message you get may vary depending on the version of OSX you are using. If you run the TM installer and receive a message similar to this one (implying you have to provide permission), then:
- Select the Apple menu at the upper right of your computer screen
- Select System Preferences
- Select Security and Privacy, which is on the top row of the preferences (it may be called Firewall in older versions of OSX).
- Click the General tab
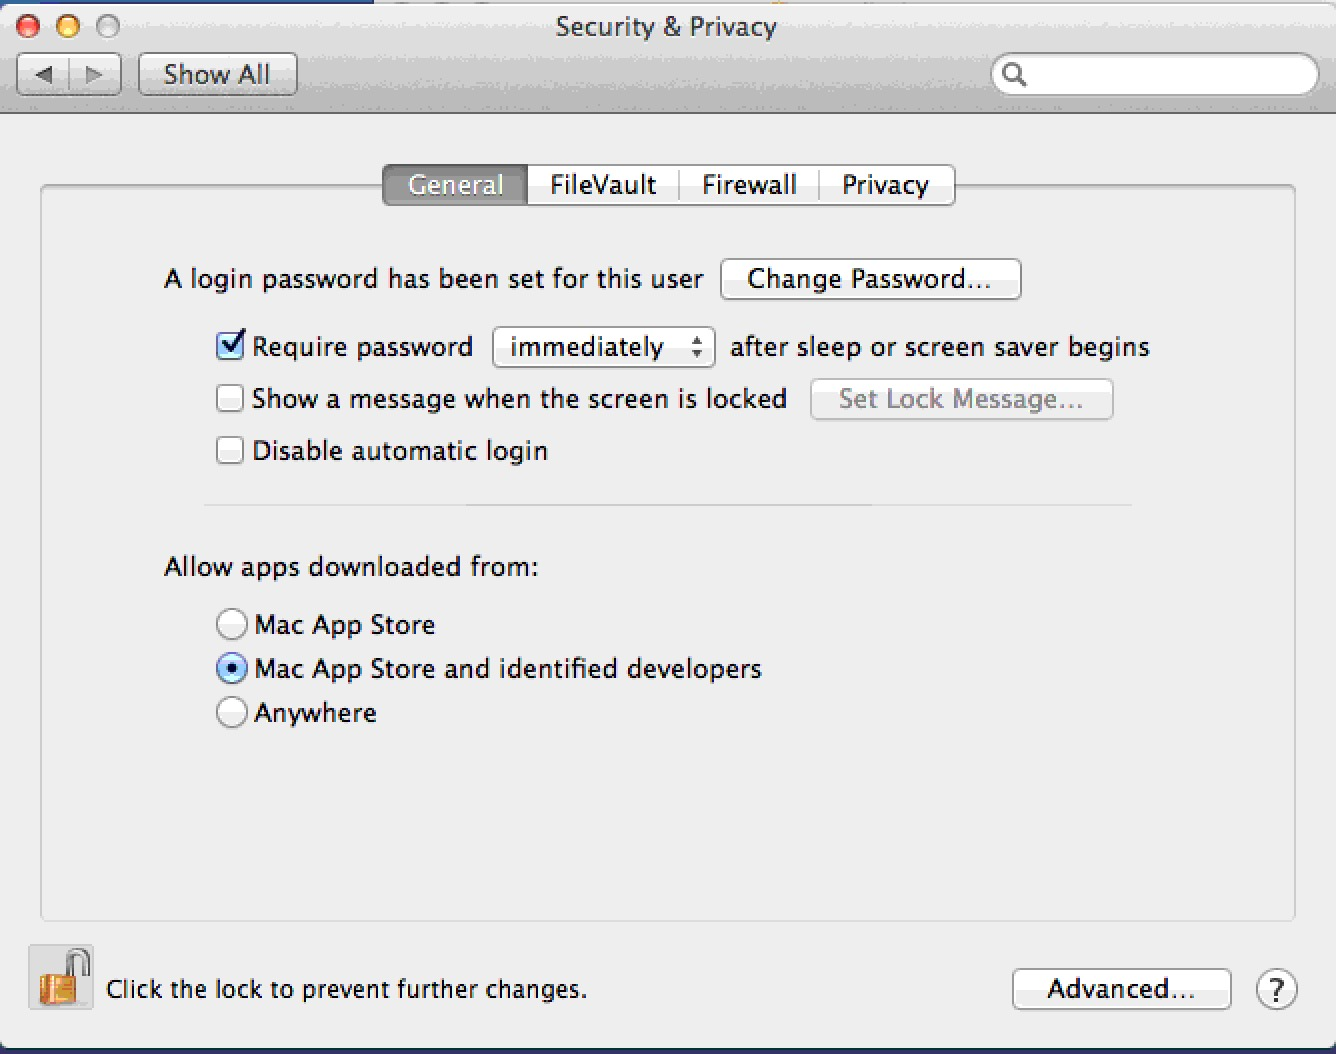
- You will see a screen similar to the one below. Do one of the following:
- Click on the third option at the bottom saying Anywhere to allow apps downloaded form Anywhere.
- If that is not visible, then you should see an option to click a button that says Open Anyway to run the installer. If so, click Open Anyway
This will start the installation process.
Slow Performance with Network Users Top
Note
If you get an error message starting Theatre Manager about permissions writing to a directory, you may need to type the following in Terminal: sudo chmod -R -v 777 /Applications/Theatre Manager
Follow the steps below if you have Network Users set up and performance of TM seems slow when everything is run across the network:
- Primary Method for Network User Profiles
- Just install Theatre Manager
- In OS X, Theatre Manager is designed to store key application components in the local user's Application Support directory. This allows multiple local users on the same machine to use Theatre Manager.
- Network Users have a different home directory setup where the key files are not stored on the local machine. When Theatre Manager is installed, it will save some of its files in the network directory - but you may experience some performance issues of the network or server drives are slow.
- Alternate method for running Theatre Manager with NetWork User Profiles
- If performance seems a little slow with a normal installation that users the network profiles, Theatre Manager can be configured a little differently. Make sure:
- Theatre Manager is already installed on the machine using the TMSetup application AND that nobody is currently using Theatre Manager on the machine
- Go to the Applications Folder
- Right click on the Theatre Manager application
- Select Show Package Contents from the context menu
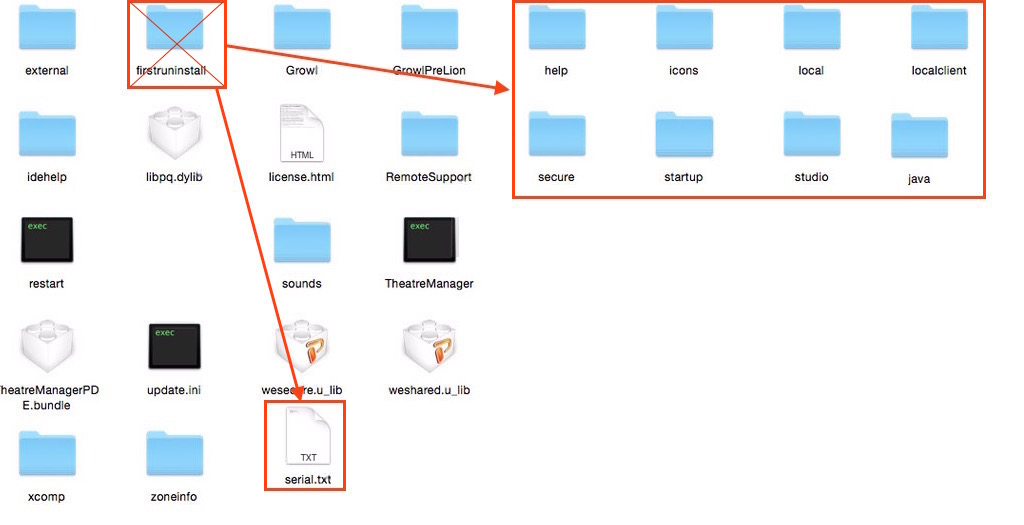
- Navigate to Contents >> MacOS >> firstruninstall folder
- Copy the entire contents for the firstruninstall folder
- Navigate back to the MacOS folder.
- Paste the contents of the firstruninstall folder into the MacOS folder
- You may be asked to replace the serial.txt file - respond yes
- Delete the firstruninstall folder
- The contents of the MacOSX folder should now be similar to diagram.
- Test that Theatre Manager starts up and you see the login window.
- Log in as a couple of other network users and try again
- If performance seems a little slow with a normal installation that users the network profiles, Theatre Manager can be configured a little differently. Make sure:
Missing Zip Code or USPSIMBStanda Font Top
If you are installing Theatre Manager on a Mac and you get the message that you are missing the ZipCode and/or USPSIMBStanda font(s), then it simply means you have a newer version of OSX, and it doesn't like the Theatre Manager installer trying to put fonts into the font directory. Here's how to fix the error message:

Open the hard drive on your Mac or open Finder.
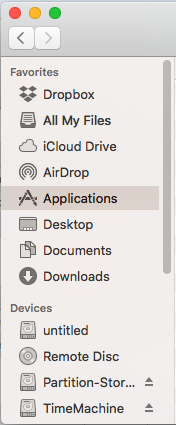
Go to Applications directory.
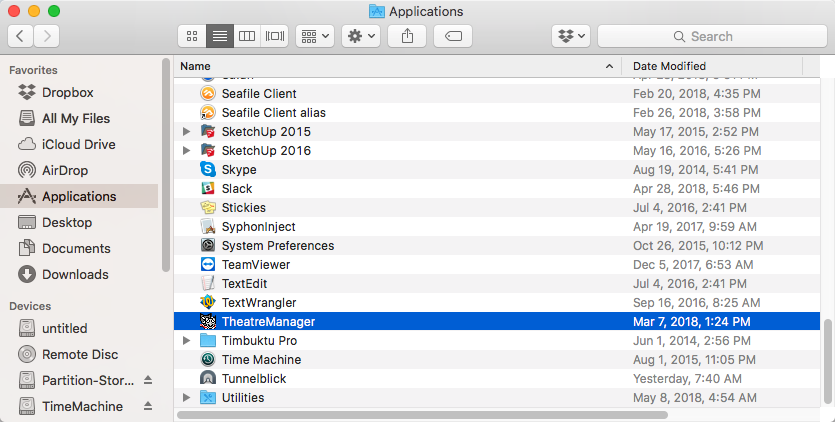
Find the Theatre Manager application.

Right-click on it and choose Show Package Contents from the menu.
Step 5
Go into Contents >> MacOSX >> Fonts.
Step 6
Double click on the fonts, one at a time.
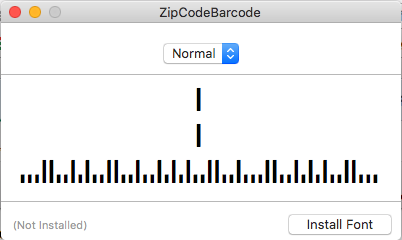
Click Install Font button in the lower right corner. OSX will bring up a Font Validation screen. There will be a message that it has found a problem with the font. Ignore this.
Step 8
Check the box next to the font name.
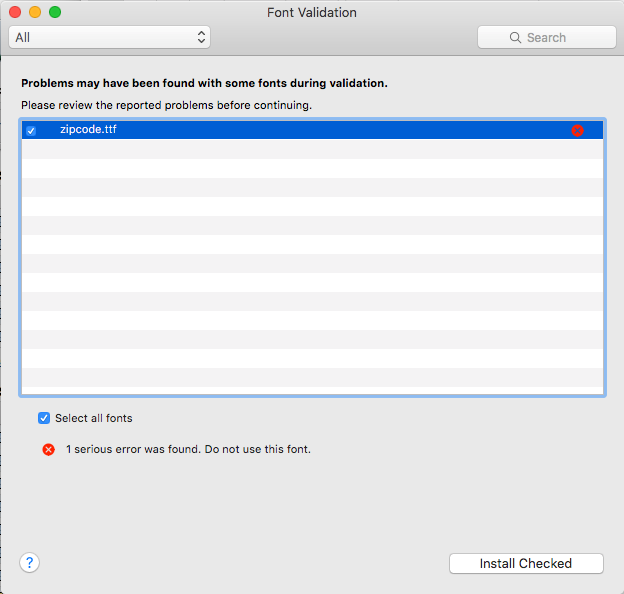
Click Install Checked button in the lower right corner.
Step 5
Repeat for the other font.
Windows Top
AMS Cloud Setup Top
Important PCI Component
Any database in the AMS cloud can be set to either:
- Schedule C PCI Compliance where credit cards are NEVER stored on the database.
- Schedule D PCI Compliance with one day retention if you want to handle post dated payments or recurring donations.
You can enhance settings by using Merchant Profiles (available with most providers) to store credit cards for all customer at your merchant service provider.
If your database for Theatre Manager is stored in the AMS cloud, the steps to log in to the AMS cloud and connect to your database are below. If your database is not in the cloud, select Local Database from Step 1 below, then follow the instructions for changing database.
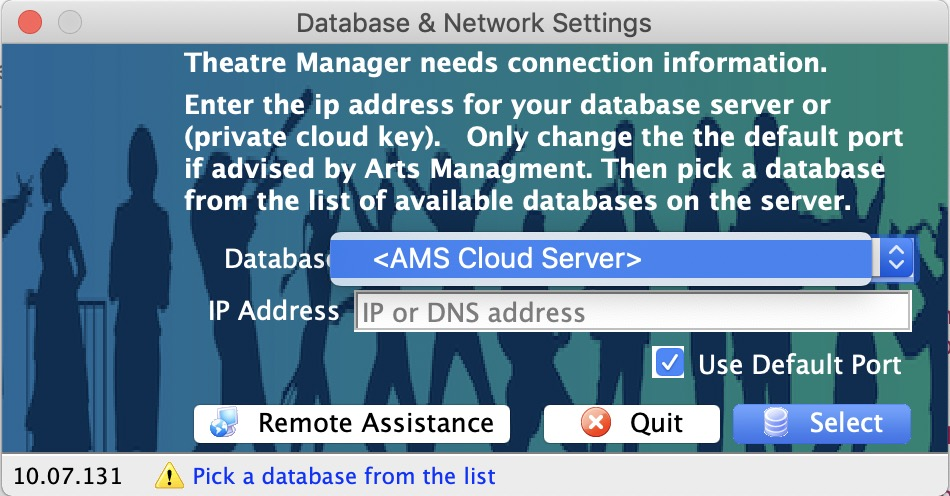
Start Theatre Manager. If you have never been connected to a database before, you will immediately see a dialog asking you to select a database. Select
If you have previously connected to a Theatre Manager database before, you will see the familiar list of users. Click the Change DB button at the bottom left of the screen and then select
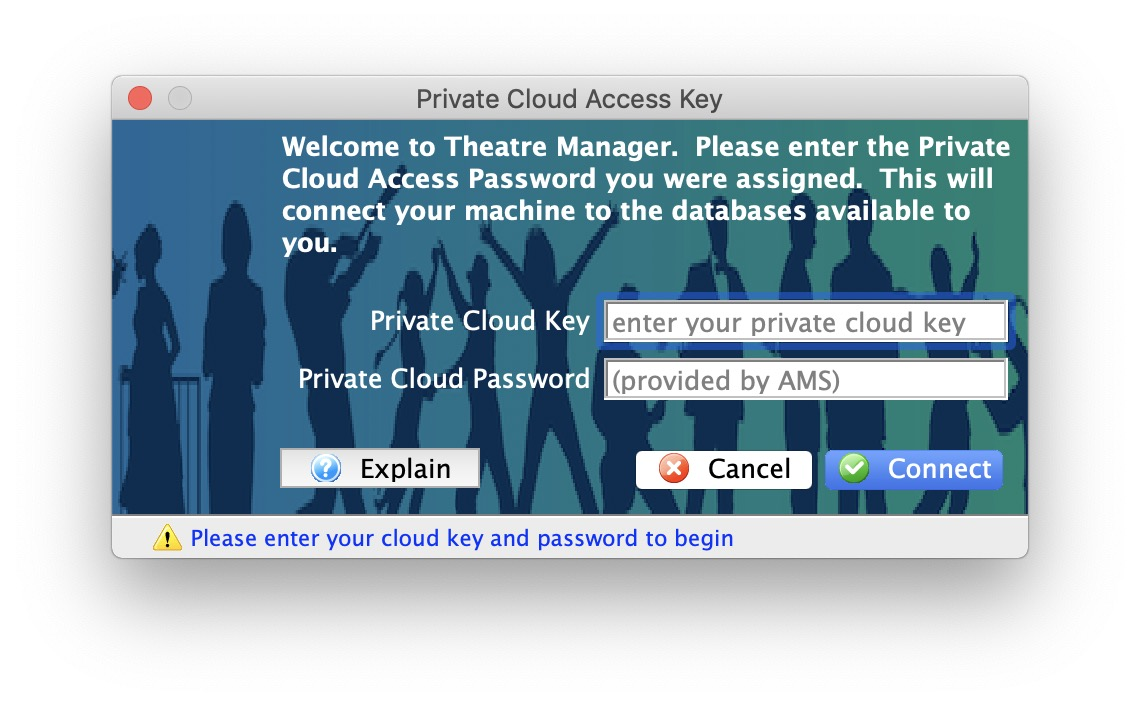
You will be prompted with a dialog asking you to enter:
- the unique Private Cloud Key that you have been given
- the Private Cloud Password specific to your venue
Enter both items and you will be connected to your database in the AMS cloud.
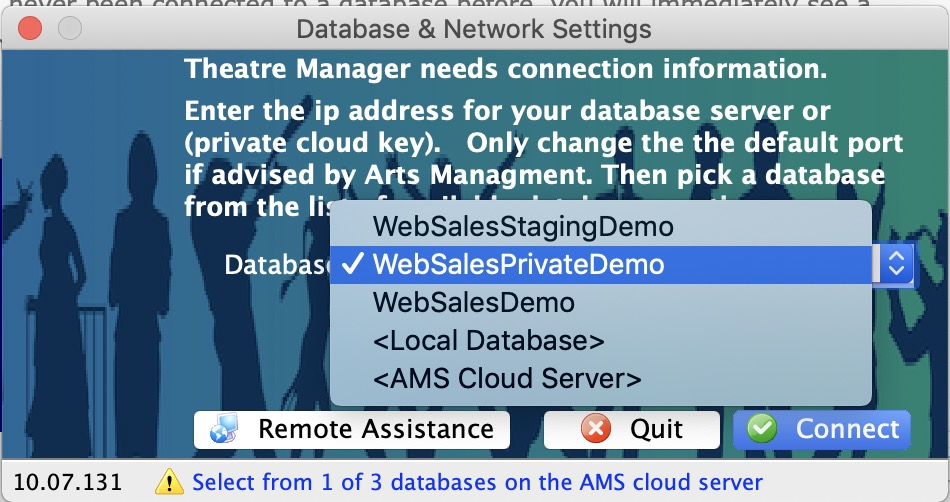
If there is only one database available in your cloud setup, you will be taken directly to the next step. If there are two or more databases in your cloud setup (e.g. your main database and a training one), then you will be asked to pick your database.
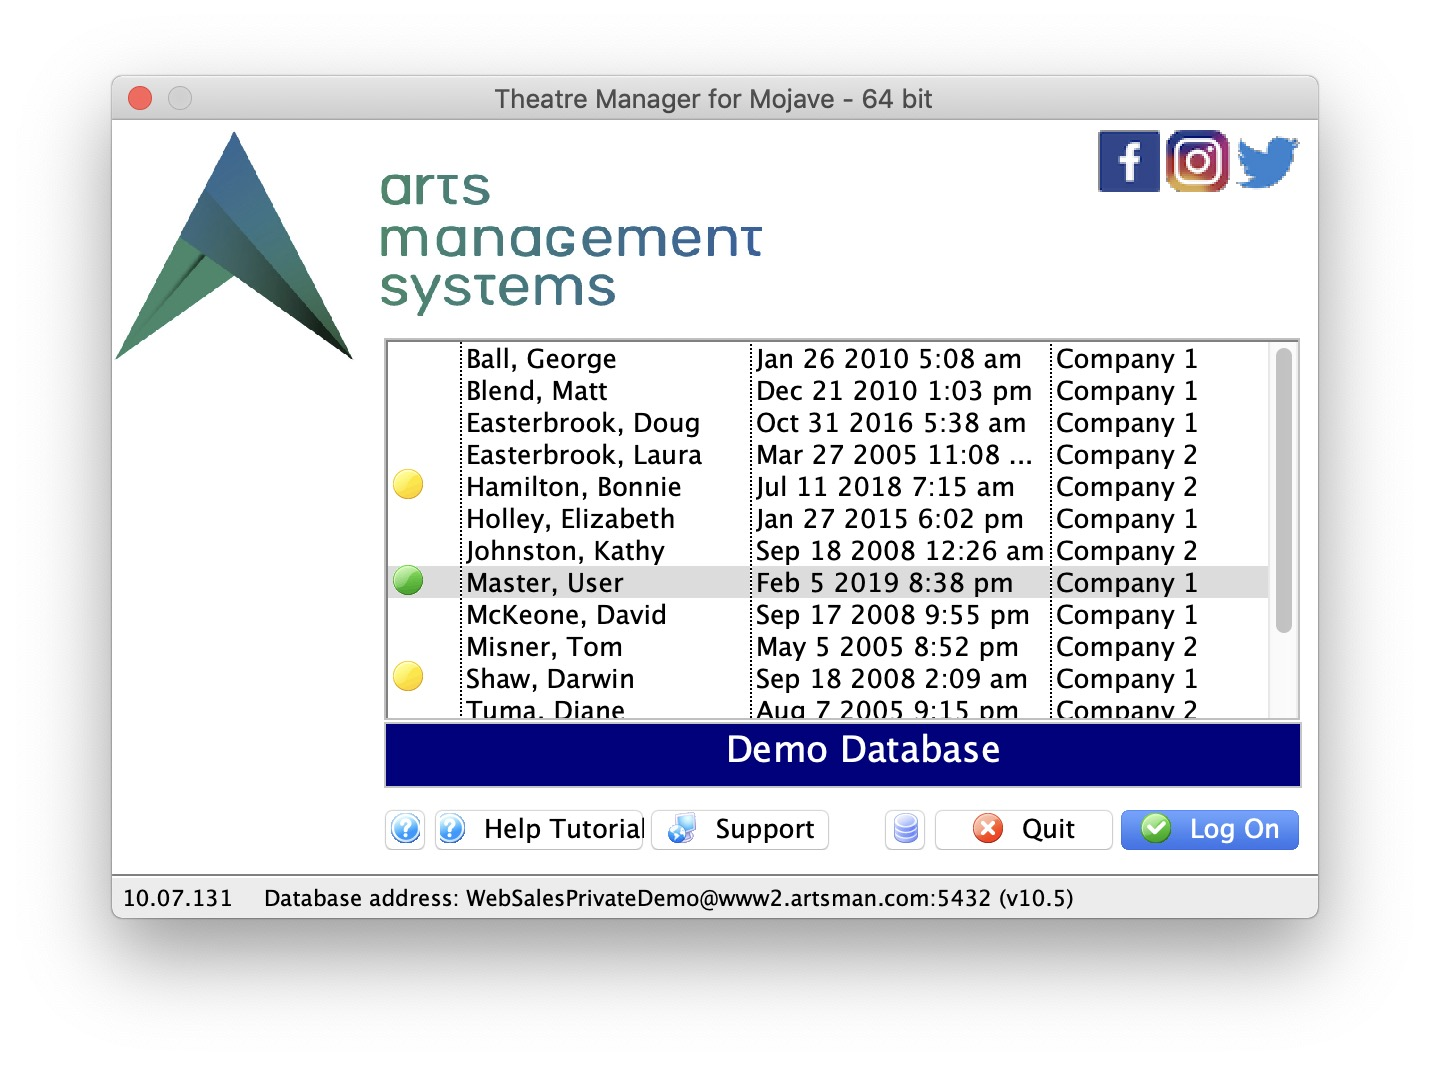
You will see a list of people who can login.
Double click to select one and enter the employee's password.