To create Post Dated payments, you perform the following steps:
Open the Payment window.
- See Next Step.
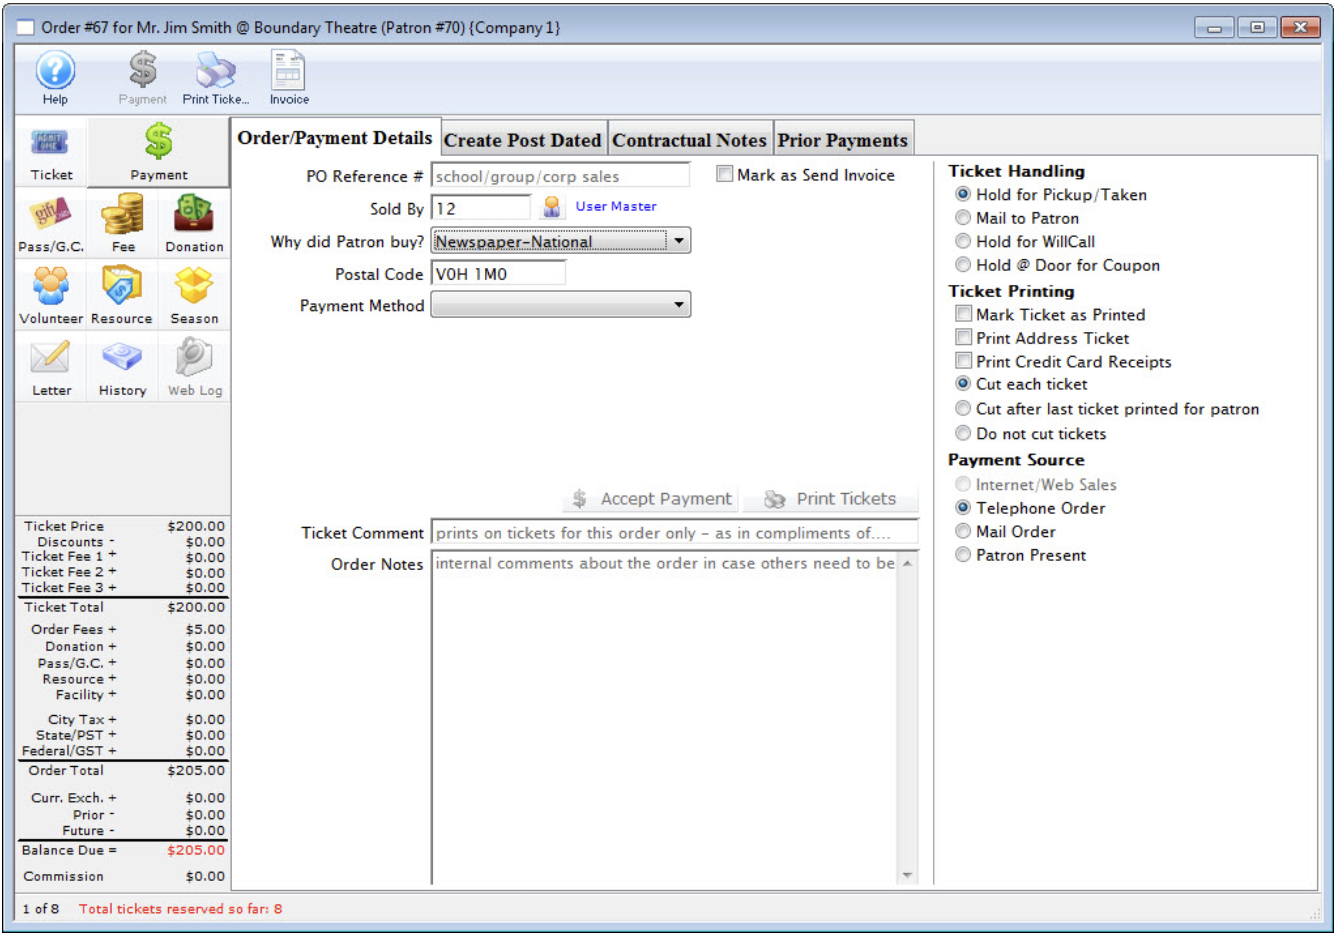
Order/Payment Window
Click on the Create Post Dated tab.
- See Next Step.
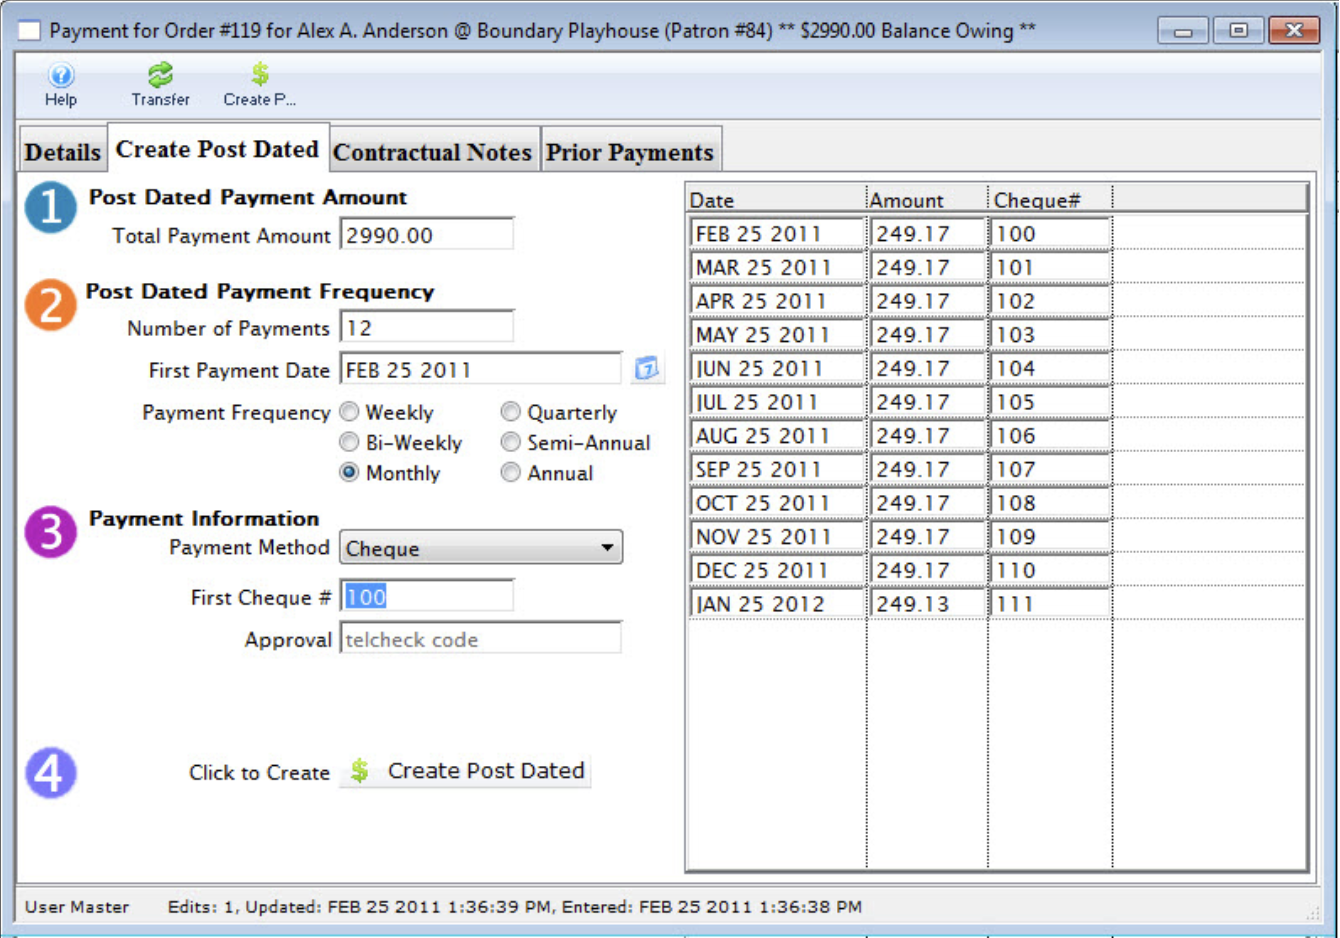
Create Post Dated Tab
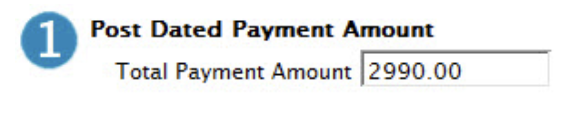
Change the total payment amount as required.
- See Next Step.
Create Post Dated Tab
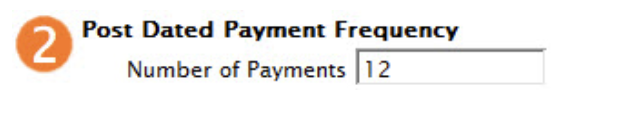
Enter the number of payments which will be made.
- Once you have entered the number of payments and moved the cursor from the field the schedule of payments will be created.
Create Post Dated Tab
Enter the first payment date.
- Type the first payment date or click the Calendar button to search the calendar.

Create Post Dated Tab
Select the frequency of the payments.
- Type the first payment date or click the Calendar button to search the calendar.

Create Post Dated Tab
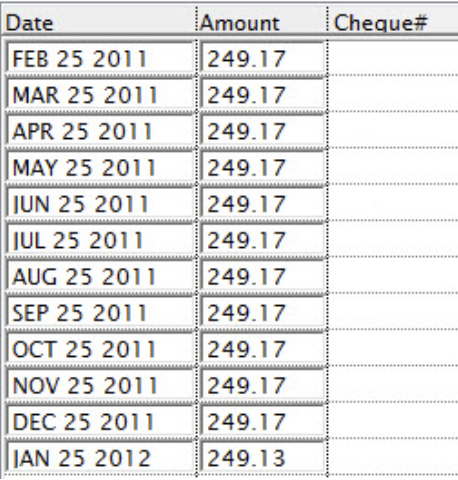
You can now change any of the suggested dates or the suggested amounts to create a customized payment plan. All you have to ensure is that the total of the amounts match the total of the post dated payments.
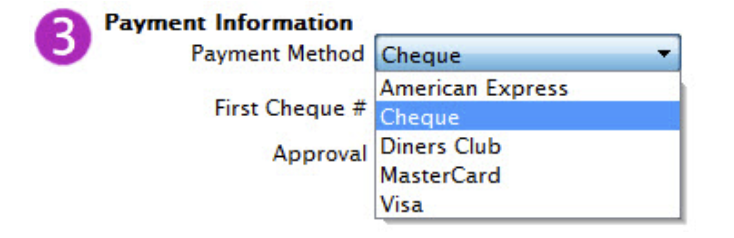
Select the Payment Method.
- See Next Steps
Create Post Dated Tab
8. Enter either the credit card number and expiry date or the cheque numbers next to the payment dates.
9.Click the Create Post Dated
 button to accept the payments.
- The balance on the order becomes zero. The payment window can now be closed.
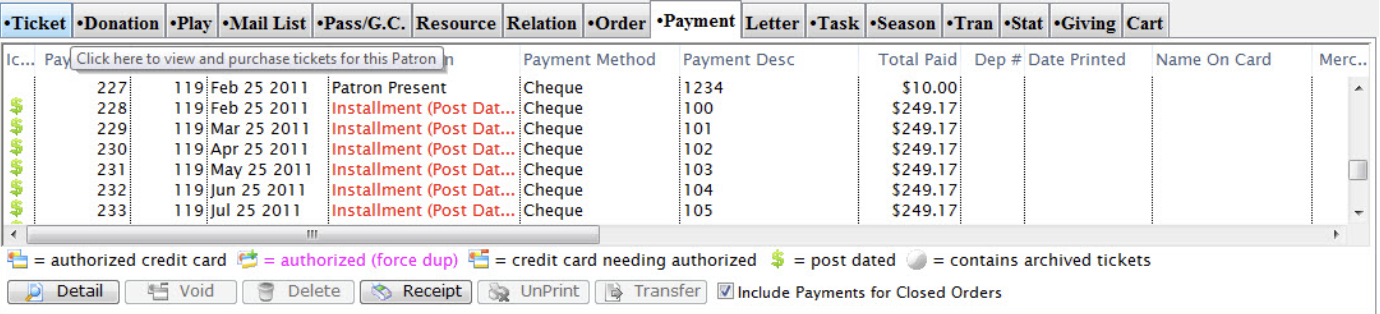
The payments can now be seen under the Payment
tab on the Patron window.
Notice that the Srce is labeled as PD(post-dated) and the deposit number is blank. This shows that they are future payments to be made by the patron.