Before proceeding, read about scheduled changes.
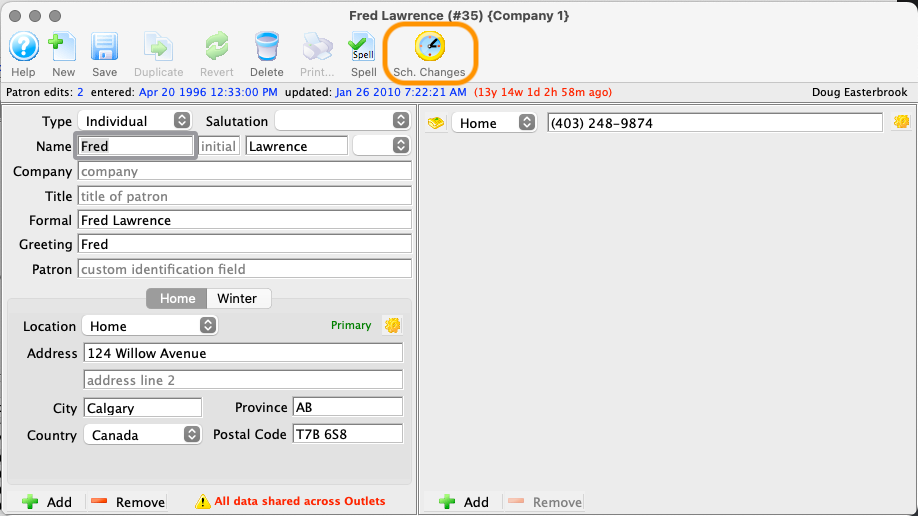
Open the Contact Card. Make sure all addresses, phone numbers, emails, etc that you wish to change to/from are correctly entered on the record. When ready, click the Sched Changes button.
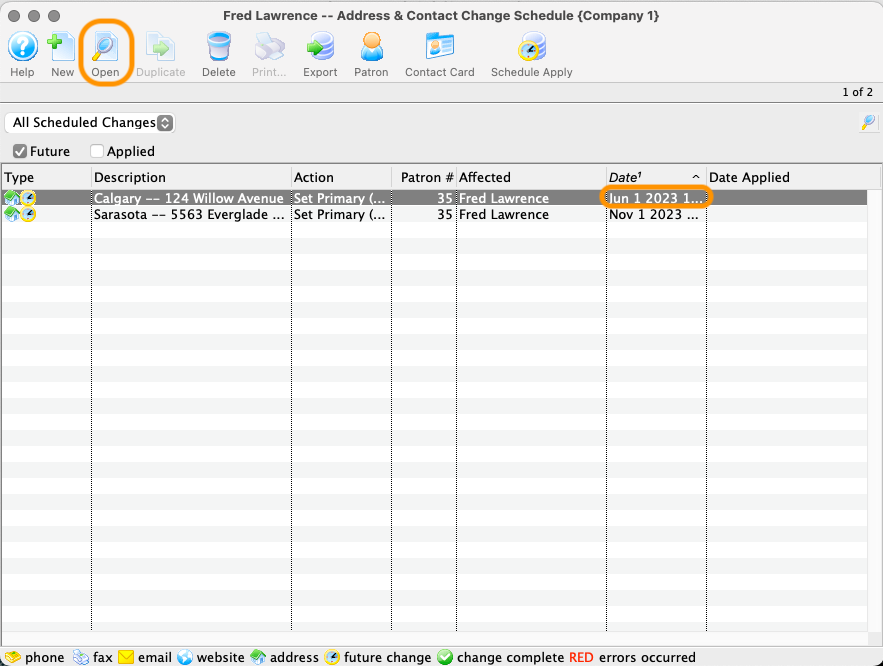
The Scheduled Changes List Window opens. Double-click a row (or select and click the Open button) to open the record for editing.
If you want to remove the record entirely, single-click to select a row and click the Remove button.
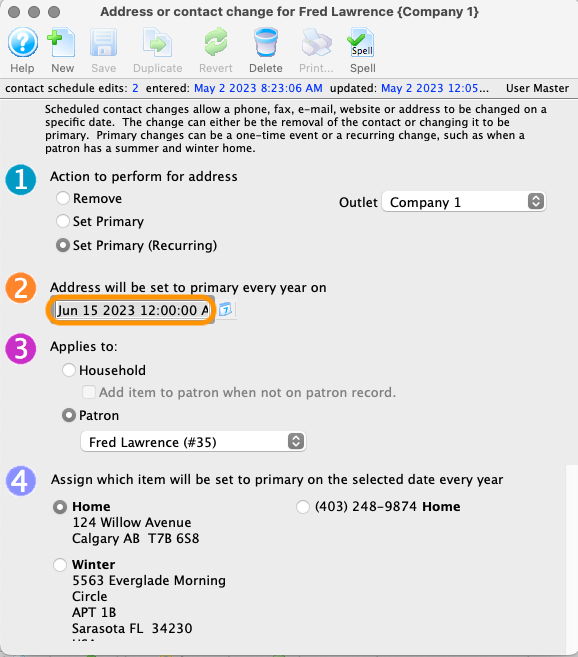
The Scheduled Changes Wizard opens with the previously saved choices. Change the appropriate radio button options for each of the four steps as required. In this example, we are only changing the date the change should occur. Click Save or close the window.
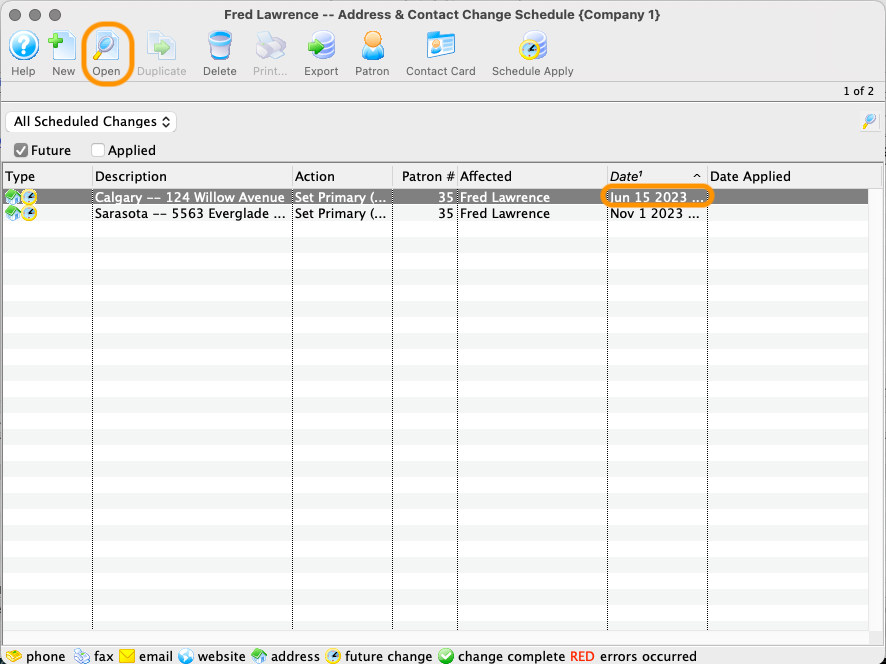
The Scheduled Changes List Window will now show the edited choices for the scheduled change record. Repeat steps 1-3 as needed for other entries.