Before proceeding, read about scheduled changes.
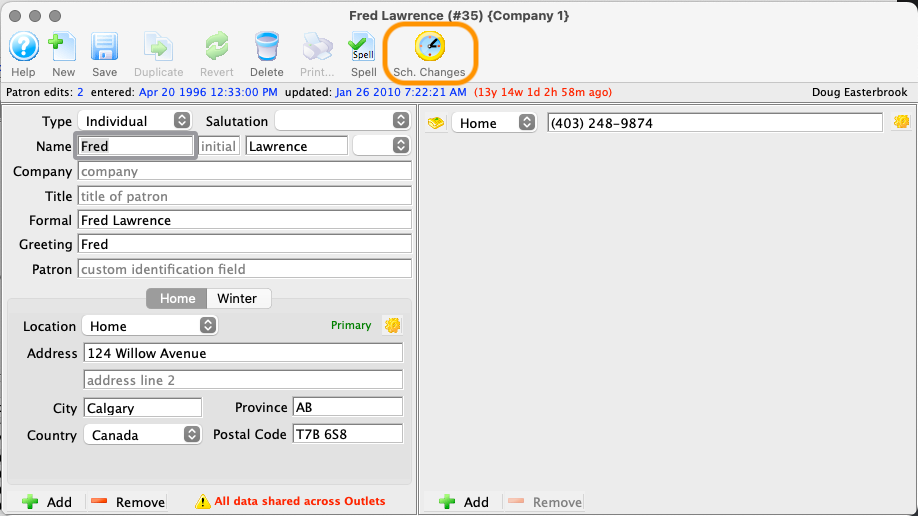
Open the Patron Window and then click on the patron's name to open the Contact Card. Make sure all addresses, phone numbers, emails, etc that you wish to change to/from are correctly entered on the record. When ready, click the Sched Changes button.
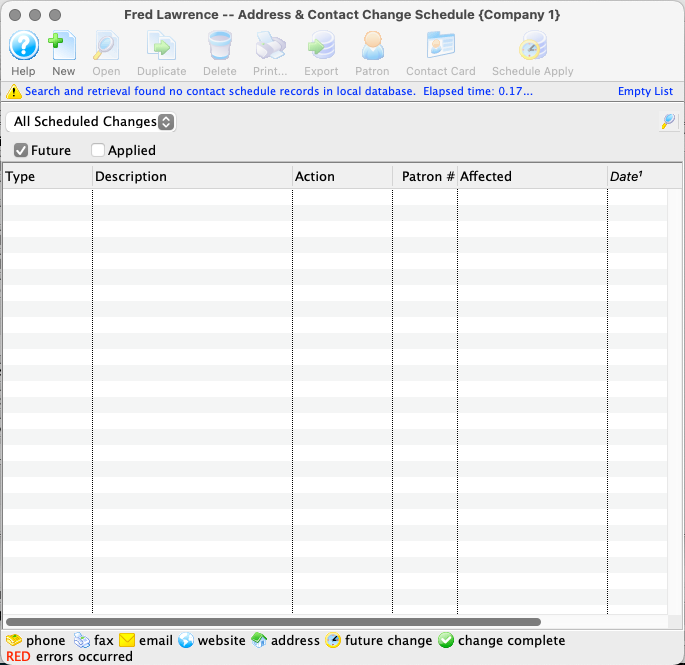
The Scheduled Changes List Window opens. The list will be blank if the patron does not yet have any scheduled changes in place.

Click the New button.
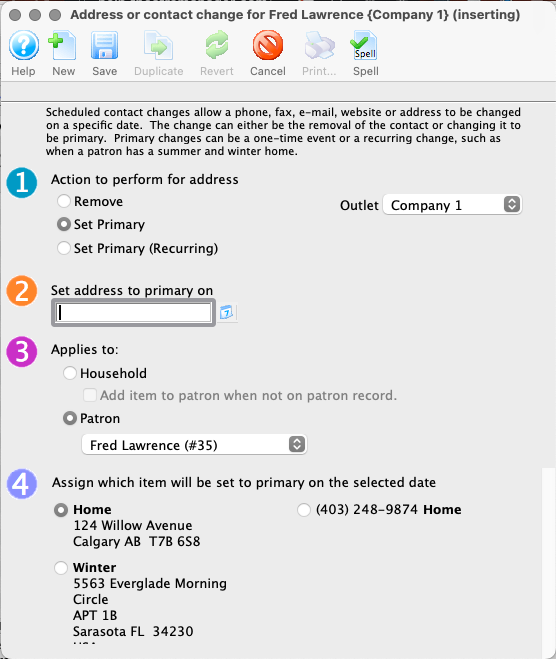
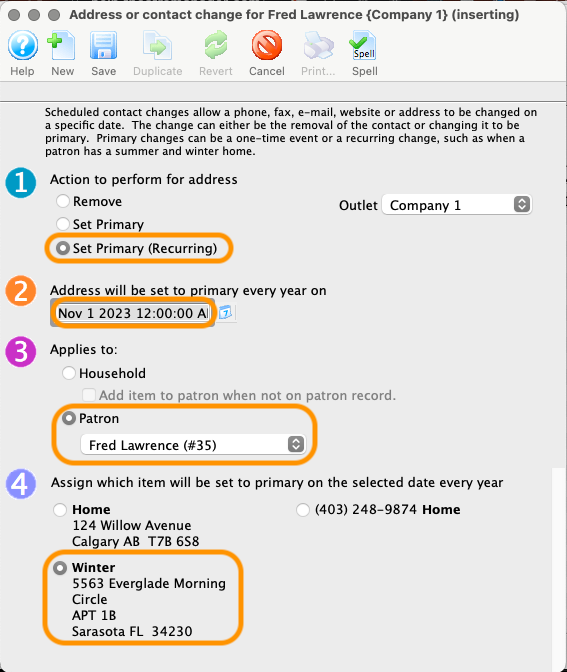
Select the appropriate radio button option for each of the four steps:
- Select the Action to perform for the the address/contact change.
- Use Set address to primary on to set the date on which the change should occur.
- Assign the change to the household or a specific patron in the Applies to step.
- Pick one of the addresses/contacts to change under the Assign which item will be set to primary on the selected date step.

Click the Save button.
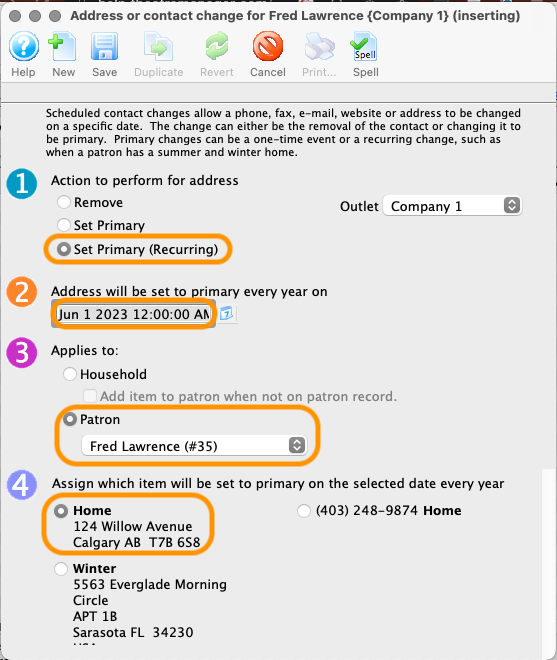
The vast majority of scheduled changes require at least two entries. Click the New button on your saved first scheduled change entry to open a new instance of the Scheduled Changes Wizard.
Select the appropriate items for each step of the wizard for this second entry.
Click Save. If needed, repeat steps 7-9 until you have entered and saved all of the necessary address and contact changes.
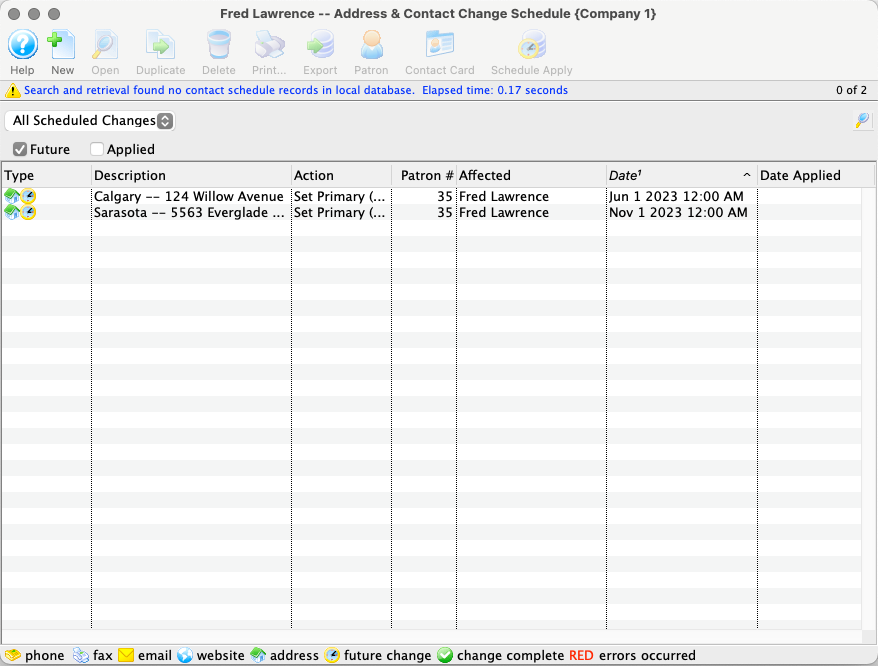
Once you close any open wizard windows, the Scheduled Changes List Window will now show all of your saved scheduled changes.