Microcom Printer Top
Convert to USB Top
Please Note
Theatre Manager uses IP protocols and does not require the installation of print drivers for ethernet printing.
Microcom Printers purchased through Artsman are configured for ethernet printing using FGL. To print using USB the printer settings need to be updated and Windows drivers installed. Attach the USB cable, included with shipping, to the printer.
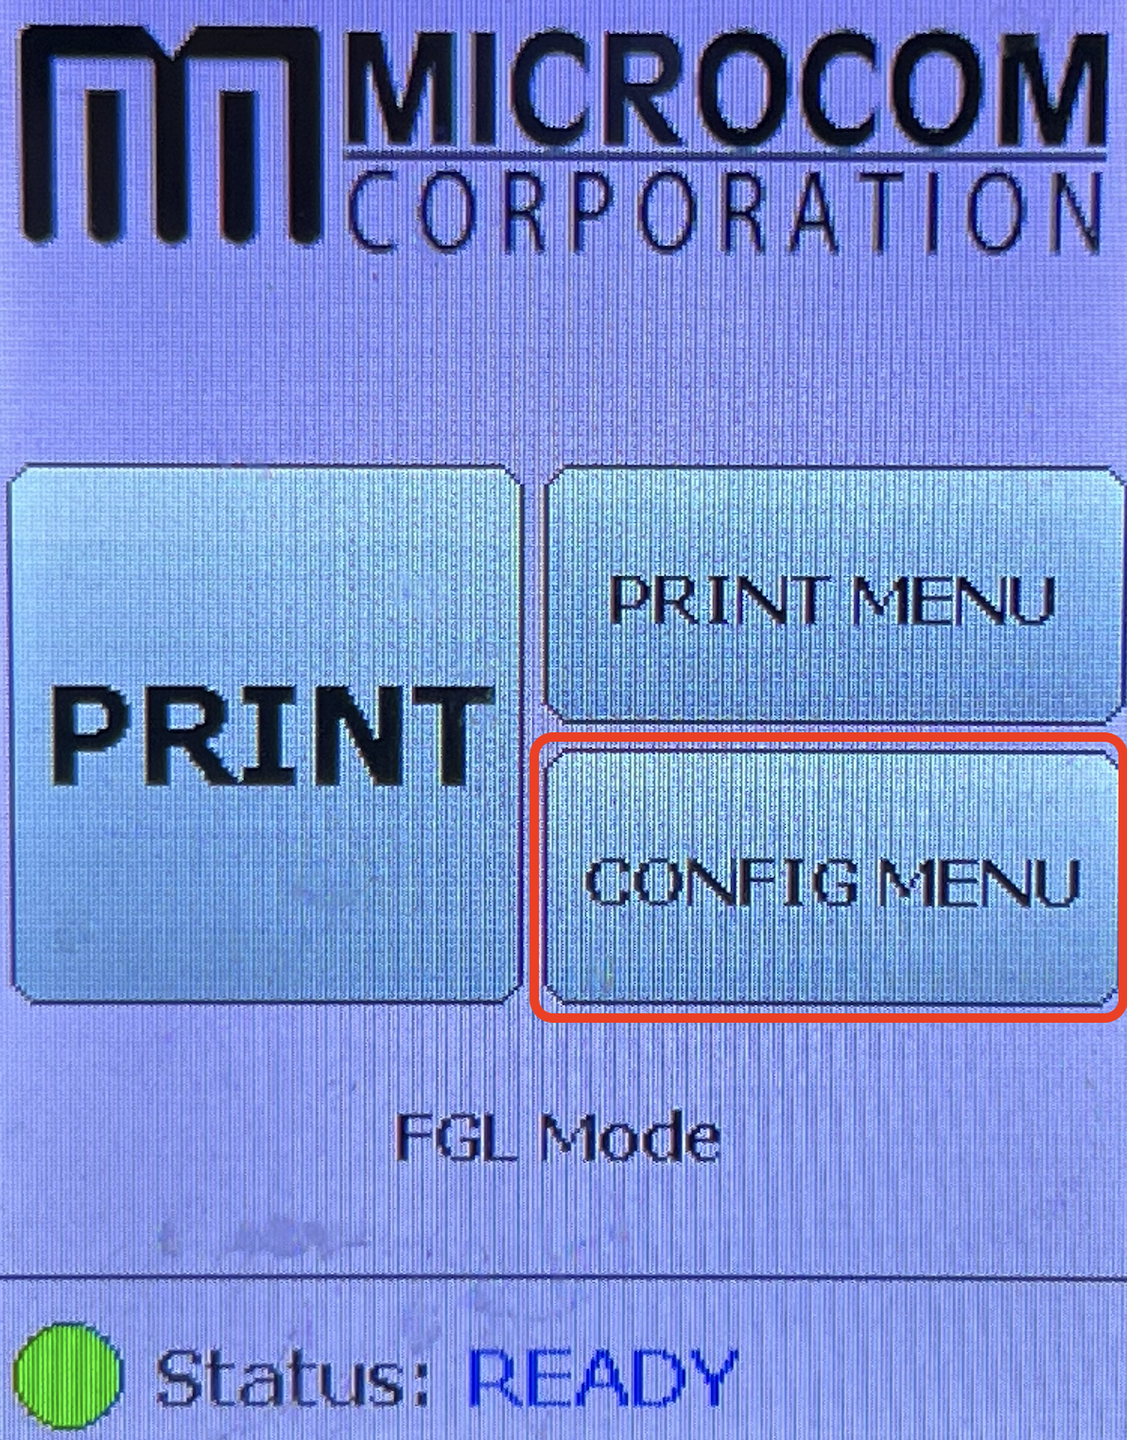
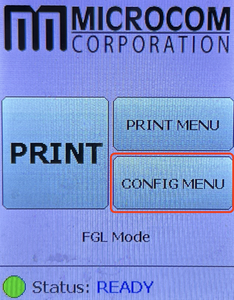
Select Config Menu
Once the display is active the option to select the Config Menu will be available.
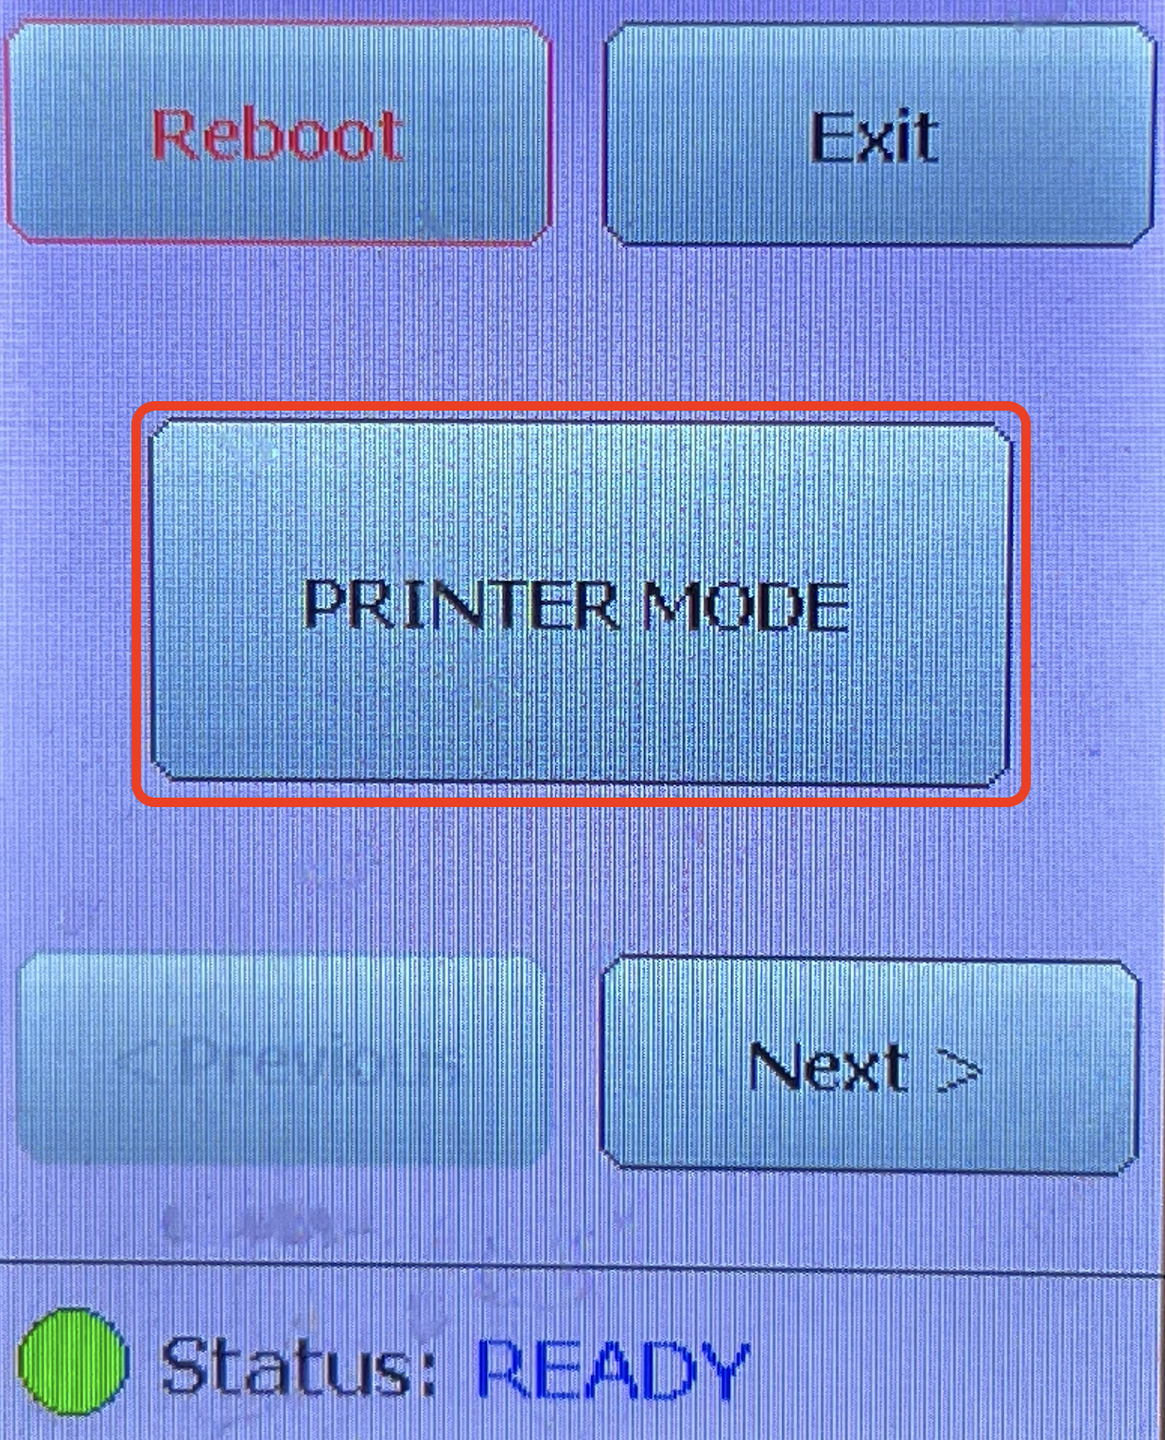
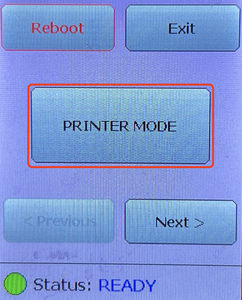
Select Printer Mode
The Printer Mode defines how the printer interprets the information received for printing.

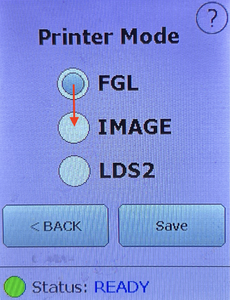
Select IMAGE
Move the bullet from the default FGL setting to IMAGE.
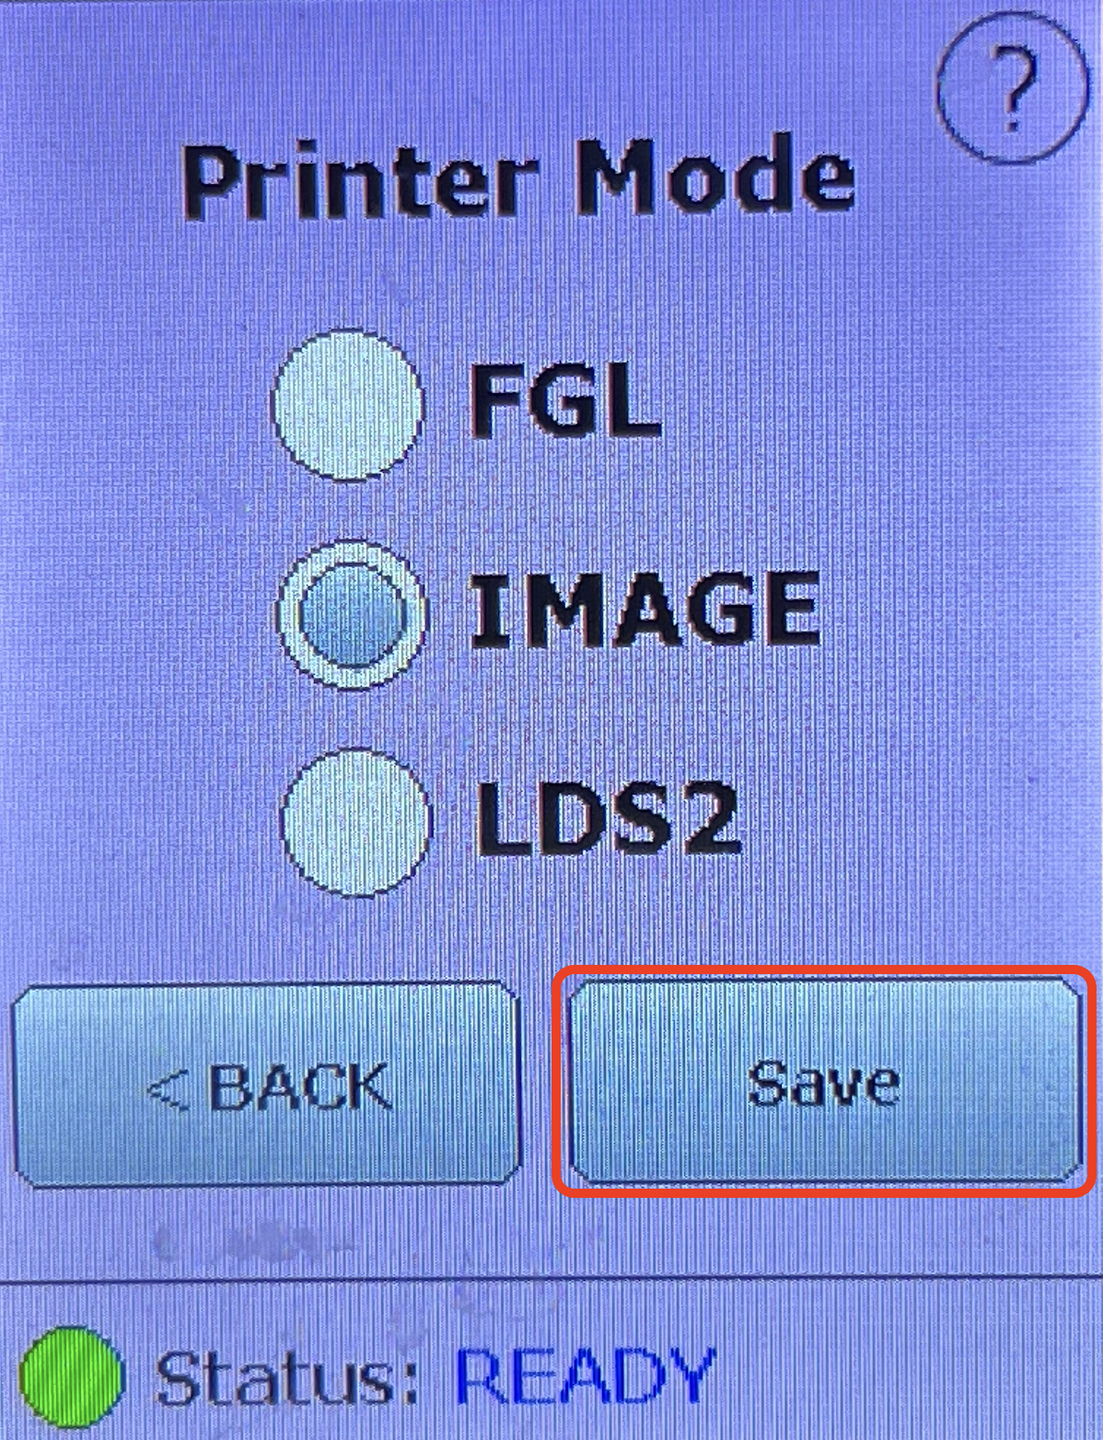
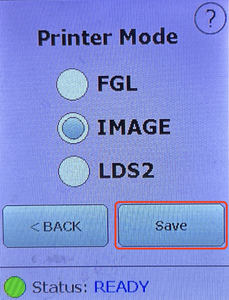
Select Save
The configuration will now be saved to the printer.
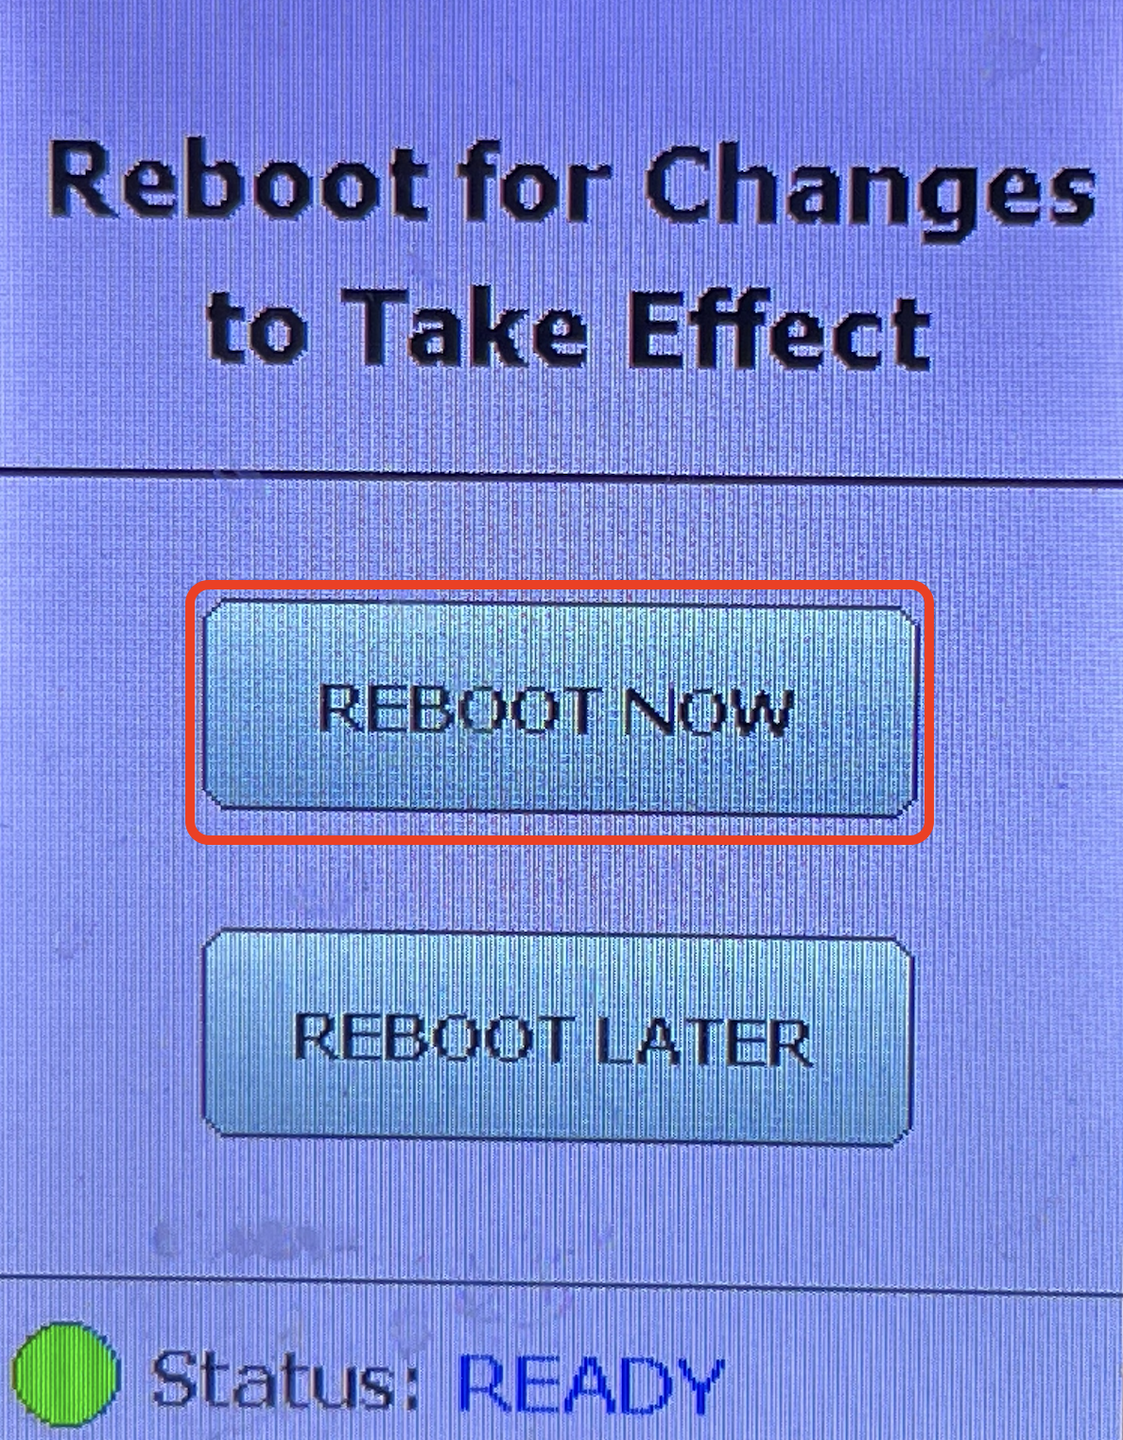
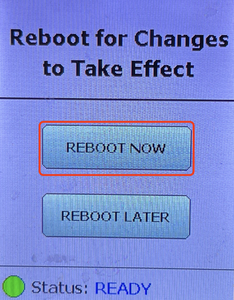
Select Reboot
This will begin the reboot cycle which may take up to a minute to complete.
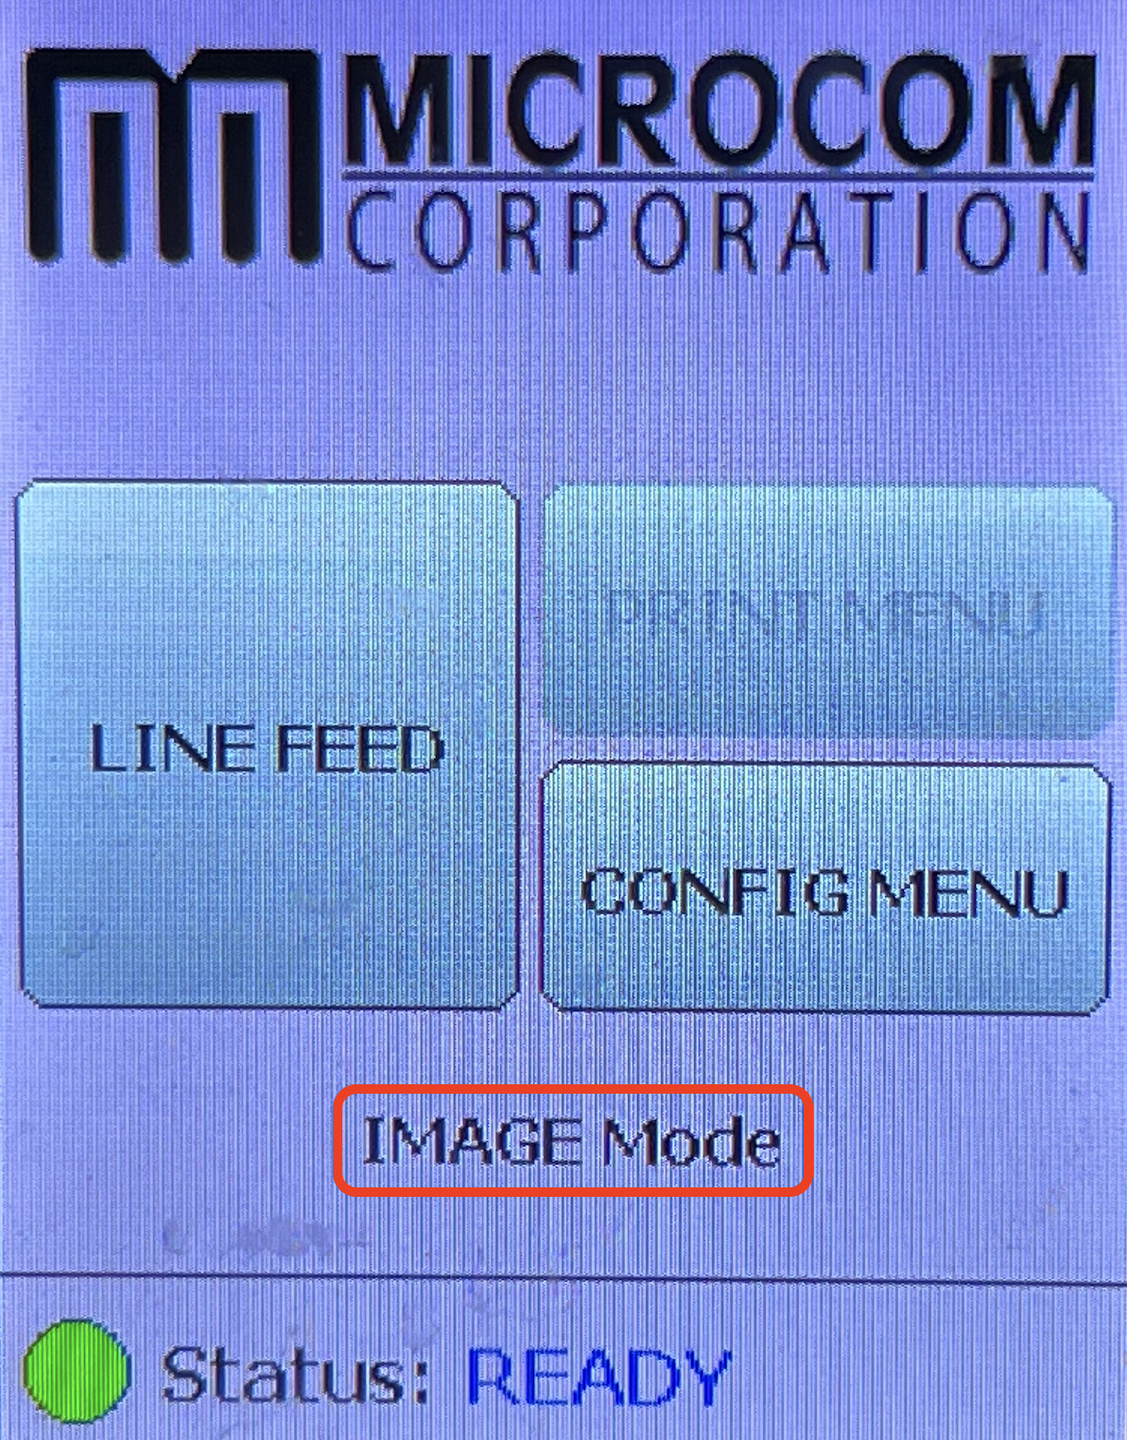

Review Display
Once the printer reboots the display will update to show IMAGE Mode.
Install Drivers Top

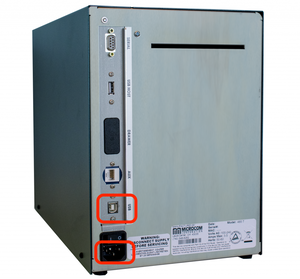
Connect the Power and USB Cables
The USB cable shipped with the printer.
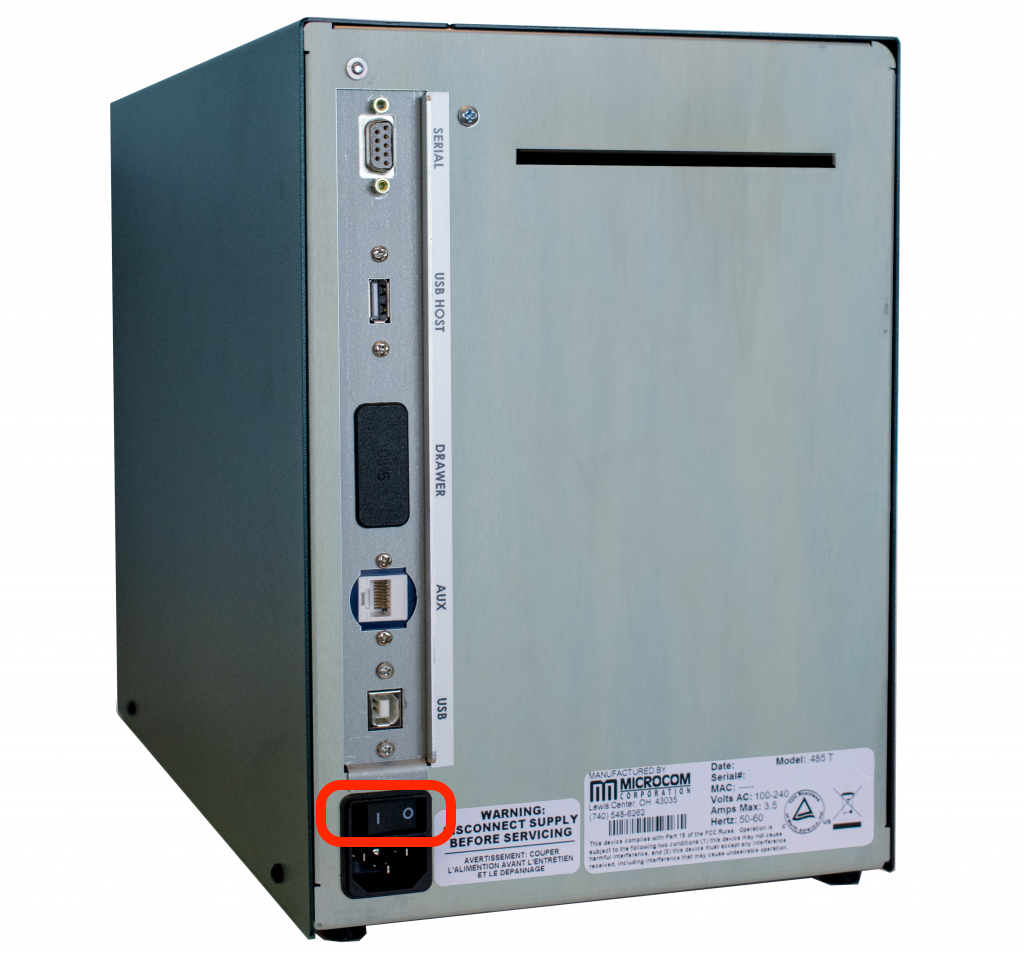

Power On the Printer
The power switch is located at the back of the printer just above the power cable.

Connect the USB Cable to the Computer
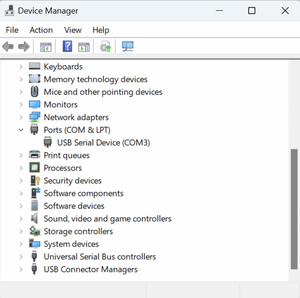
Windows should detect the USB and install the Microsoft CDC USB driver. The printer will show up as COM 3 (if not already in use) under Device Manager COM and LPT ports.

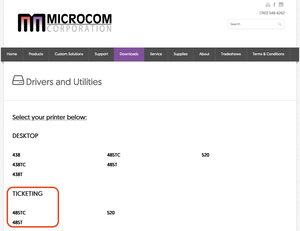
Download the Printer Driver
Navigate to the Microcom Corporation drivers page, select a printer, and download the driver.
Run the Driver Installer
Install the Windows driver for the 485T or TC 203dpi Cutter model. The installer should detect the printer and select the COM port.
Restart the Computer
Once the driver installation is complete restart the computer.
Connect the Printer to the Computer
Connect the USB cable from the printer to the computer.
Congratulations! The printer is now ready to print using a USB connection. Use the Print Test Page option in the device set up to print a ticket.
Practical Automation Top
Changing IP Address Top
Warning
The printer and the computer need to be on the same network to change the IP address. If the printer IP is not within the local network range the computer will need to be disconnected from the network, a static IP assigned, and connected directly to the printer using a null cable.
Connect the Computer and Printer to the Same Network and Power On the Printer.
Download the PANetwork Tool
The installer for the Practical Automation Tool can be downloaded from http://www2.artsman.com/Software/PANetworkUtilityVB-1.1.zip.
Extract the Zip File
When the download is complete, extract the ZIP file into a new folder anywhere that is easily accessible.
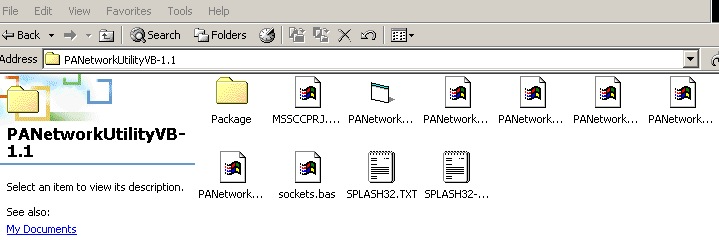
Open the Folder
There will be a number of files.
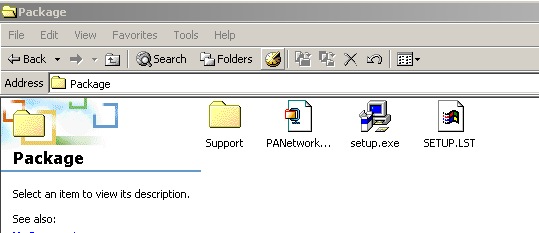
Open the Package Folder
Open the folder labeled Package and find the file labeled setup.exe.
Double-click the Setup File
Follow the prompts to complete the setup complete the installation.
Navigate Up One Folder
After the installation is complete, return to the previous level in the folder that the Practical Automation Tool was extracted to. Do this by pressing the Back button or the Up button.
Open the PANetwork Program
In the Practical Automation Tool folder, double-click on the PANetwork program to start it.
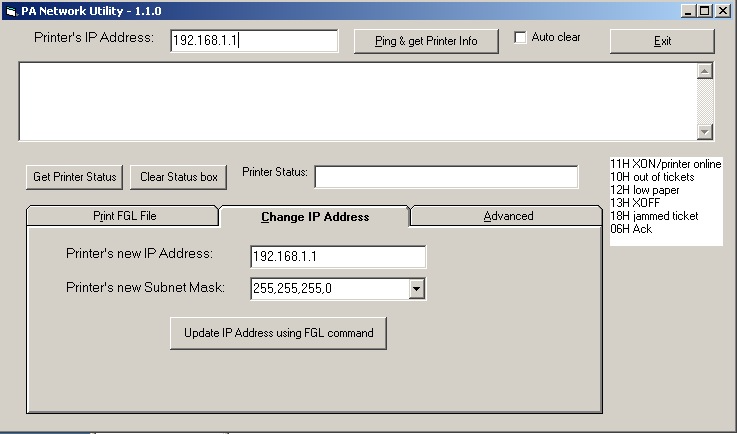
Enter the Printer IP Address
By default the printer ships with an IP address of 192.168.1.1. If the IP address has previously been updated it can be located on a test ticket generated by the printer. Turn the printer off. hold down the F0 key and power on the printer. Do not let go of the F0 key until the printer beeps or a ticket prints.
Test the Connectivity
Click the Ping & Get Printer Info button. If the computer can reach the printer the dialogue box below the IP address will populate.
Open the Change IP Address Tab
This is located in the middle of the window halfway down.
Change the IP Address and Subnet Mask
The IP address should be changed to an available address in the network. Check with IT to confirm an available address. Often the Subnet mask does not need to be changed. Again. check with IT.
Click the Update IP Address using FGL Command button
Once the settings are saved, the IP address at the top of the program will need to be changed to reflect the new IP address, and to re-connect to the printer.
Verify the Settings
To verify the settings, turn off the printer. Hold down the F0 button and turn the printer on. A ticket will print containing the IP address of the printer.
Once IP address is set, the device will need to be adjusted in Theatre Manager to connect to the new printer. Click here for more information on changing a user's ticket printer settings.
Error Code Table - Flash/Beep Top
S = Short Beep
L = Long Beep
3 Beeps Top
- L-S-S - Ticket Not Taken Condition
- S-L-S - Ticket Not Present
- L-L-S - Printhead Too Hot/Cold - wait
- S-S-L - Average Power - wait
- L-S-L - Data Communication Error - warning
4 Beeps Top
- L-S-S-S - Paper Path Jam/Error
- S-L-S-S - Cutter Operational Error
- L-L-S-S - Transport Presenter Error
- S-S-L-S - Paper Output Error
- L-S-L-S - Registration Mark Detection Error
- S-L-L-S - Printhead Pressure Release Level Error
- L-L-L-S - Out of Paper Error
- S-S-S-L - Interface Data Error
5 Beeps Top
- L-S-S-S-S - MPU/System Error
- S-L-S-S-S - RAM Fault Error
- L-L-S-S-S - EEPROM Checksum Error
- S-S-L-S-S - FLASH Memory Error
- L-S-L-S-S - Character Generator Memory Error
- S-L-L-S-S - IMAGE Memory Error
- L-L-L-S-S - Analog to Digital Converter Error
- S-S-S-L-S - FPGA/ASIC Error
- L-S-S-L-S - Voltage Error
- S-L-S-L-S - Printhead Thermistor Error
- S-S-L-L-S - Printhead Data Error
- L-S-L-L-S - Printhead Print Resistor Error
- L-S-L-L-S - Cutter Initialization Error
- S-L-L-L-S - Configuration Strap Error
- L-L-L-L-S - Miscellaneous Error
Disable SNMP Top
Disabling any unused service from the network, as per PCI DSS standard 2.2.2, may require you to disable the SNMP service from the ticket printer. This would only apply to 'Ethernet' ticket printers as parallel, serial, and USB cabled ticket printers do not offer the SNMP service.
If you are required to disable the SNMP service, there is an application/utility called the "Device Installer" that will allow you to make these changes. You can find this utility at http://www.lantronix.com under Support/Downloads. Download this application/utility to update the software within the ticket printer.
Please contact your local IT department for assistance making this change.
Reset to Factory Defaults Top
To reset the printer EEPROM settings to factory default, Press the following key sequence:
- On power up, press [F1] to enter Diagnostics.
- Press [F0] for Special Functions.
- Press and hold [F1] for 5 seconds until 5 rapid beeps are heard.
- Release the button and cycle the power.
Install Drivers Top
Please Note
Theatre Manager does not require the installation of print drivers for ethernet printing.
When a Windows driver is required for a Practical Automation printer configured to use an ethernet connection, use a Generic/Text Only driver. Navigate to Bluetooth & Devices and follow the steps below:

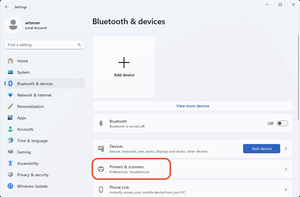
Select Printers & Scanners
Choose the printers & scanners option to view existing devices and add a new printer.

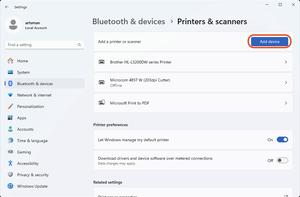
Click the Add Device Button
Windows will search the network for available printers. The Practical Automation printer is not detectable and will require manual entry.
Click Add Manually
This setting will take a few moments to appear. Use the add manually option to access the driver setup wizard.
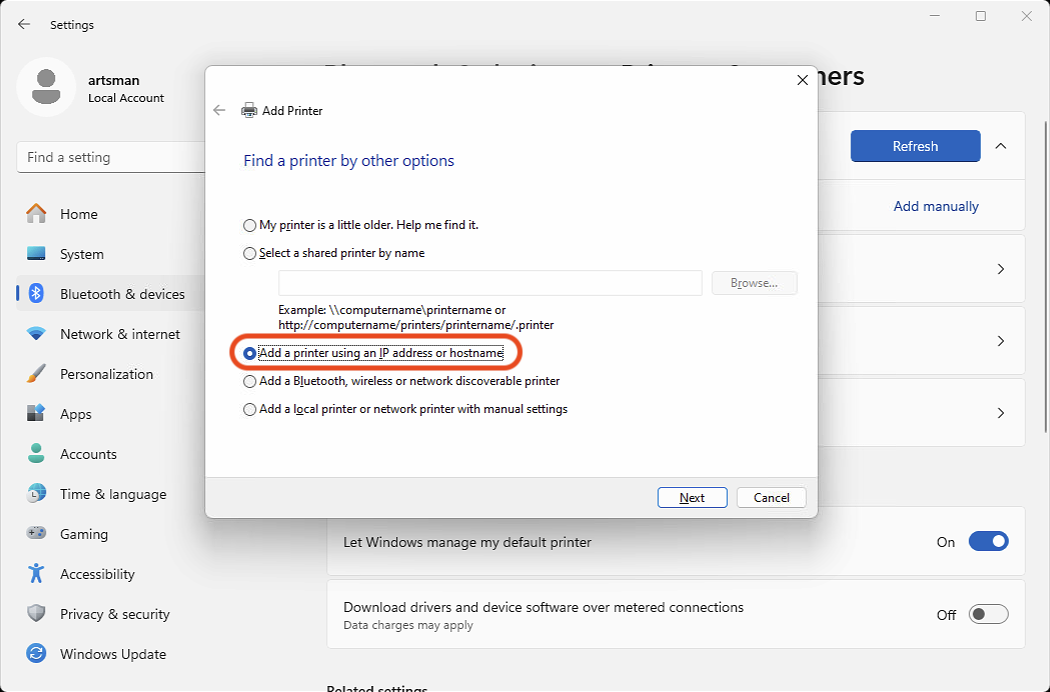
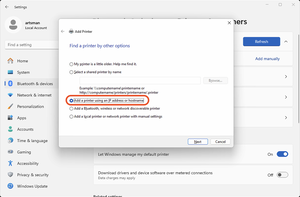
Select Add a Printer Using an IP Address or Hostname
Practical Automation printers purchased through Artsman will be configured with an ethernet adapter. The driver will use the static IP address assigned to the printer. Select the IP address or hostname option anc click the next button.
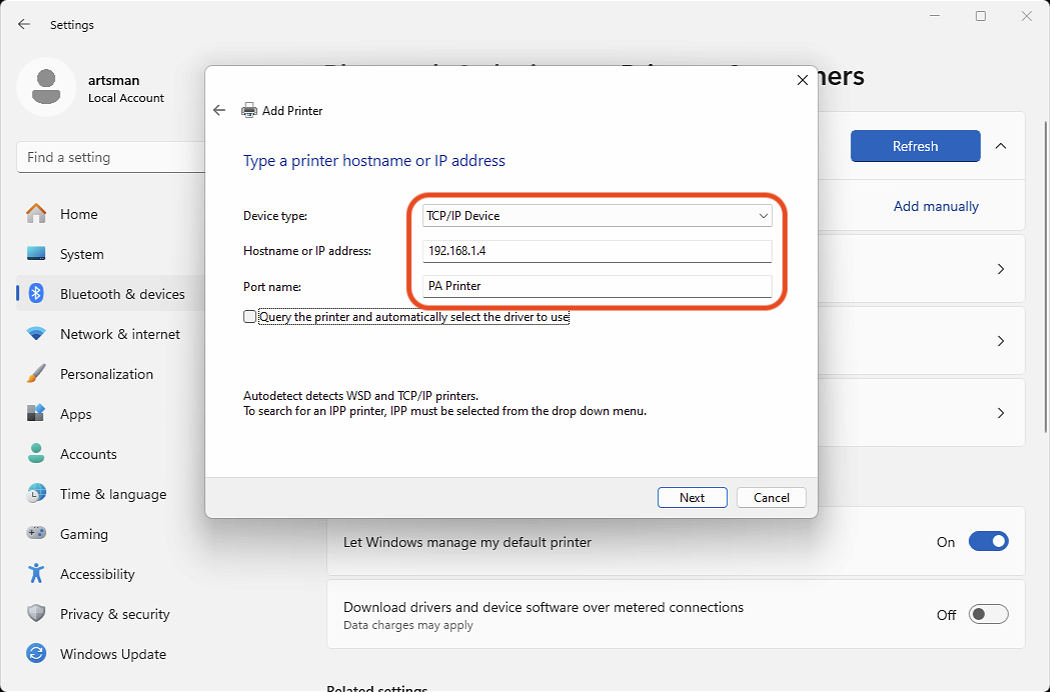
Enter the Device Settings
Enter the following settings:
- Device Type: TCP/IP Device
- Hostname or IP Address: Static IP assigned to the printer
- Port Name: PA Printer
Click the next button.
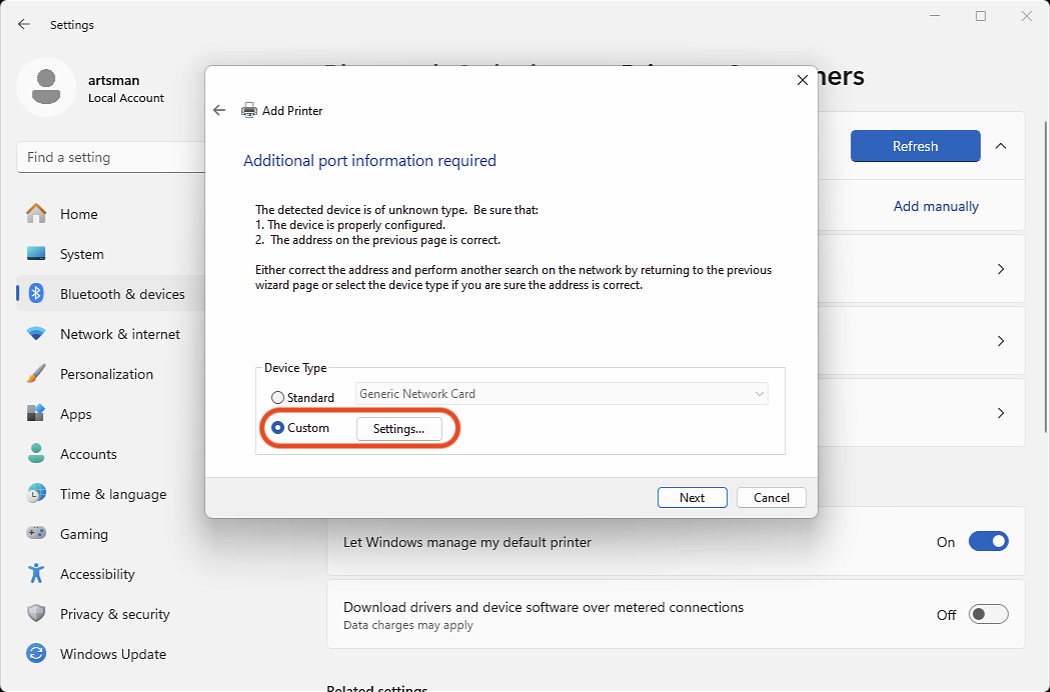
Select Custom and Click Settings
Practical Automation printers use a custom printer port. Clicking the settings button will access the port settings and allow for defining the port.
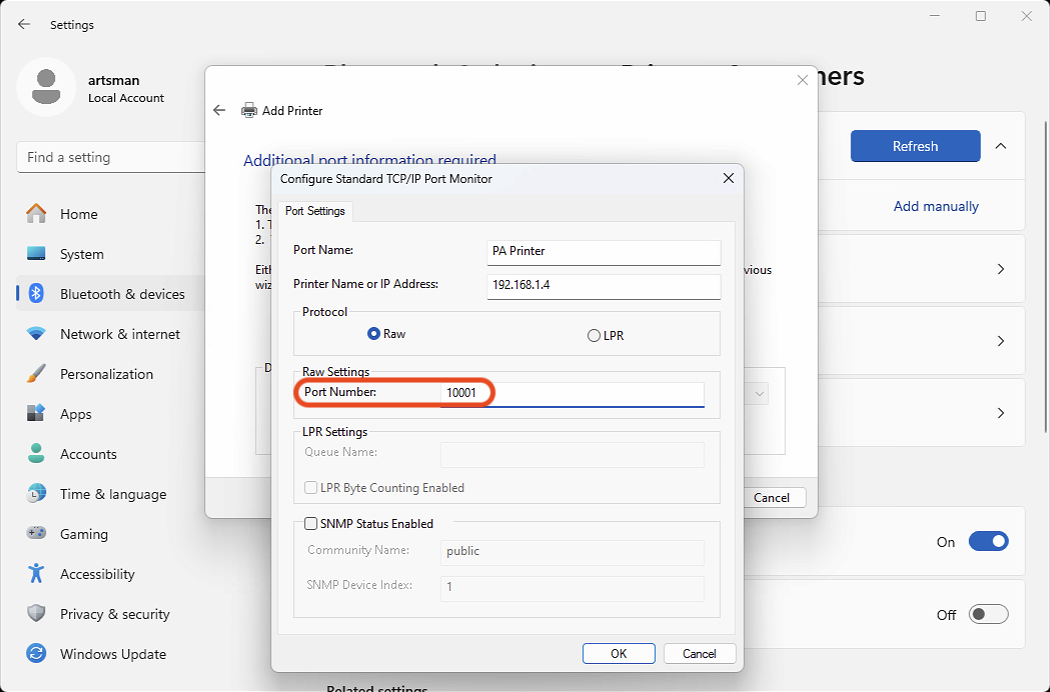
Enter the Port Number
Update the port number field to 10001 and click the OK button.
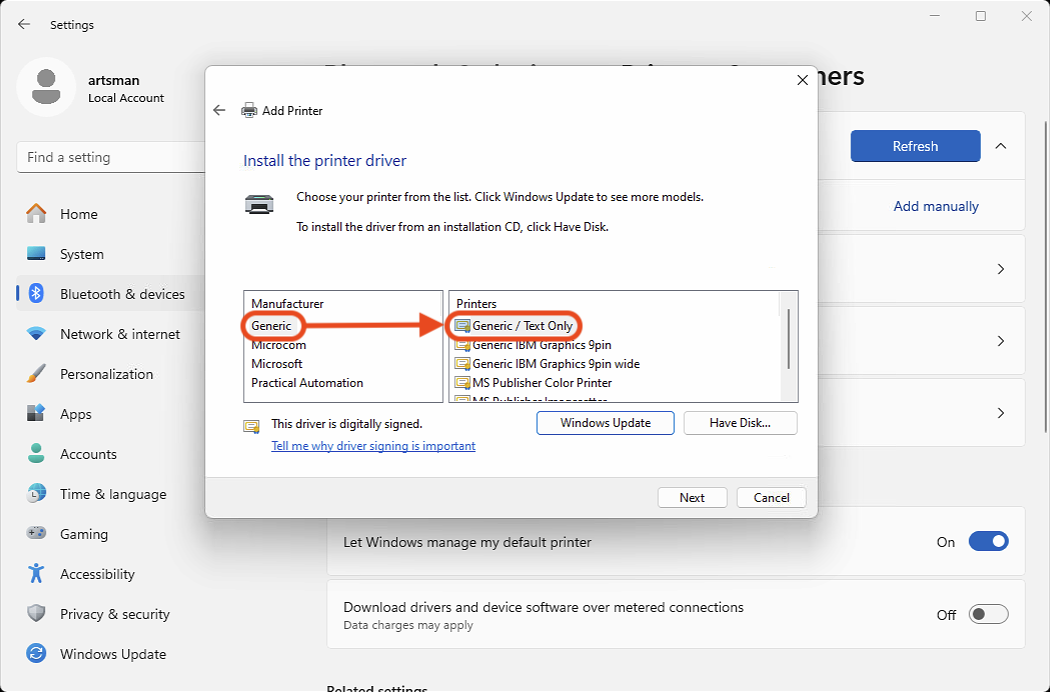

Select Generic / Text Only
Practical Automation printers do not use custom drives to communicate with the printer. Select the generic / text online option and click the next button.
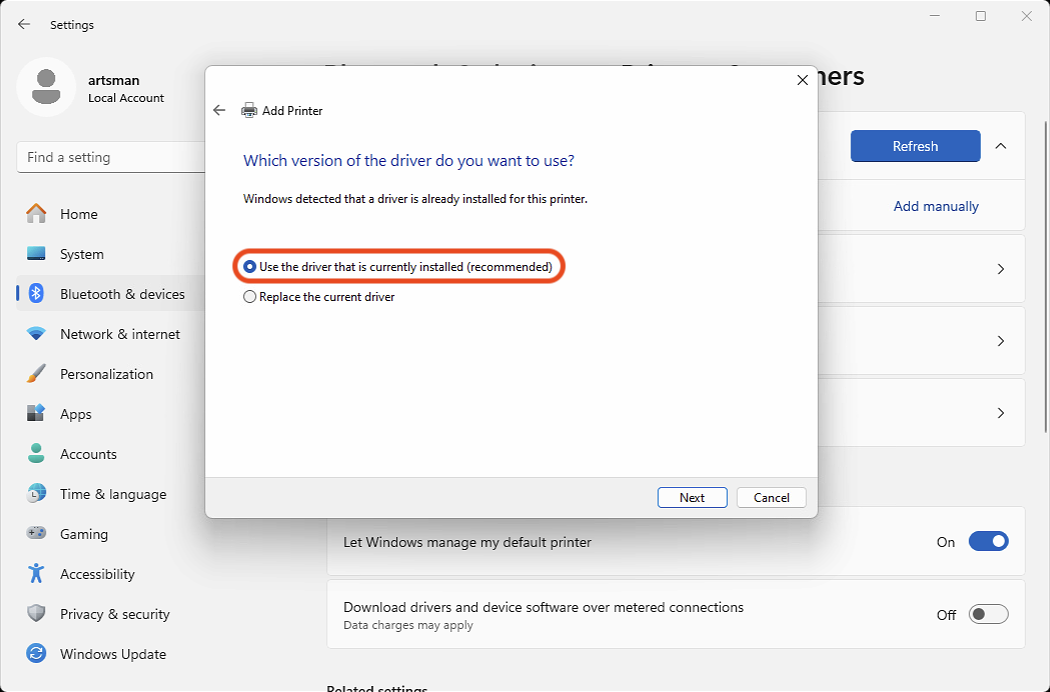

Select Use The Driver That Is Currently Installed
Additional drivers are not required. Choose the currently installed option and click the next button.

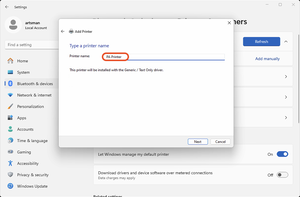
Enter a Printer Name
The printer name will be displayed under Windows Printers & Scanners. Assign a name that clearly represents the printer and click the next button.
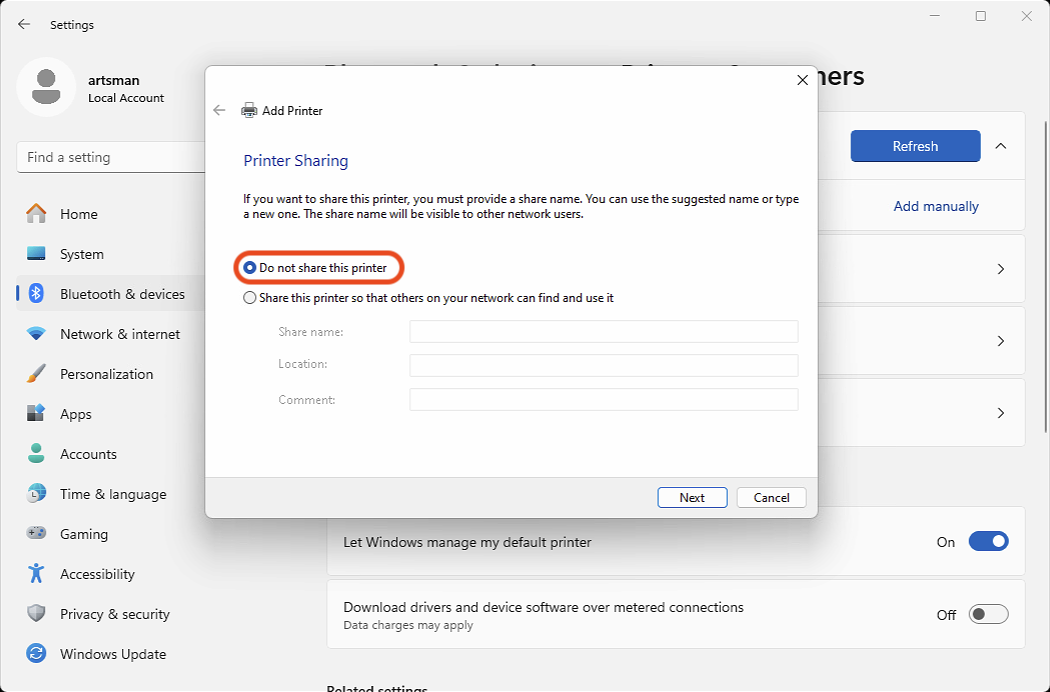
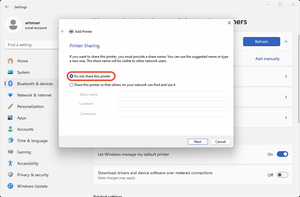
Select Do Not Share This Printer
The printer does not require sharing as it will be accessible across the network using the IP address. Select not to share the printer and click the next button.
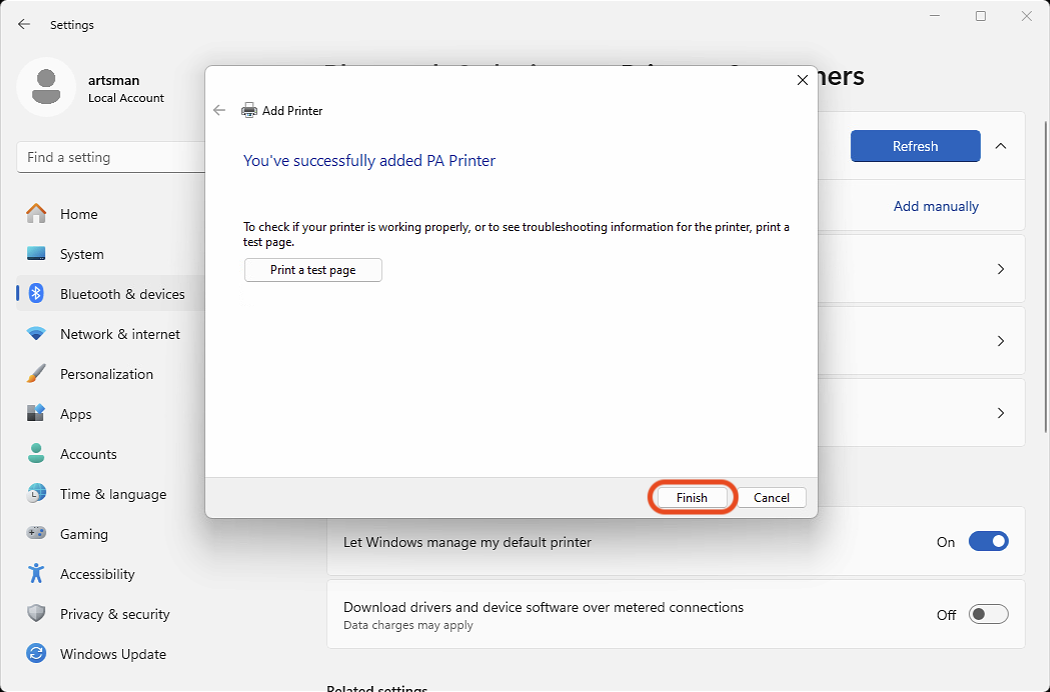
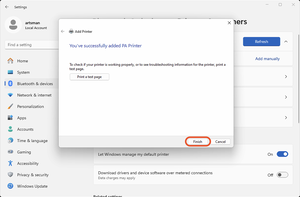
Click Finish
The printer is now configured. The print test page button can be used to generate a test ticket. The test ticket will appear as overlapping text. When testing is finished click the finish button.