Best Practice
If you are new to giving levels, please review some examples of giving level matrices and make sure you understand the rules for giving levels before proceeding.
Start a new giving level entry
- Go to Setup >> System Tables >> Donation Giving Levels to open the Giving Level List Window
- Click the New button
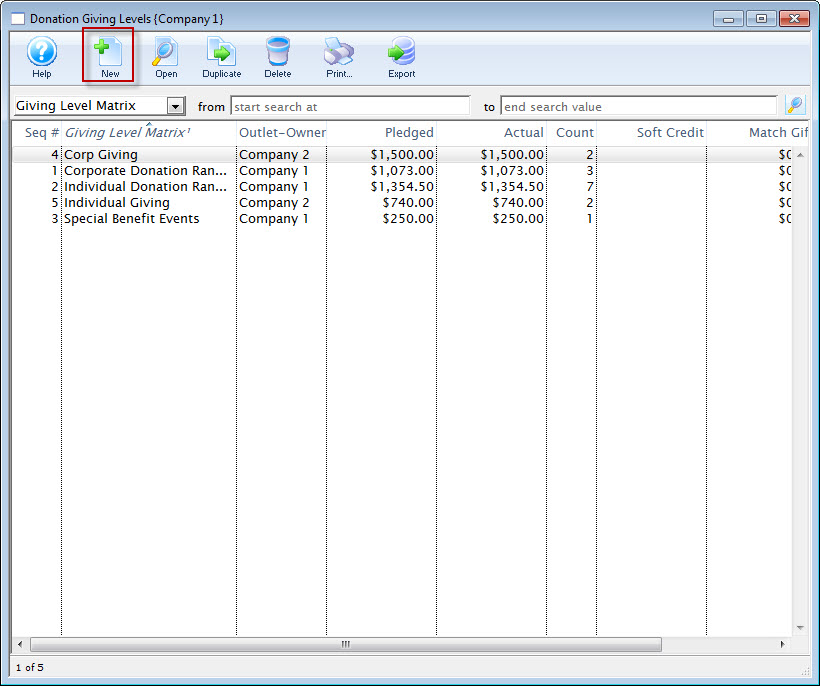
Giving Level List Window
Enter a name for the new giving level matrix
- On the blank Giving Level Detail Window, enter a name for the matrix (e.g.
Individual GivingorSponsorships)
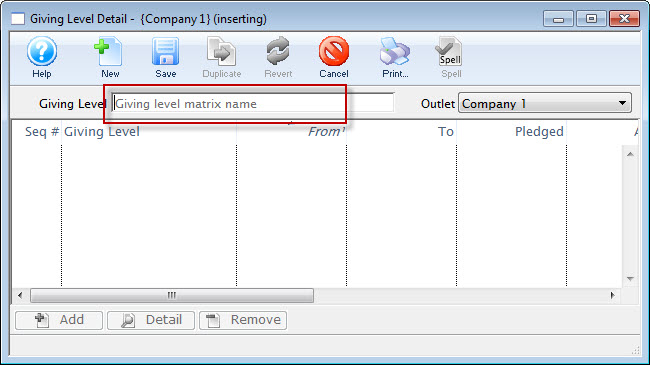
Blank Giving Level Detail Window
Save the record
- Click the Save button to make the detail tabs available for completion

Giving Level Detail Window >> Save Button
Start adding the first giving level range
- Click the Add button (only accessible after you have saved a matrix name)

Add Giving Level Range Button
Enter the details for the newly named range
- On the Giving Level Range Tab, enter a Giving Level Name, Lower Limit, and Upper Limit (e.g.
Bronze,.01,99.00)
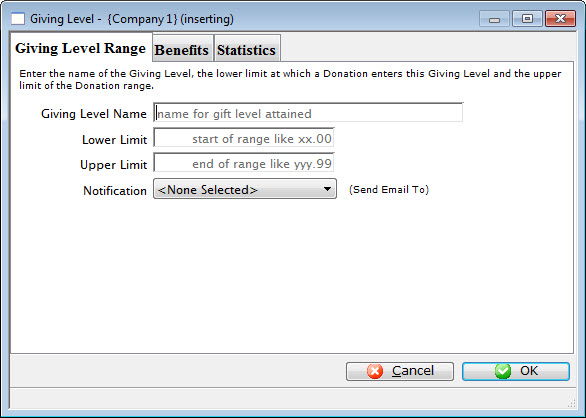
Giving Level Range Tab
If desired, select a workflow notification for automatic emails to be sent when gifts are made and attached to the range
- Select a workflow notification from the dropdown
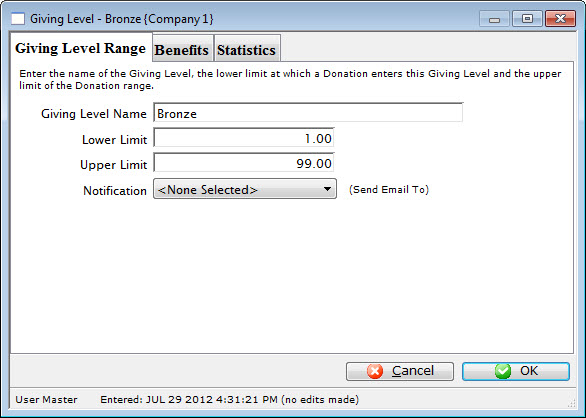
Giving Level Range Tab
If relevant, enter the benefit amount associated with the range
- If there is a benefit that should reduce the tax-value of the receipt, go to the Giving Level Benefits Tab
- Enter a description of the benefits associated with the giving level
- Specify the non-tax-receiptable portion of the donation (e.g. giving at the $100 level may include a dinner valued at $25, so $25 would be entered as the non-receiptable portion)

Giving Level Benefits Tab
Save your newly entered range
- Click the OK button to save the giving level range
- Repeat steps 4 through 8 until you have have covered all possible numerical values for the matrix ($0.01 through $99,999,999,999.99) without any overlaps

OK Button