To create a new donation campaign, you perform the following steps:
Open the Campaign List Window
- Go to Setup >> System Tables >> Donation Campaigns to open the Campaign List Window.
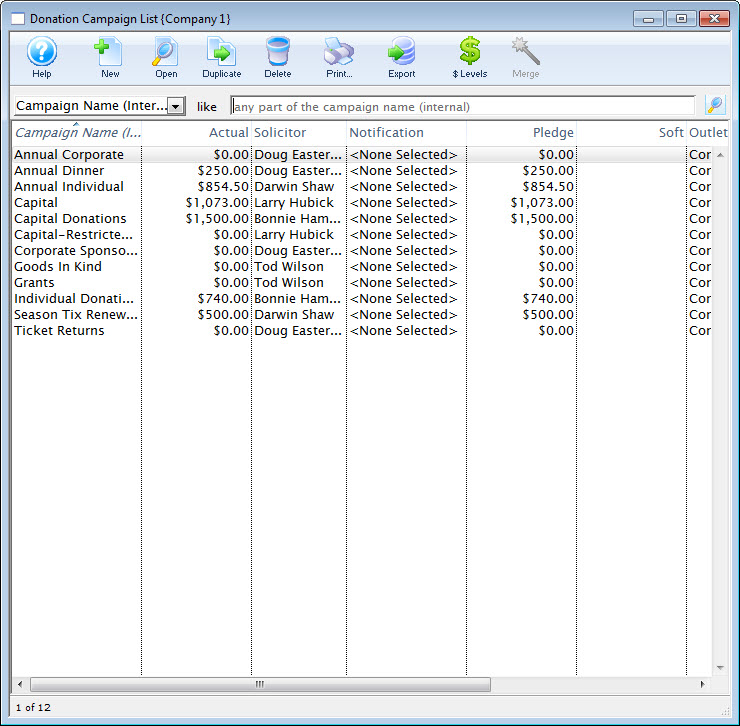
Campaign List Window

Start a new campaign insertion process
- Click the New button to open a blank Campaign Detail Window

New Button

Complete the Description Tab fields
- On the Description Tab, enter the pertinent details:
- Campaign Name
- External Name (appropriate for patron communication and the online Ticketing Site)
- Campaign Start and End (optional)
- Leave the Campaign End Date blank for an ongoing campaign Default Solicitor
- Defaults to the current user but can be overridden using the employee lookup button
- Ticket Face (optional)
- Add a ticket face here if you want an extra specific-looking thermal ticket face printed for donations taken at the box office
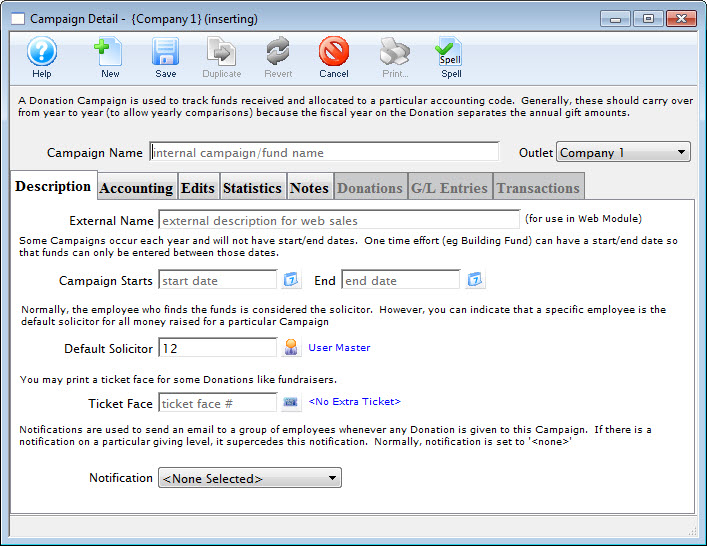
Campaign Detail Window

Add accounts to the Account Tab
- On the Accounting Tab, enter the appropriate G/L accounts.
- If this is a restricted campaign (one which deposits to a bank account OTHER THAN the operating account), check the Restricted Campaign box and fill in the appropriate bank account. Otherwise, leave the restricted bank account area empty.
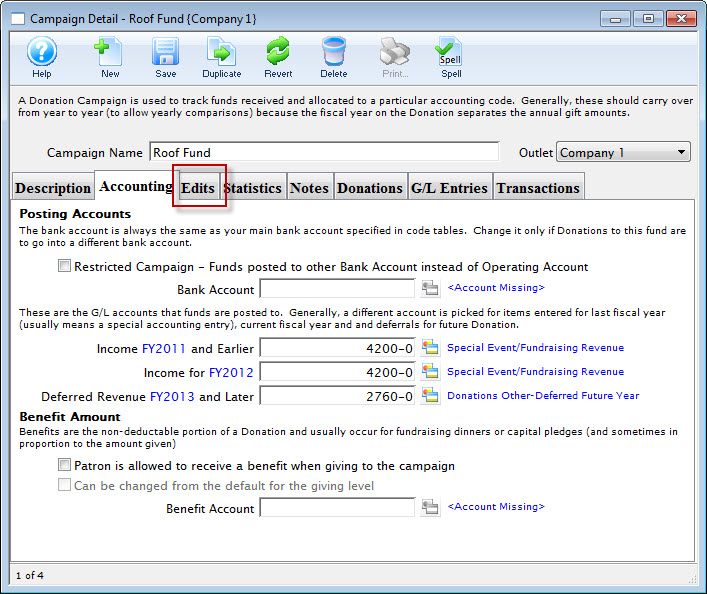
Campaign Accounting Tab

Review the Edit tab options as complete as needed
- On the Edits Tab, select the appropriate Giving Level
- Select where the donations can be accepted for this campaign
- If for any reason tax receipts should not be printed for donations to this campaign, uncheck the Print Receipts for Campaign box
- For campaigns available online, enter suggested amounts in the Suggested Web Amount Donation area to automatically create donation quick links
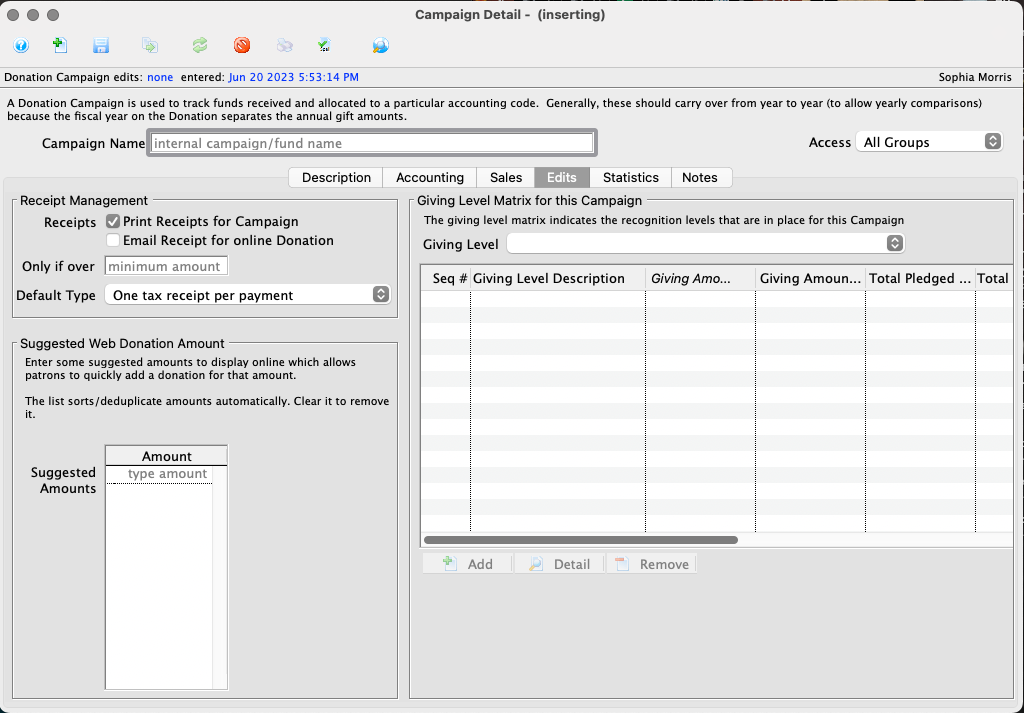
Campaign Edits Tab

Enter a target (optional) on the Statistics Tab
- On the Statistics Tab, enter a Total Target amount
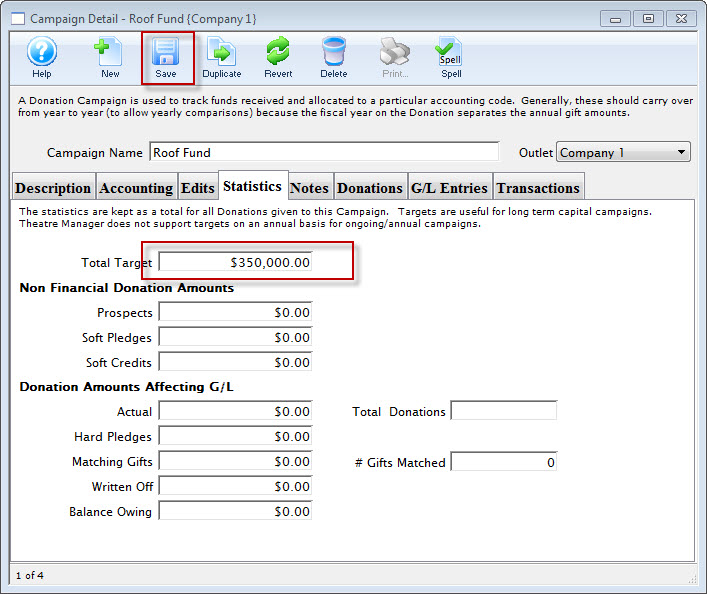
Campaign Statistics Tab

Save the campaign
- Click the Save button

Save Button

The campaign will now be displayed in the Campaign List Window.