Before proceeding, read about data imports and review the five general import steps.
Caution
Artsman strongly recommends making a backup of the database before attempting a data import.
Before proceeding, make sure you understand import files and matching fields.
Once you have prepared your import file, here are the steps for importing patron data into your database.
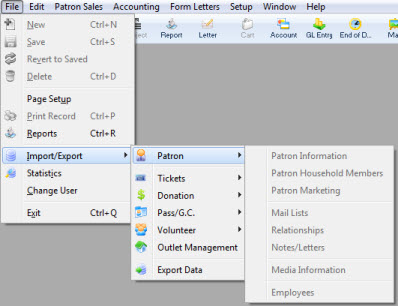
Navigate to the Import Wizard via the Main Toolbar at File >> Import/Export >> Patron >> Patron.
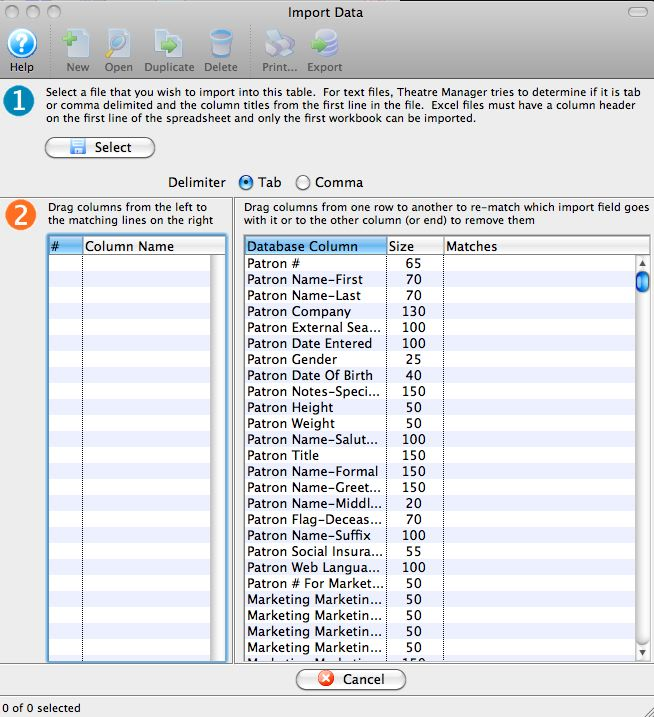
On the File Selection Window, set the Delimiter format to either Tab or Comma and then click the Select button to pick the import file.
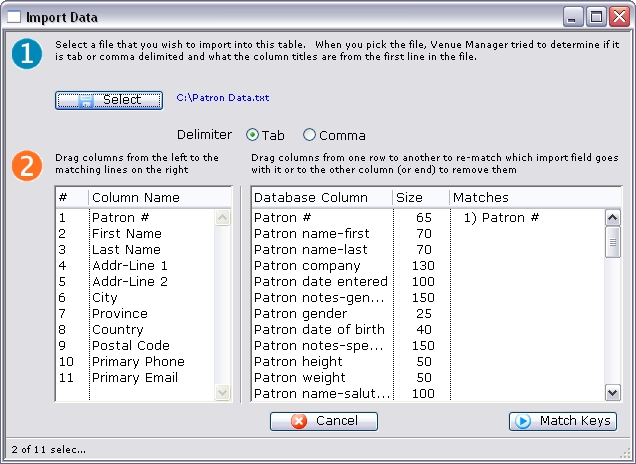
The Open File Dialogue will open on your operating system. Find and select the import file, which returns you to the File Selection Window with the column headers listed in the Step 2 area on the left.
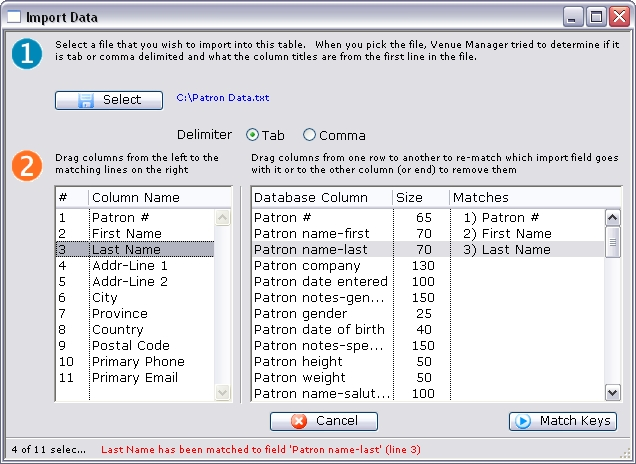
From the Step 2 area on the left, drag and drop columns headers to the corresponding Theatre Manager database column listed on the right. Once all fields have been matched, click the Match Keys button on the bottom right.
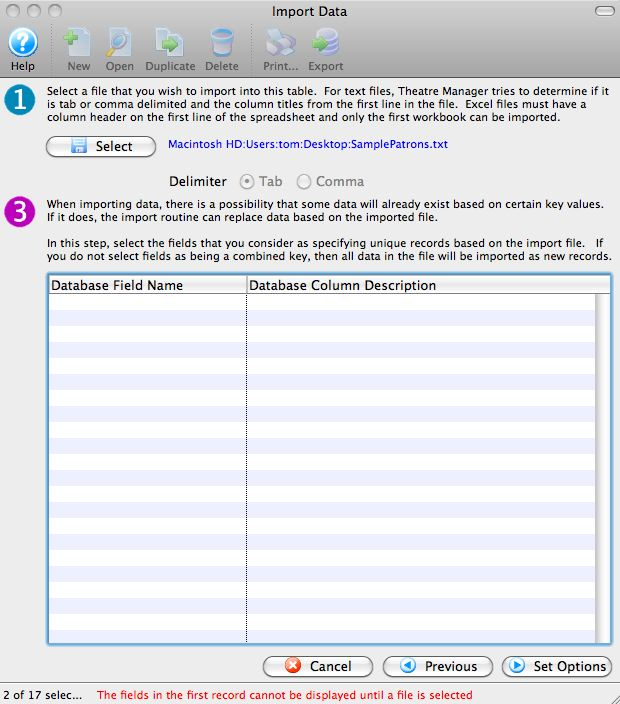
If your import file has a unique matching key, most likely the MKT_C_SEQ column header, it will appear in the Step 3 area of the Matching Field Window. Any rows without a matching record will be imported as new records. If this screen does not list a matching field, then your entire file will be imported as new records. Click the Set Options button.
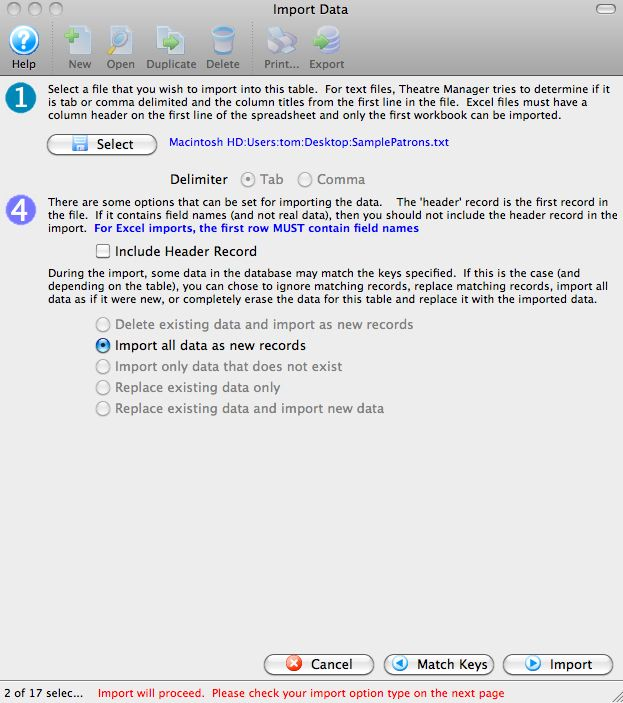
On the Import Options Window, check the Include Header Record box if your file contains importable data in the column header (this is unusual). If your file contains a matching field, select the appropriate import process from the Step 4 area. Files without a matching field only allow the options Import all data as new records. When your setting are complete, click the Import button.
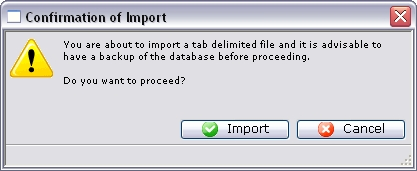
A confirmation warning popup will appear. If you are confident that a recent database backup is in place, click the Import button to start the import process.

While the import process is running, refer to the progress bar (by default on the bottom of the window). Depending on how much data is being imported, the routine can take some time to run.
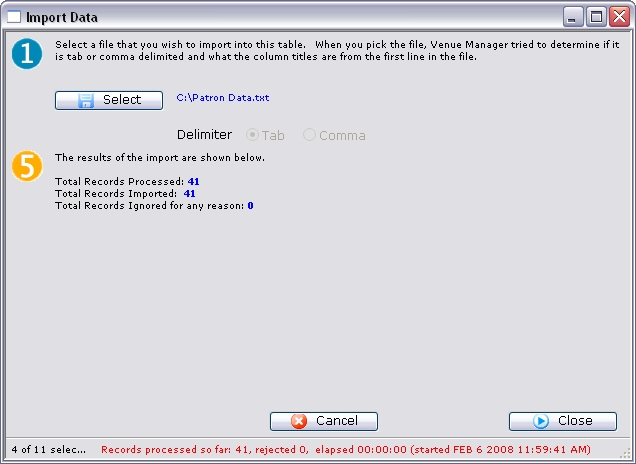
When the import is complete, the window will show a final Step 5 area on screen with a summary of the process. Review this information and then click the Close button.