Before proceeding, read about data exports.
Export From Any List Top
Check out the related how-to for exporting from a mail list and tutorials for exporting from the event list, and exporting the city lookup table
You can export any table list in Theatre Manager via the following steps:
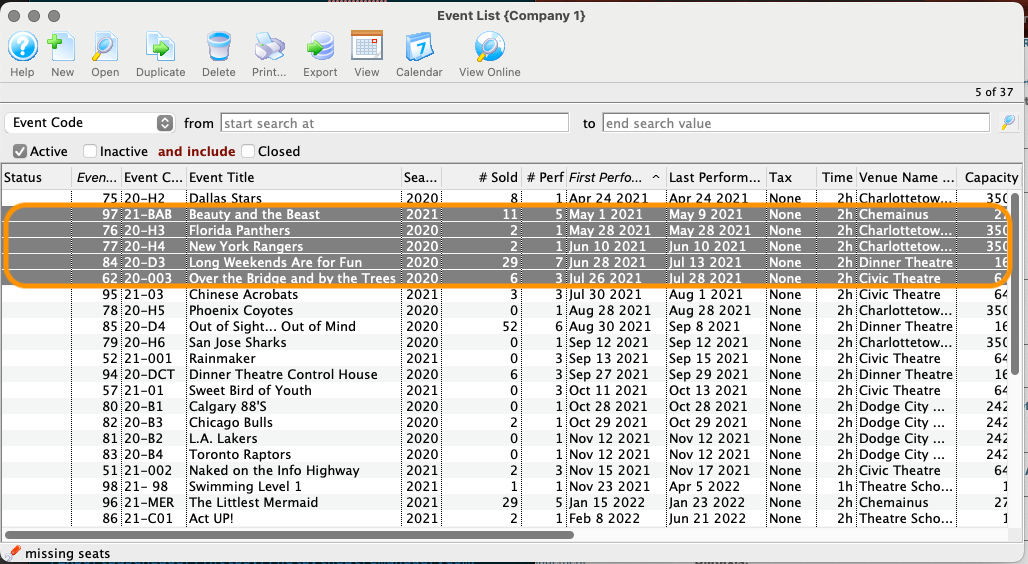
Adjust the visible columns of your table to include all columns you want to export, then select the rows from the list you wish to export. To select the entire table quickly, use control-a on a Windows or command-a on a Mac.
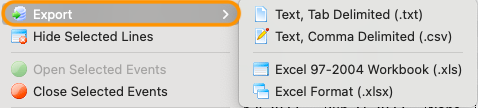
Click the Export button if visible. If not visible, right-click (control-click on a Mac) your selected lines, select the Export export option, then select the output format (e.g. .txt., .csv, .xlsx, etc).

On the Export List Popup, set the Save As name and download location (Where) as desired. Click Save. The file will export the selected rows and all visible columns from the current Theatre Manager view.
Export From Reports Top
Check out the related tutorial for exporting season ticket data.
Export From Finished Report Window Top
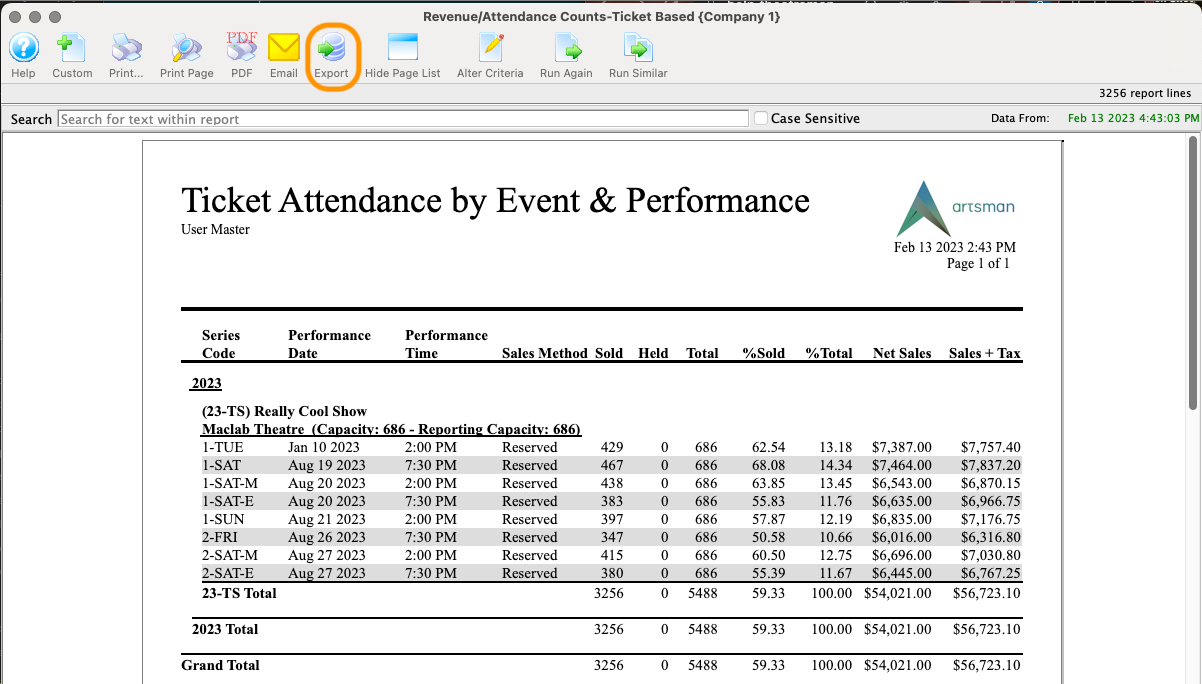

Select the desired export output format. This opens the Export List Window,
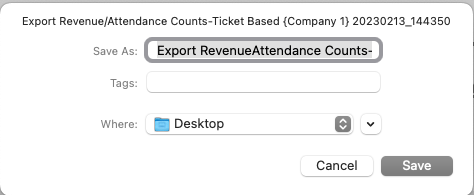
On the Export List Window, set the Save As name and download location (Where) as desired. Click Save. The file content structure depends on the specific report settings and output format selected.
Export from Export Data Report Top
The following assumes you are already familiar with using data files and basic database queries.
Here are the basic steps for running the Export Data Report.
Start the export data report process from one of two places:
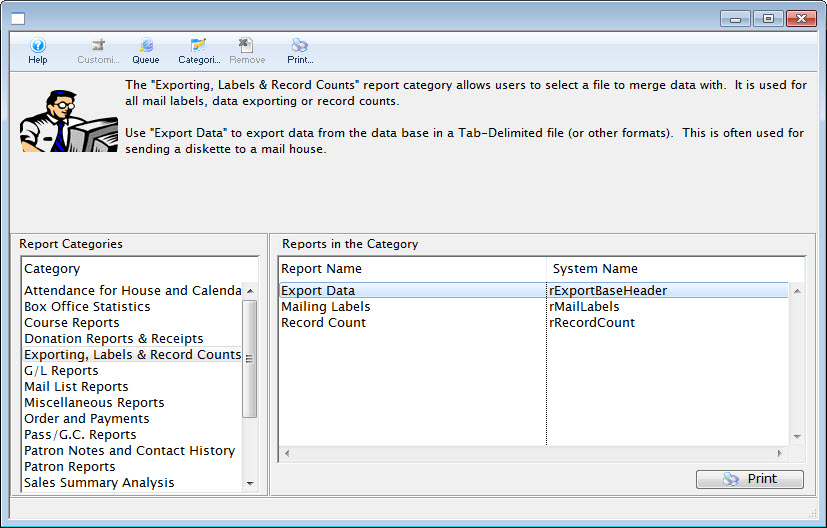
- From the Report List Window: Letters, Labels, Exporting, Record Counts Category >> Export Data Report
- From the main toolbar: File >> Import/Export >> Export Data
Either option above will open the Export Data Wizard.
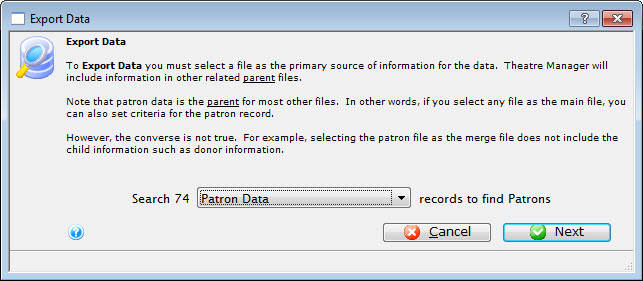
From the Export Data Wizard, select the desired parent data file from the dropdown list and click Next.
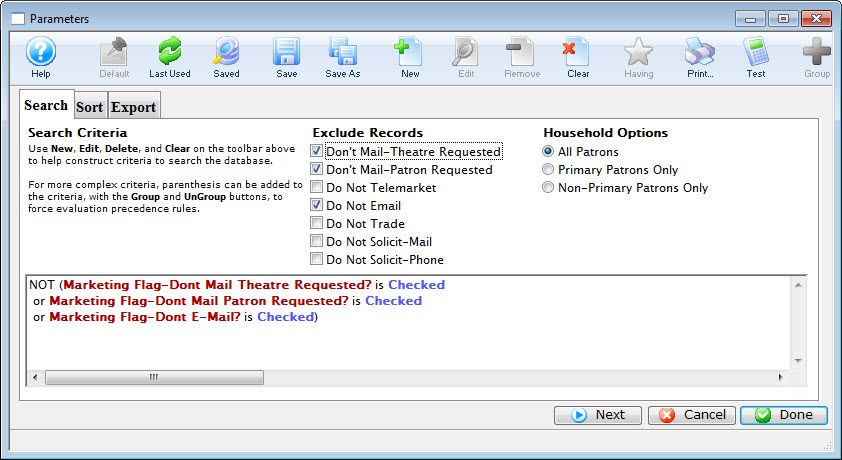
On the Criteria Search Tab, make adjustments to the database query criteria as needed. When done, click the Next button.
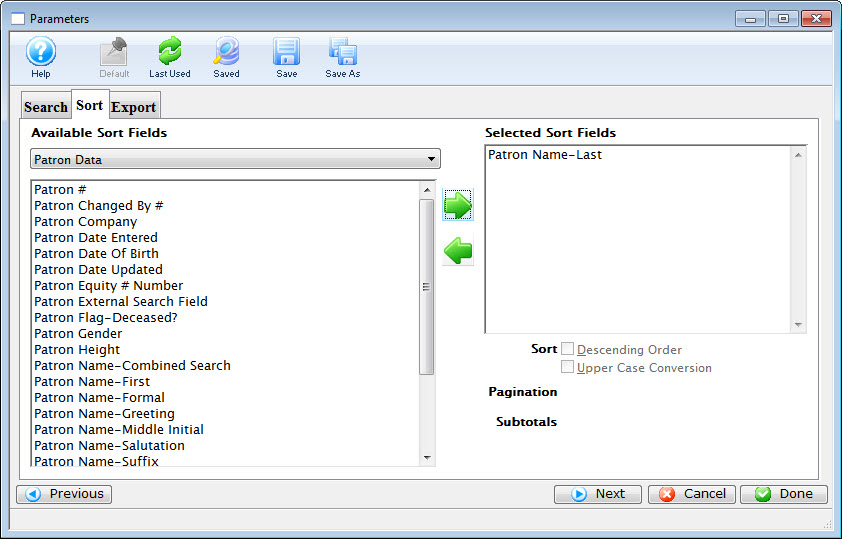
On the Sort Tab, select the fields to sort the data by. Once exported, you will be able to re-sort and adjust the data as allowed by the file editing program you use. To adjust the initial export sort:
- Use the Available Sort Fields dropdown list to find fields within related data files.
- To set a sort field, select it once on the left and click the right-facing green arrow.
- To remove a sort field, select it on the right-hand Selected Sort Fields and click the left-facing green arrow.
- To change the sort field priority order, select and drag fields within the Selected Sort Fields area.
- To adjust the direction each field sorts in, select the fields in the Selected Sort Fields area one at a time and check or uncheck the Descending Order checkbox.
When done, click the Next button.
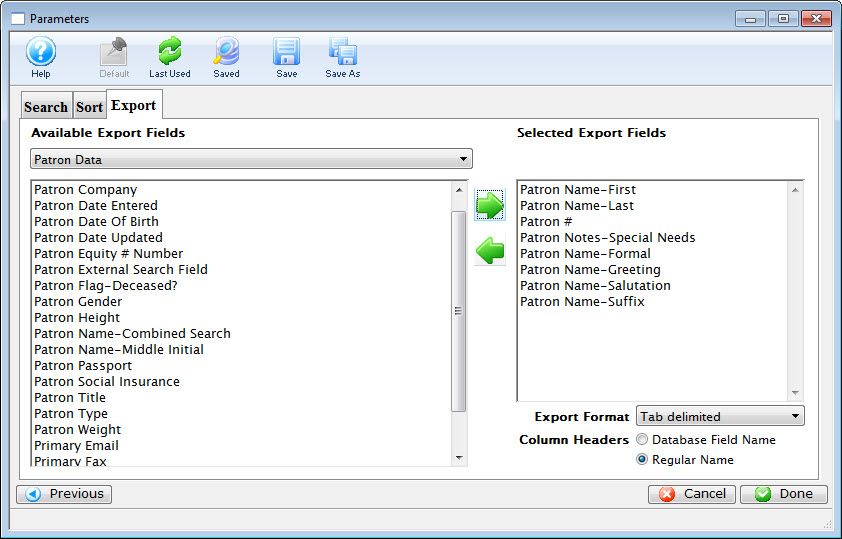
On the Export Tab, double-click (or single click and use the green arrows) field names to add or remove them from the Selected Export Fields area. This area determines which columns of data you will see in the final export file.
Step 6
In the bottom right of the Export Tab, use the dropdown menu to select the export format and the radio buttons to choose the Column Header names. (Regular Name will show the field names as they appear within the user interface of Theatre Manager. Database Field Name will set the column headers to the internal database field name.)
Step 6
Click the Done button. On the Save Dialogue Box that pops up, adjust the file name and download location as desired, then click Save. The file will now be created in the location specified and a confirmation message will appear.
Export From a Browser Top
See details about using the REST API.
Export From a Pricing Map Top
See the Venue how-to guides for exporting seat names, exporting the pricing map graphic, and exporting whole theatre maps.
Export From a Pricing Map Top
See the Venue how-to guides for exporting seat names, exporting the pricing map graphic, and exporting whole theatre maps.
Export From a G/L Entry Top
See the export details in the Accounting how-to guide for EOD.
Export From a Mail List Top
See the Mail List how-to guide for exporting patron information from the Who's In Tab.
Export From a Ticket Face Top
See the Ticket Face how-to guide for exporting.
Export From a Letter Top
See the Letter how-to guide for exporting.
Export From a Calendar Top
See the Calendar Filter Context Menu for exporting from a filter view