Add Search Criteria Top
Caution
Creating the query requires some planning and foresight. To start, you must decide what makes certain patrons unique from the rest (for a mail list) or what data you want to summarize (for a report) or what records you want to pull raw data from (for a data export). The following sections focuses on creating a query in a Mail List as this is a good place to start, but it is important to remember that the query process is shared across mail lists, reports, and data exports.
To create a query in a mail list, perform the following steps:
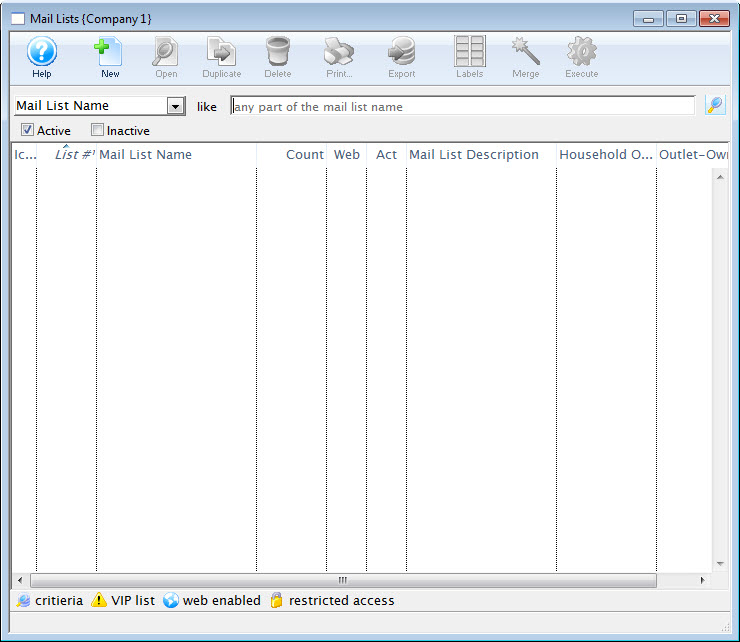
Open the Mail List Search Window. For more information on accessing the Mail List window, click here.
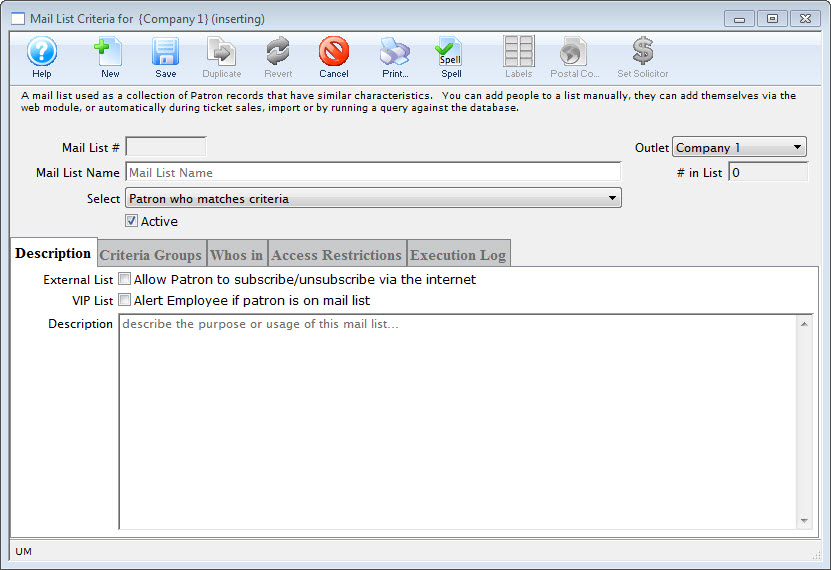
Click the New button. The Mail List Criteria (inserting) Window opens.
Step 3
In the Name field, enter a short name for the Mail List.
Step 4
Make a selection for the names to be included on the list.
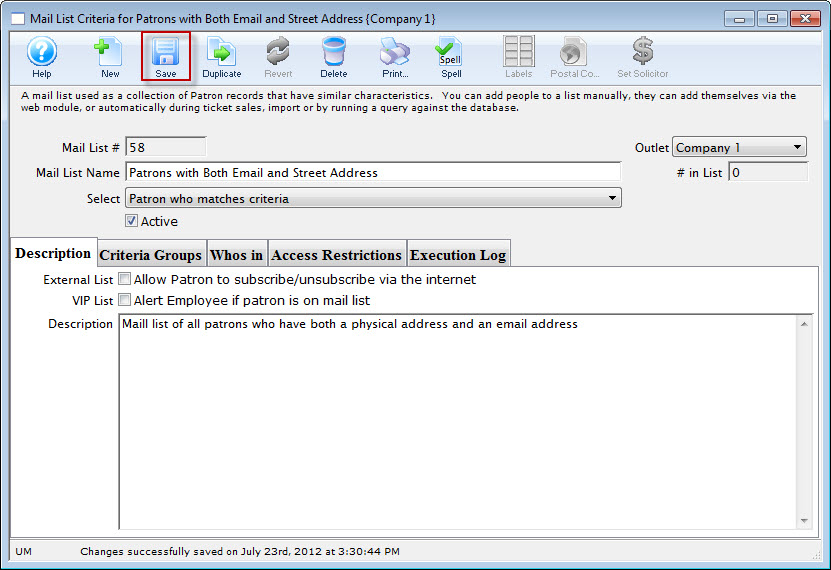
In the Description tab, select the appropriate flags and in the Description field, enter a detailed description for the Mail List. This is extremely important for other users who may use the mail list. If the description of the list is good it will not need to be deciphered to understand the reason for the list.
Step 6
Click the Save button. You can now enter the Criteria.
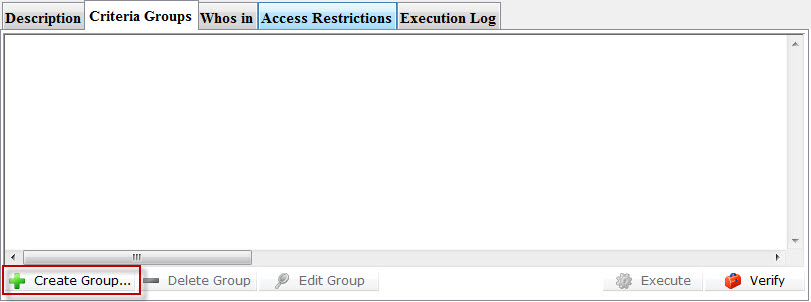
Click the Criteria Groups Tab.
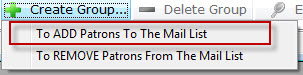
Click the Create Group button.
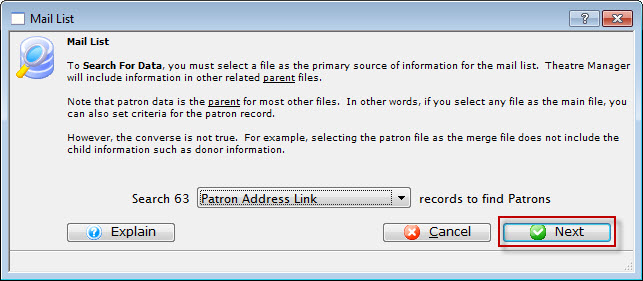
Choose To Add Patrons To The Mail List. The Mail List Data Selection Window opens. To search for data, you must select a data file for the primary source of information for the mail list. Select a file that contains the data you are searching for. This example list is searching for patrons who have made donations; the file to use would be Patron Address Link. Click here for more information on selecting the file.
Step 10
Select the Patron Address Link file.
Click the Next button. The Criteria Window opens. This tab displays the added criteria for the query on the database.
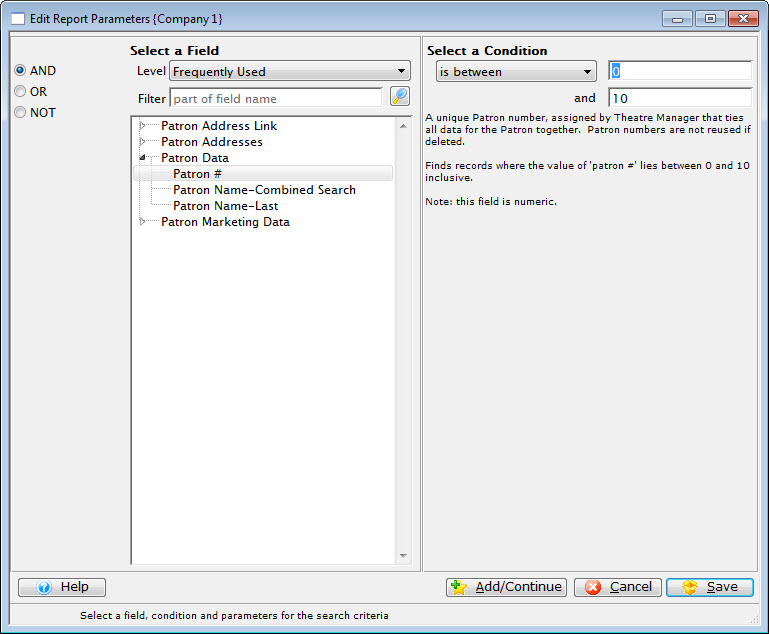
Click the New button. The Add/Edit Parameter Window opens. The list contains all the possible searchable fields available in your selected file. The selections on the top left side of the window (and, or, not) are used for searching multiple fields when more than one line of criteria is added within the same file. Click here for an overview of conditions and search criteria.
Step 13
Select the field to search. In this example Patron Addresses >> Address Line 1 will be the selected search field criteria.
Step 14
Select a condition, in this example is not empty. The condition displayed above will find any patron has an entry in the street address section of the Patron Record.
Step 15-A
Click Add/Continue if adding another search criteria or Save if the search criteria for this file is complete. Save will close the Add/Edit Parameter Window and return you to the Criteria Window. Group the criteria and add a Having criteria line if needed.
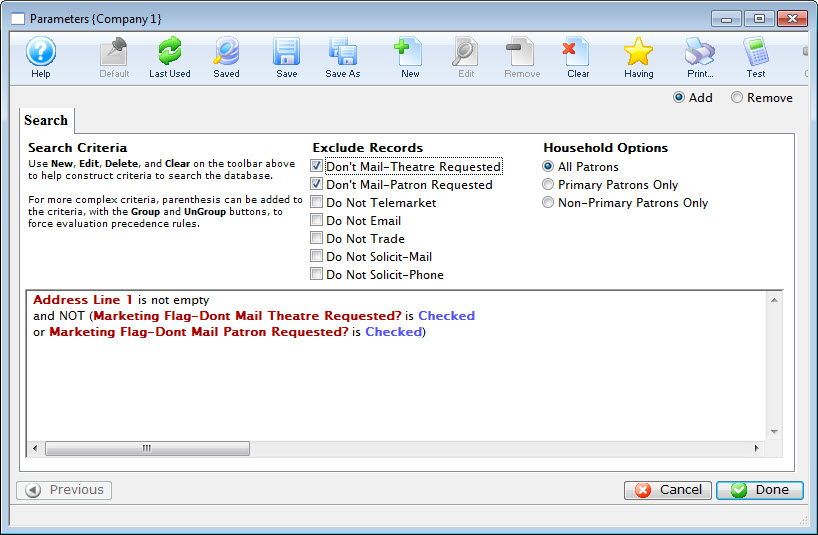
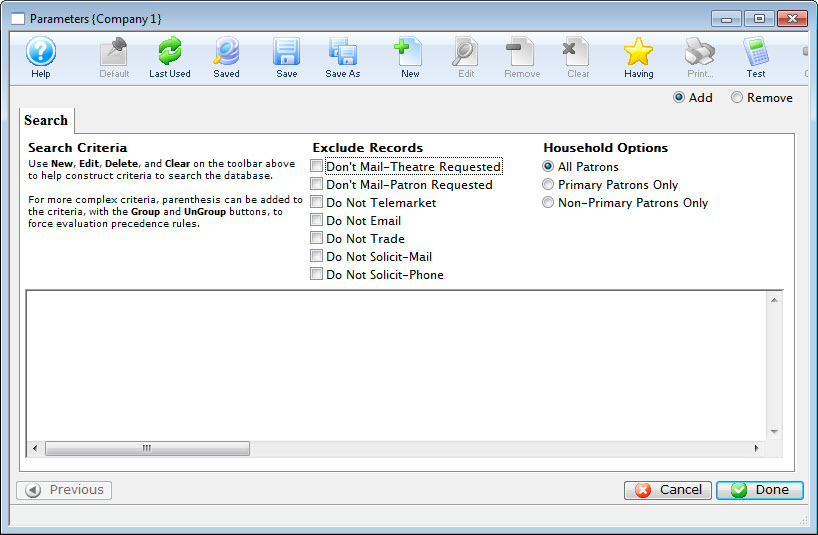
Under Exclude Records, enable the Don't Mail-Theatre Requested and the Don't Mail-Patron Requested flags, and click the Done button. Now the group and its criteria have been added to the main query. For this example, another group needs to be added to include the patrons who have email addresses.
Step 15-C
Click the Create Group button.
Step 15-D
Choose To Add Patrons To The Mail List. Choose a file containing the required data. This example requires the Patron Contact Link file.
Step 15-E
Click the Next button.
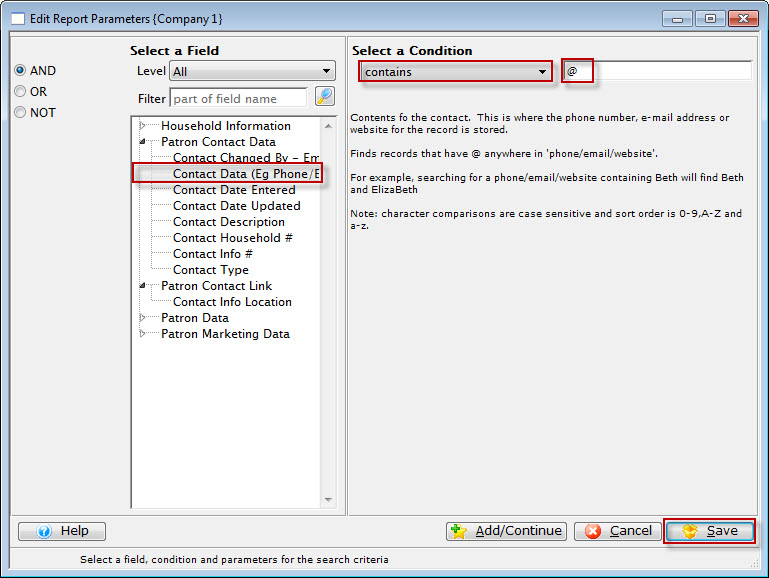
Click the New button in the Criteria Window. In the Edit/Add Parameters Window, leave the And button selected. The field for this example would be Patron Contact Data >> Contact Data (e.g. phone/email/website) while the condition would be contains and parameter would be @ (to search for an email address).
Click the Save button. You are returned to the Criteria Window.
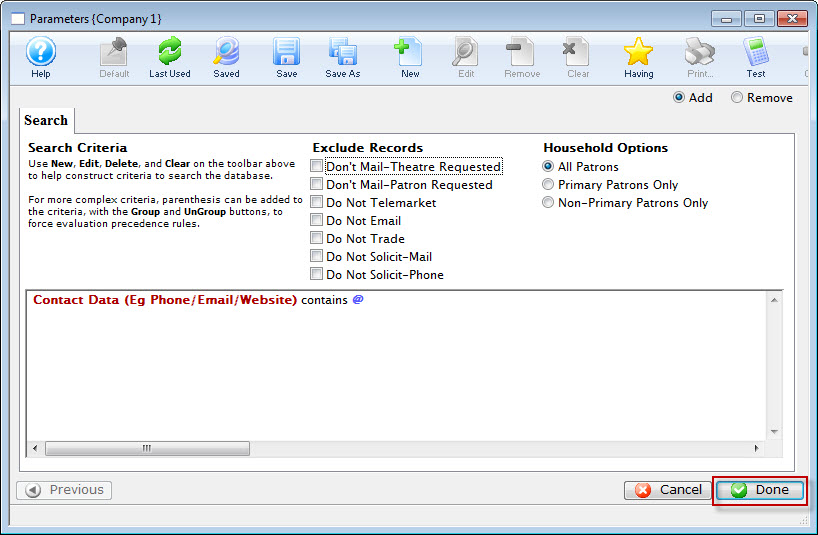
Click the Done button. Both of the Search Criteria are added to the query. The group criteria says add any patron who has volunteered their time as well as any patron who has made a donation to the list. Now, all the criteria have been added to satisfy the description, the database can be searched.
If you have criteria that you'd like to print and save, while on the tab click the Print button at the top of the window. You will get a report that you can then print or save to PDF. This can be handy when you:
- Want to keep a printed format of your Mail List criteria
- Want to share your criteria with others in the office who may not use Theatre Manager
- Want to email the precise criteria you have been working on to support@artsman.com to ask for help. Emailing a PDF is preferred as it shows all of the criteria, the description (so we know what you are trying to accomplish), the operators (AND, OR, NOT) and conditions (e.g. is between, is greater than, is equal to, etc.) used in the criteria. This is the preferred method for Support to receive your criteria help request.

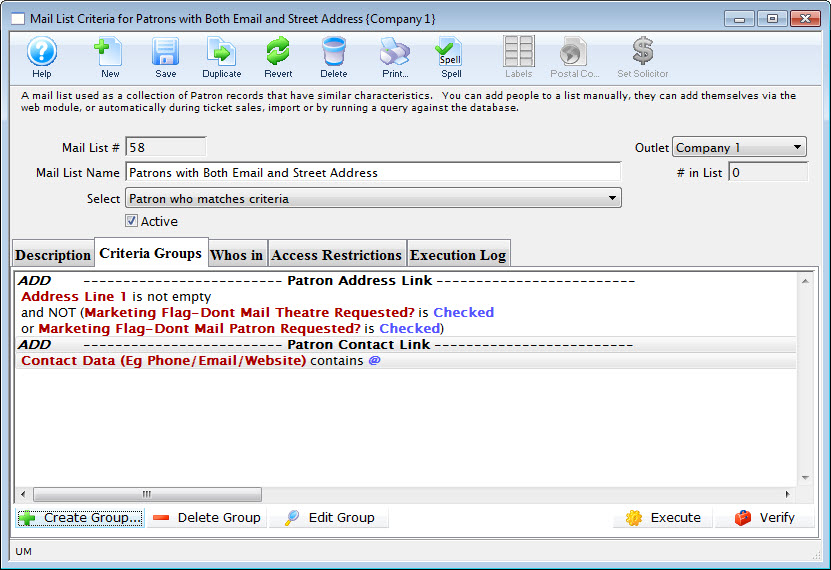
Click the Execute button to begin the query. The patrons satisfying the first criteria will be found and added to the list. Once complete, the second criteria will be performed and any patrons matching the second criteria will be added. Any patron matching both criteria will only be displayed once. The Mail List will default to the Who's In Tab displaying all patrons who match the criteria and are in the list.
Use Quick Select Criteria Options Top

To use the quick select options in your criteria, follow these steps:
- Enter any custom search query criteria lines.
- Click on a quick select checkbox and Theatre Manager will add the criteria automatically.
- To remove the quick select criteria, simply uncheck the corresponding quick select checkbox.
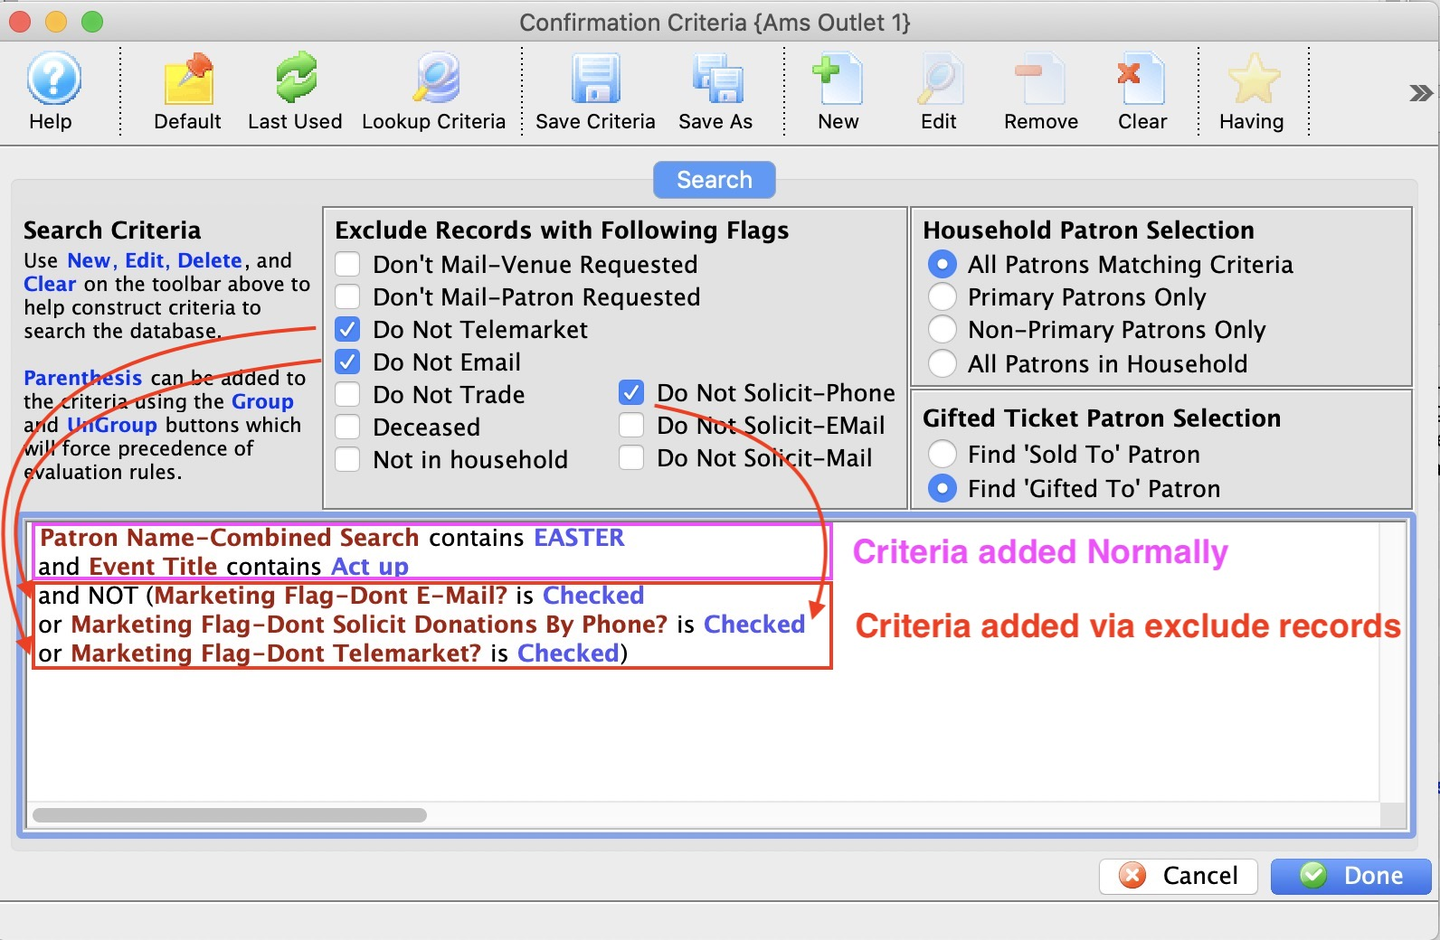
In this example, the first two lines of criteria were added with the basic criteria selection process. The last three lines of criteria were built by checking three Quick Select Exclusion Area options under the heading Exclude Records with Following Flags. Note that Theatre Manager applied correct grouping to the quick select lines.